General Devices - Rev B Rack Slide Installation
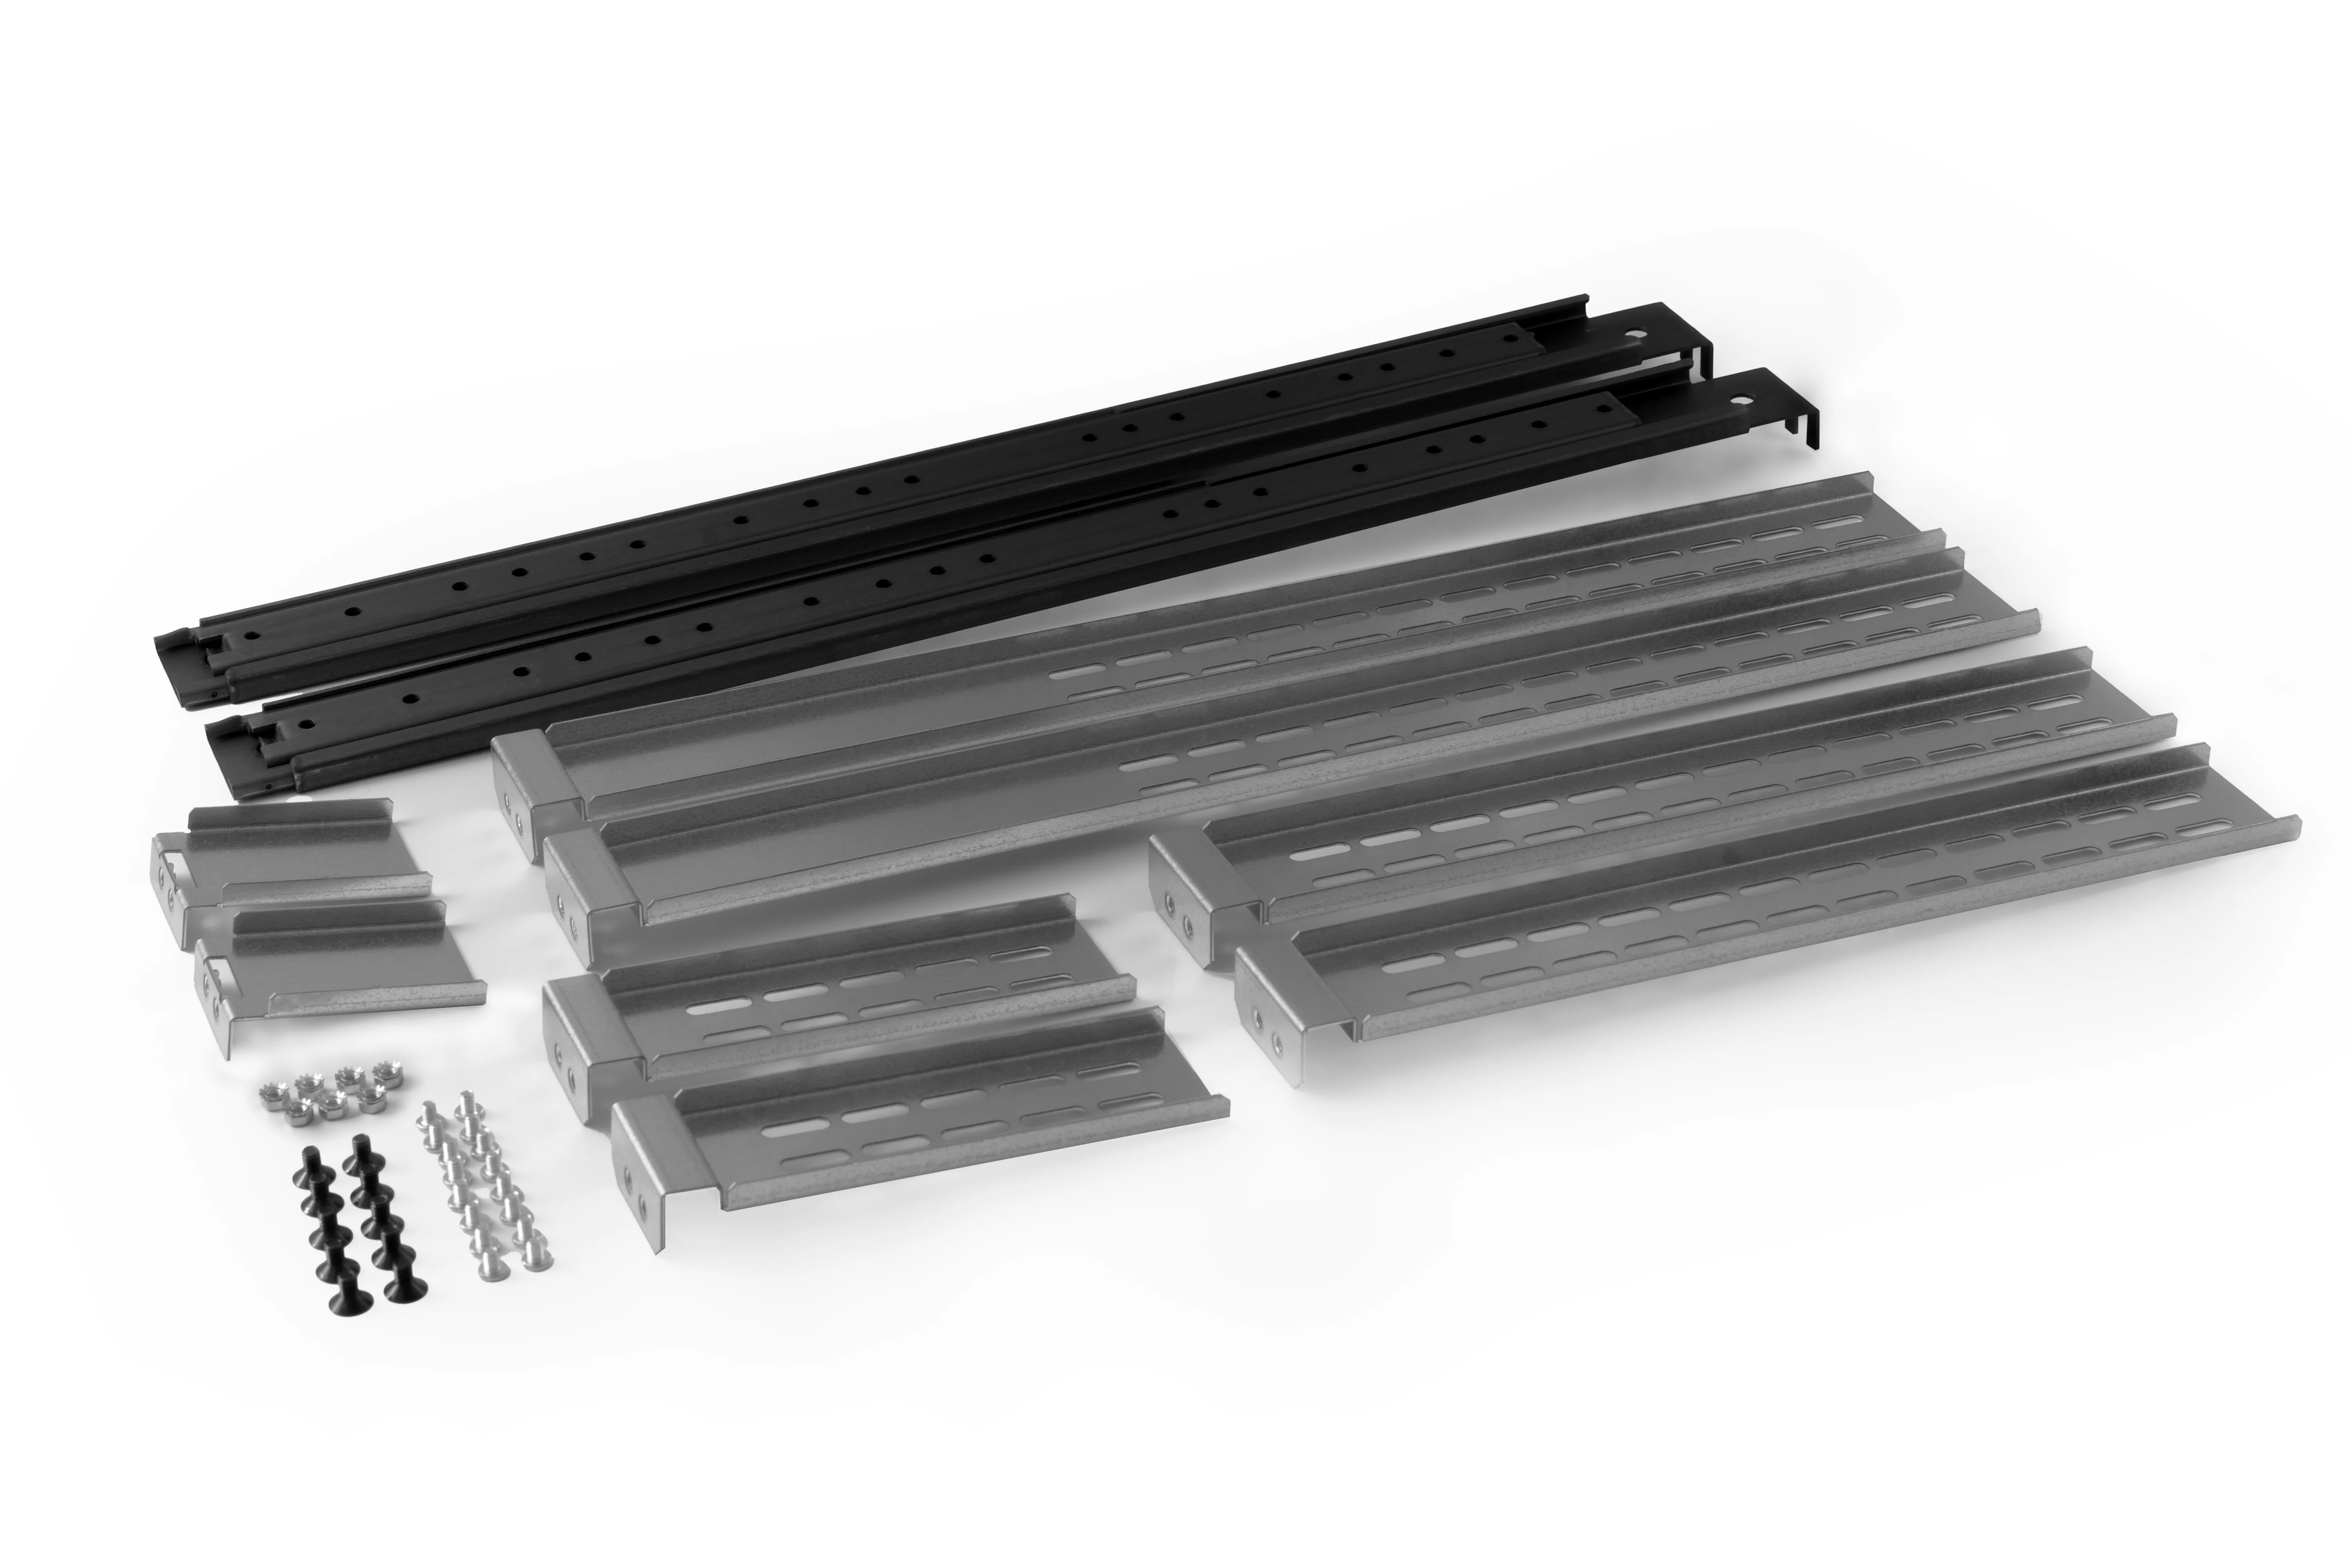
Component Overview
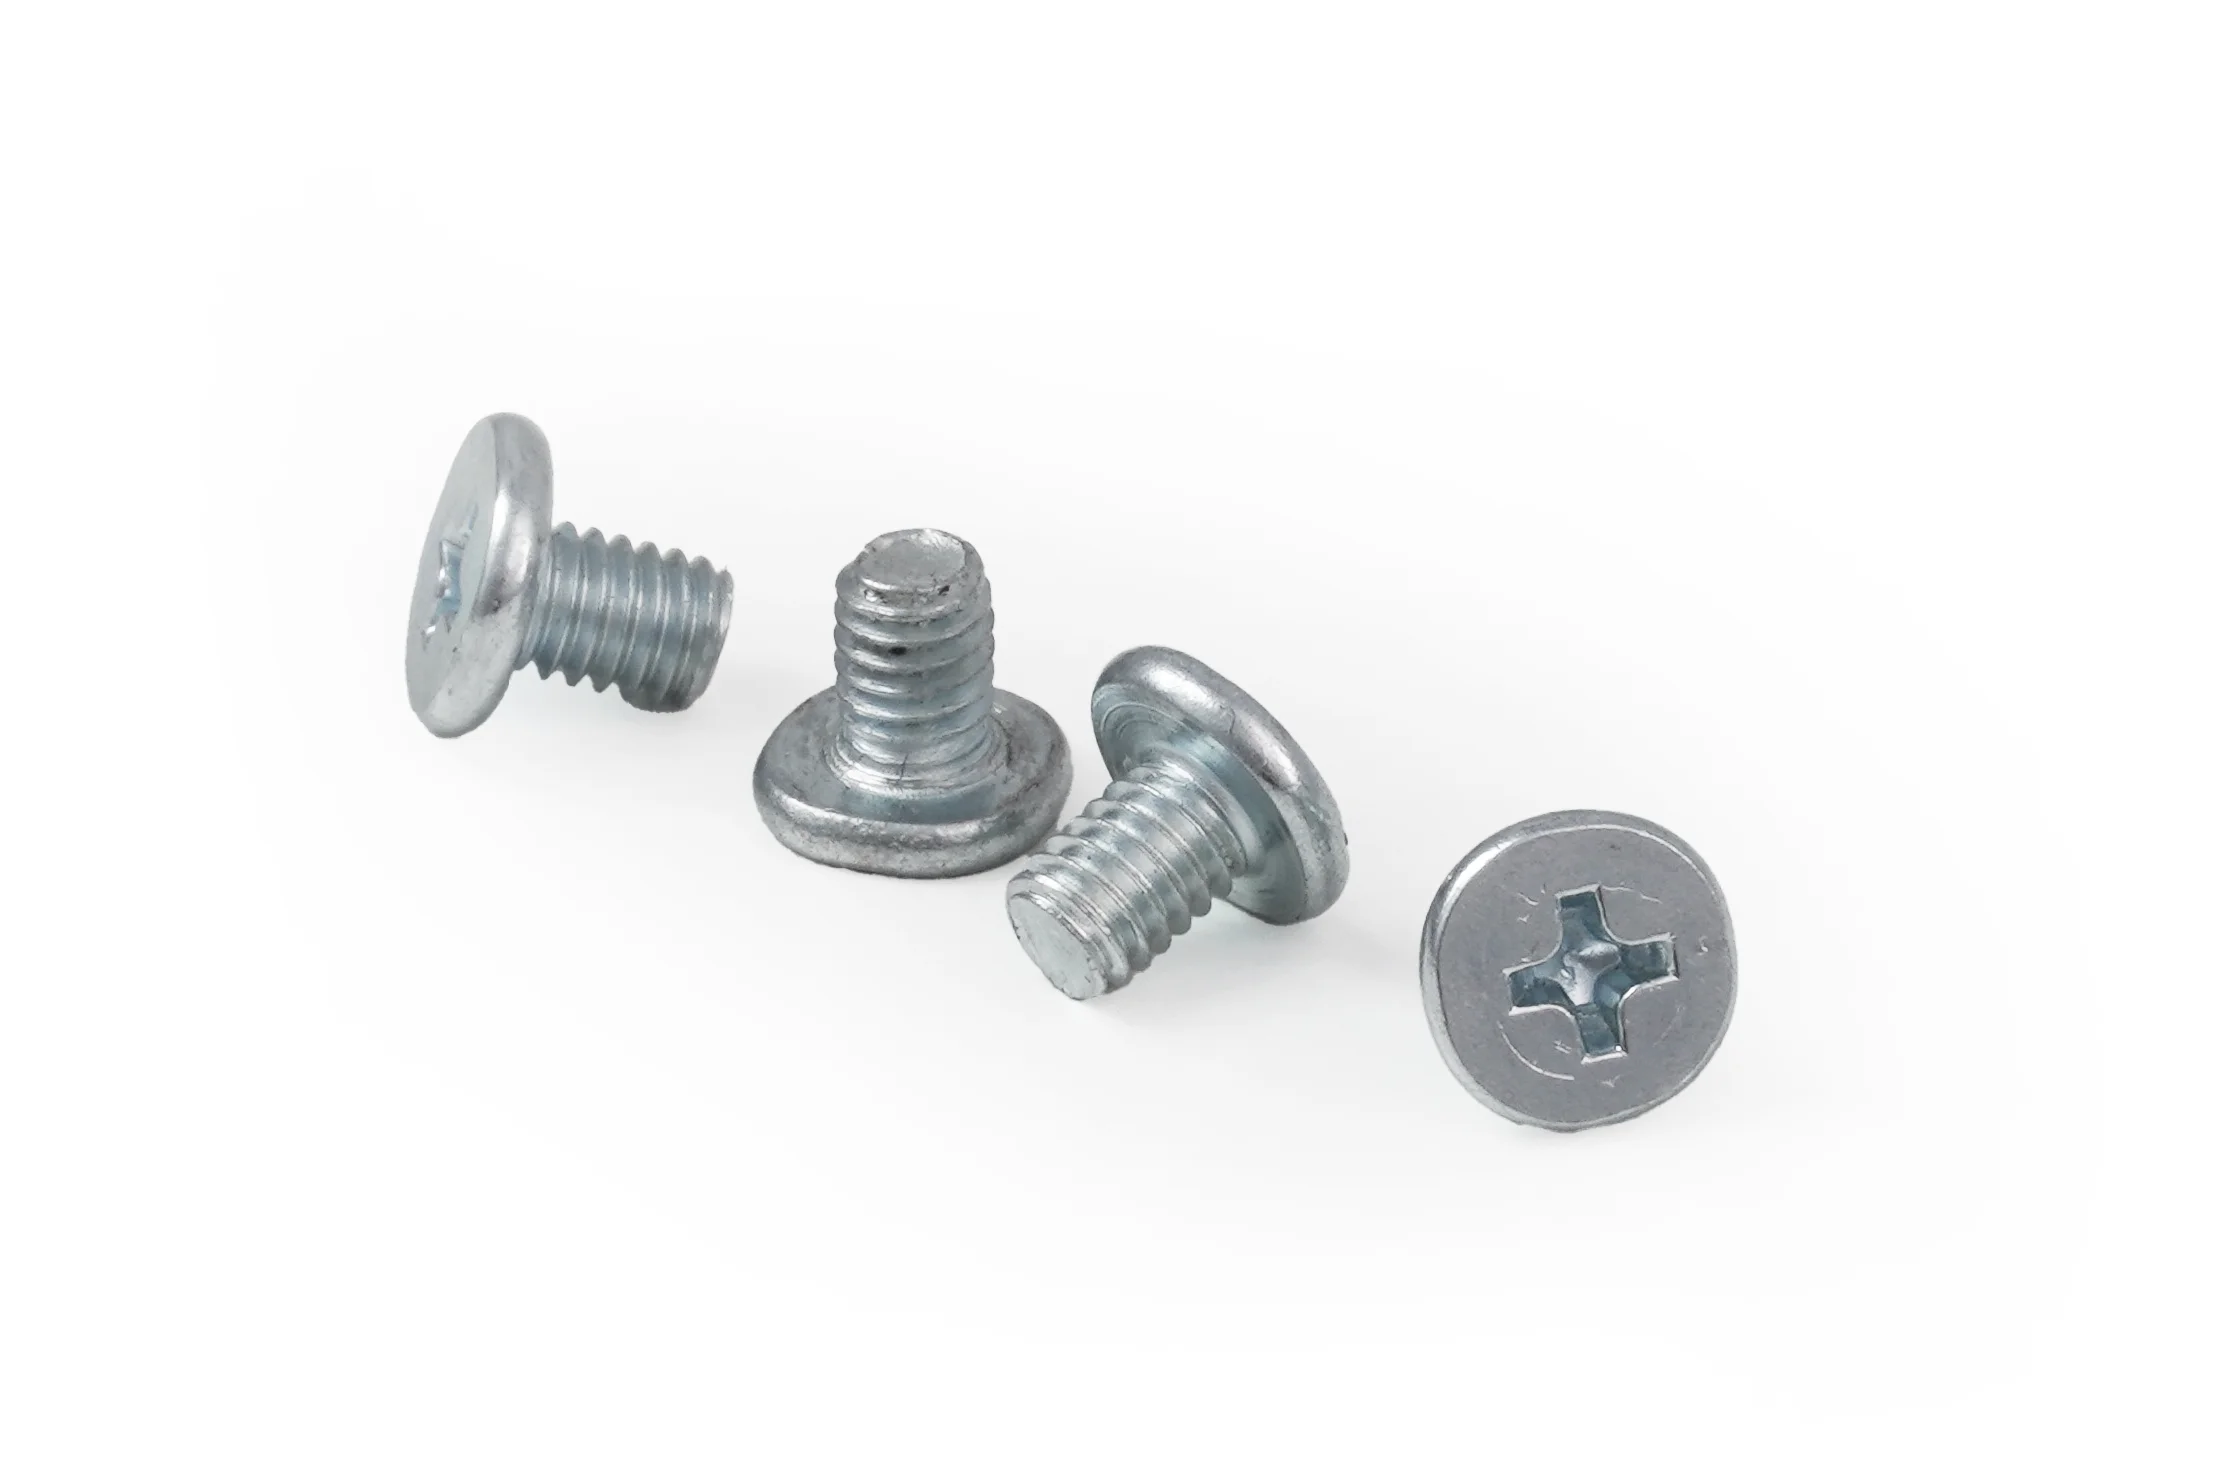
(M4 x 7mm) Pan Head Screws - Attaches inner slide to chassis.
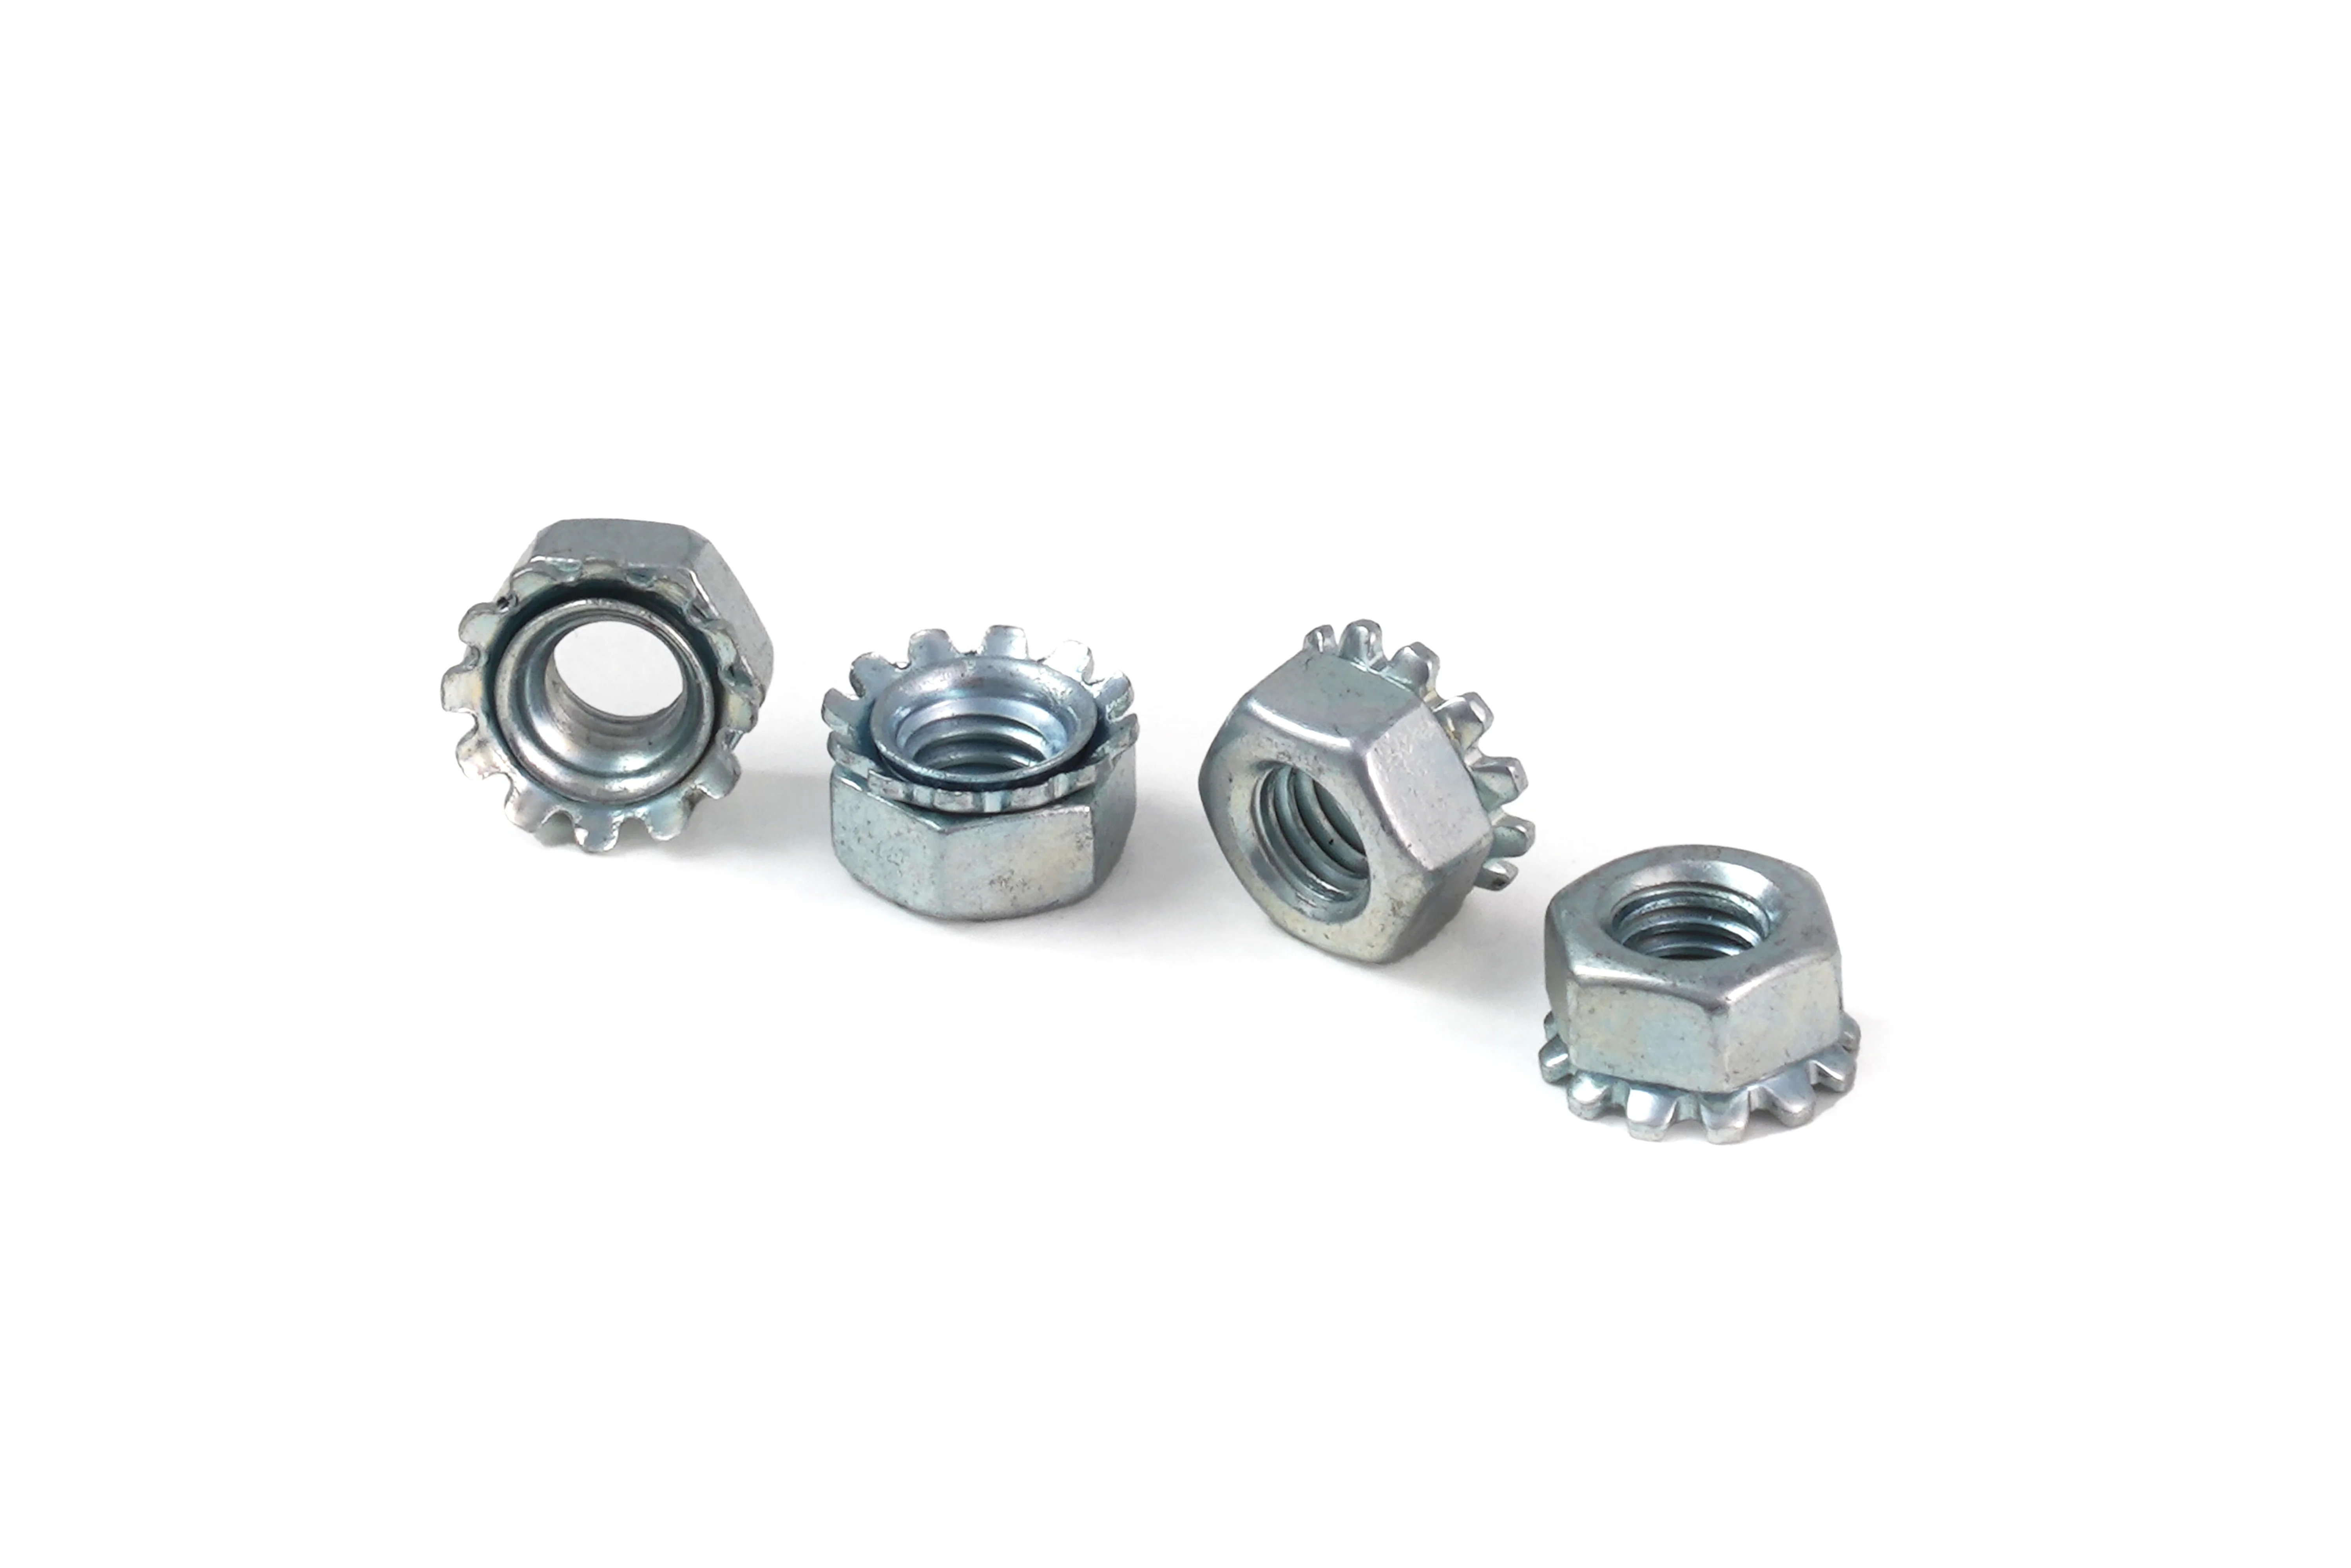
(M4) Keps Nuts - Use with above M4 Pan Head for attaching rear support bracket to Rails.
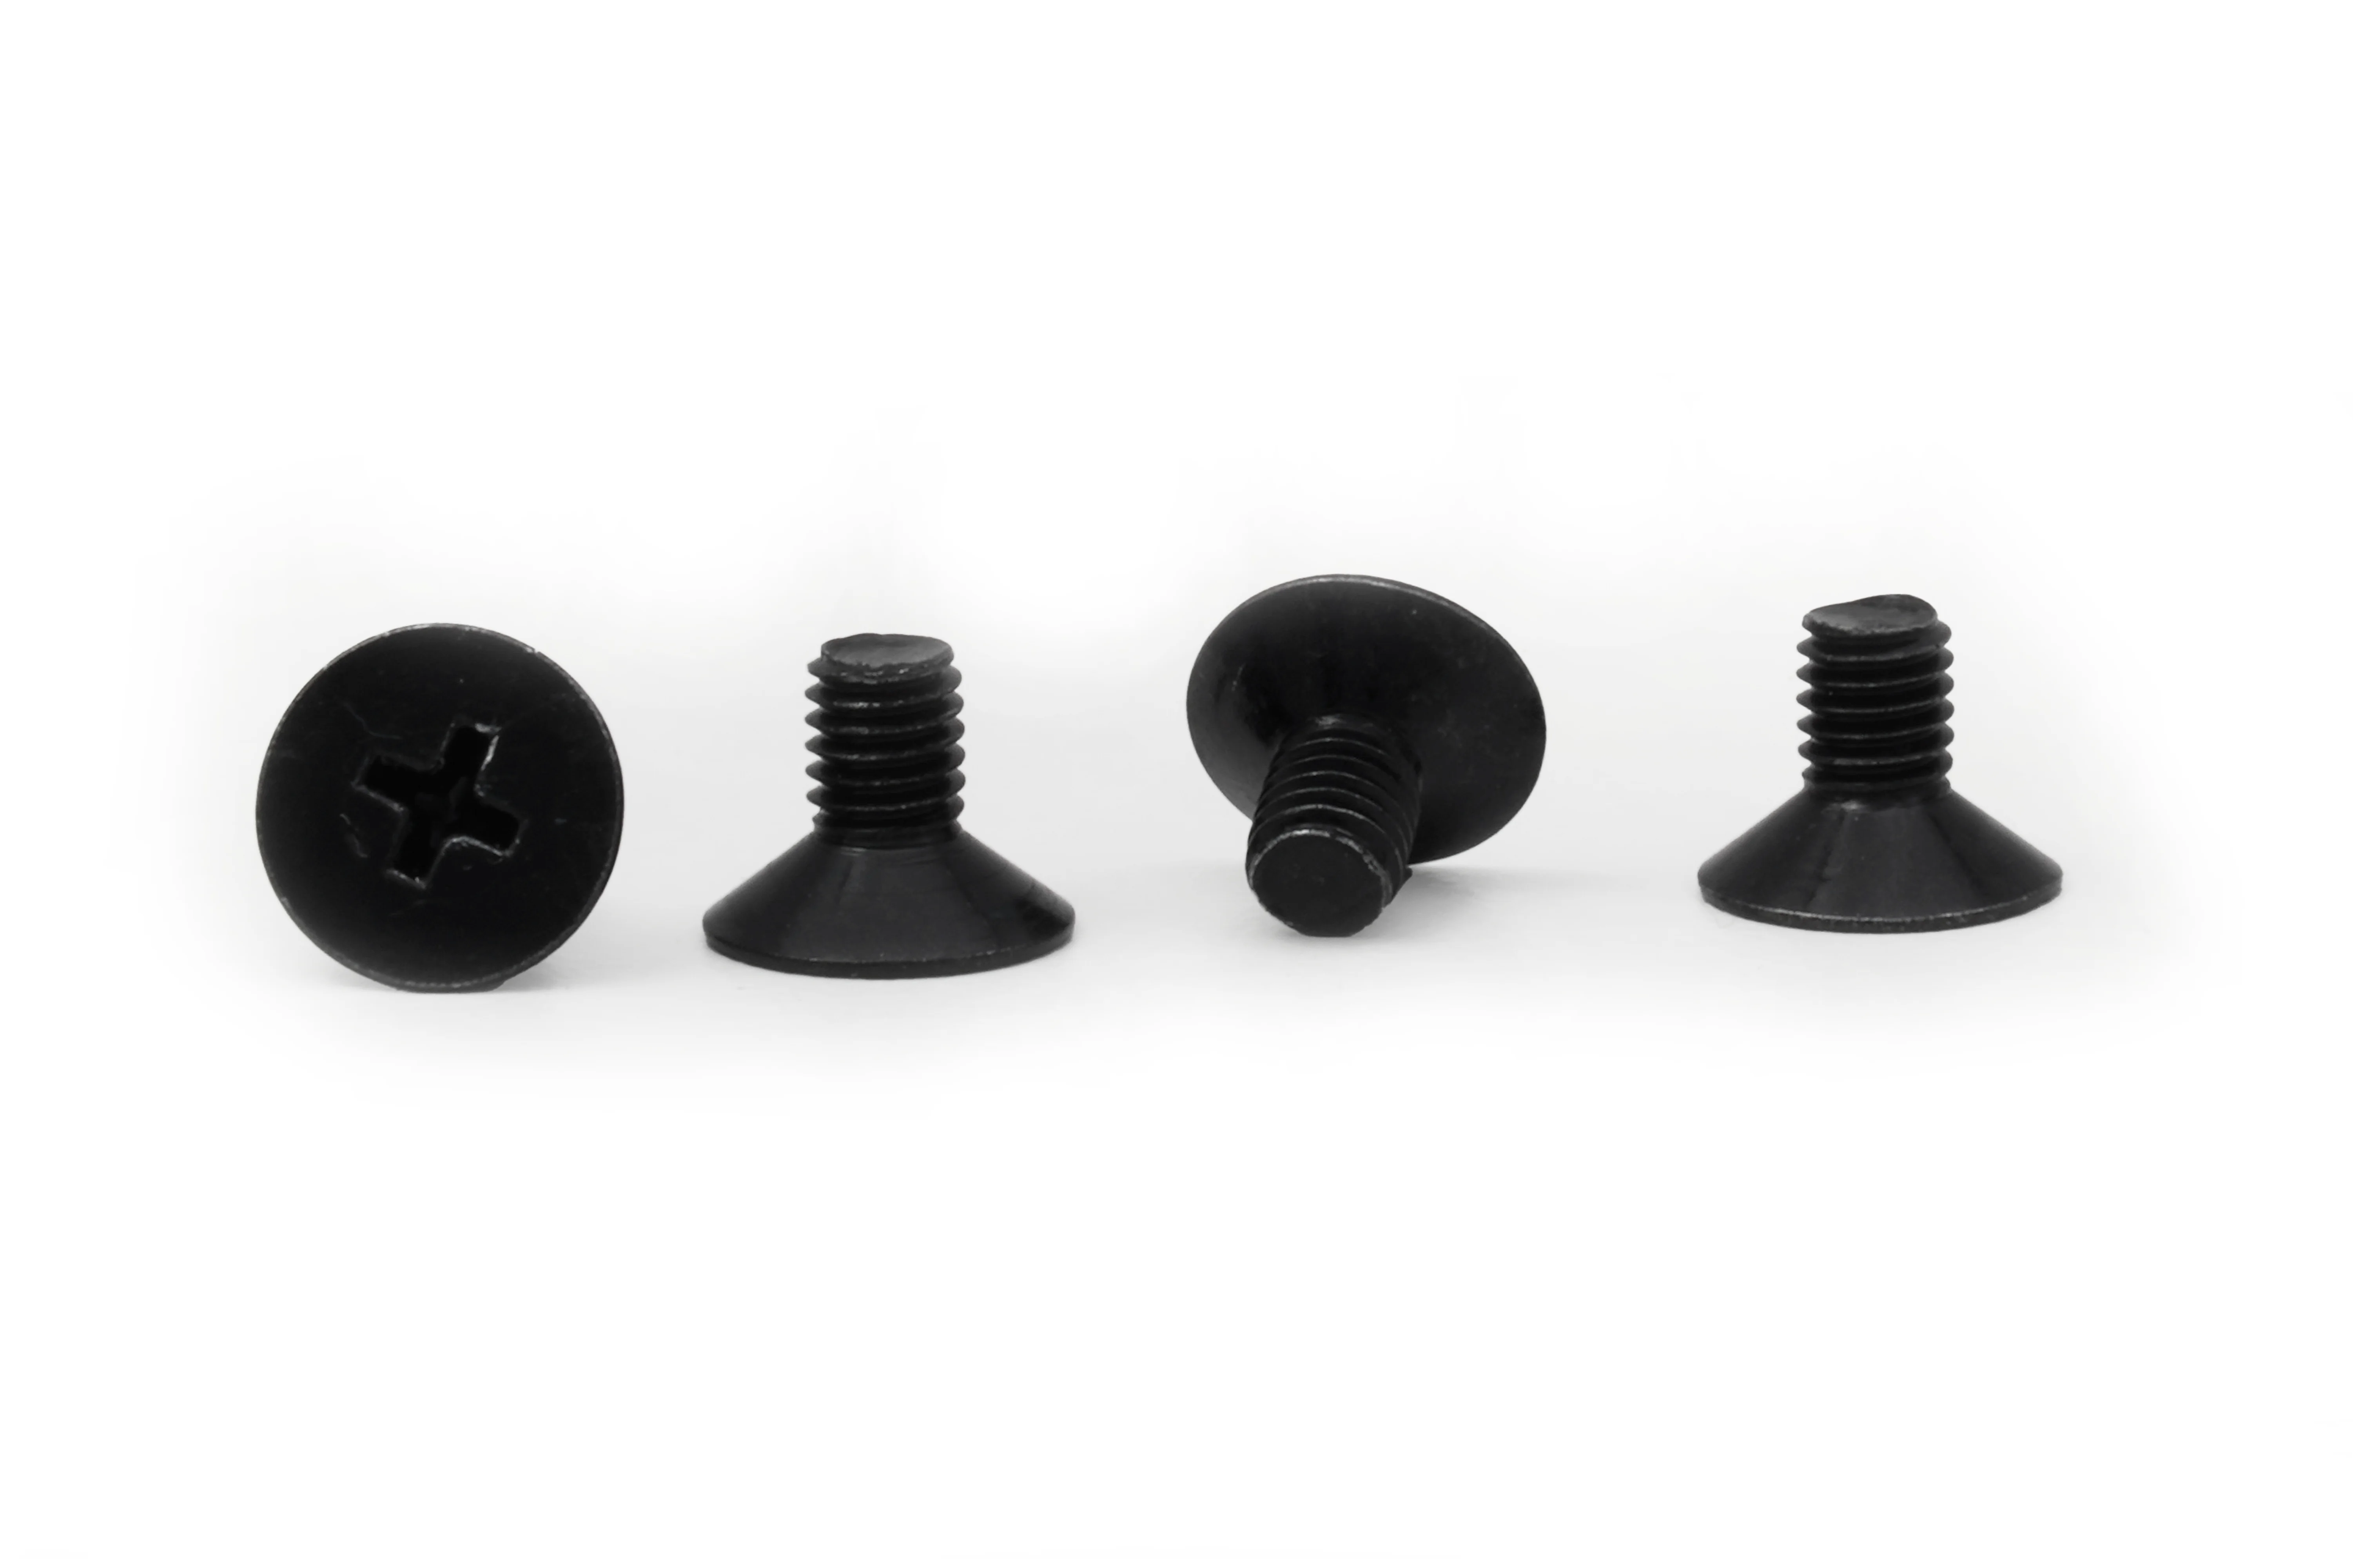
(M5 x 9mm) Black Countersink Screws - Threads into front and rear brackets.
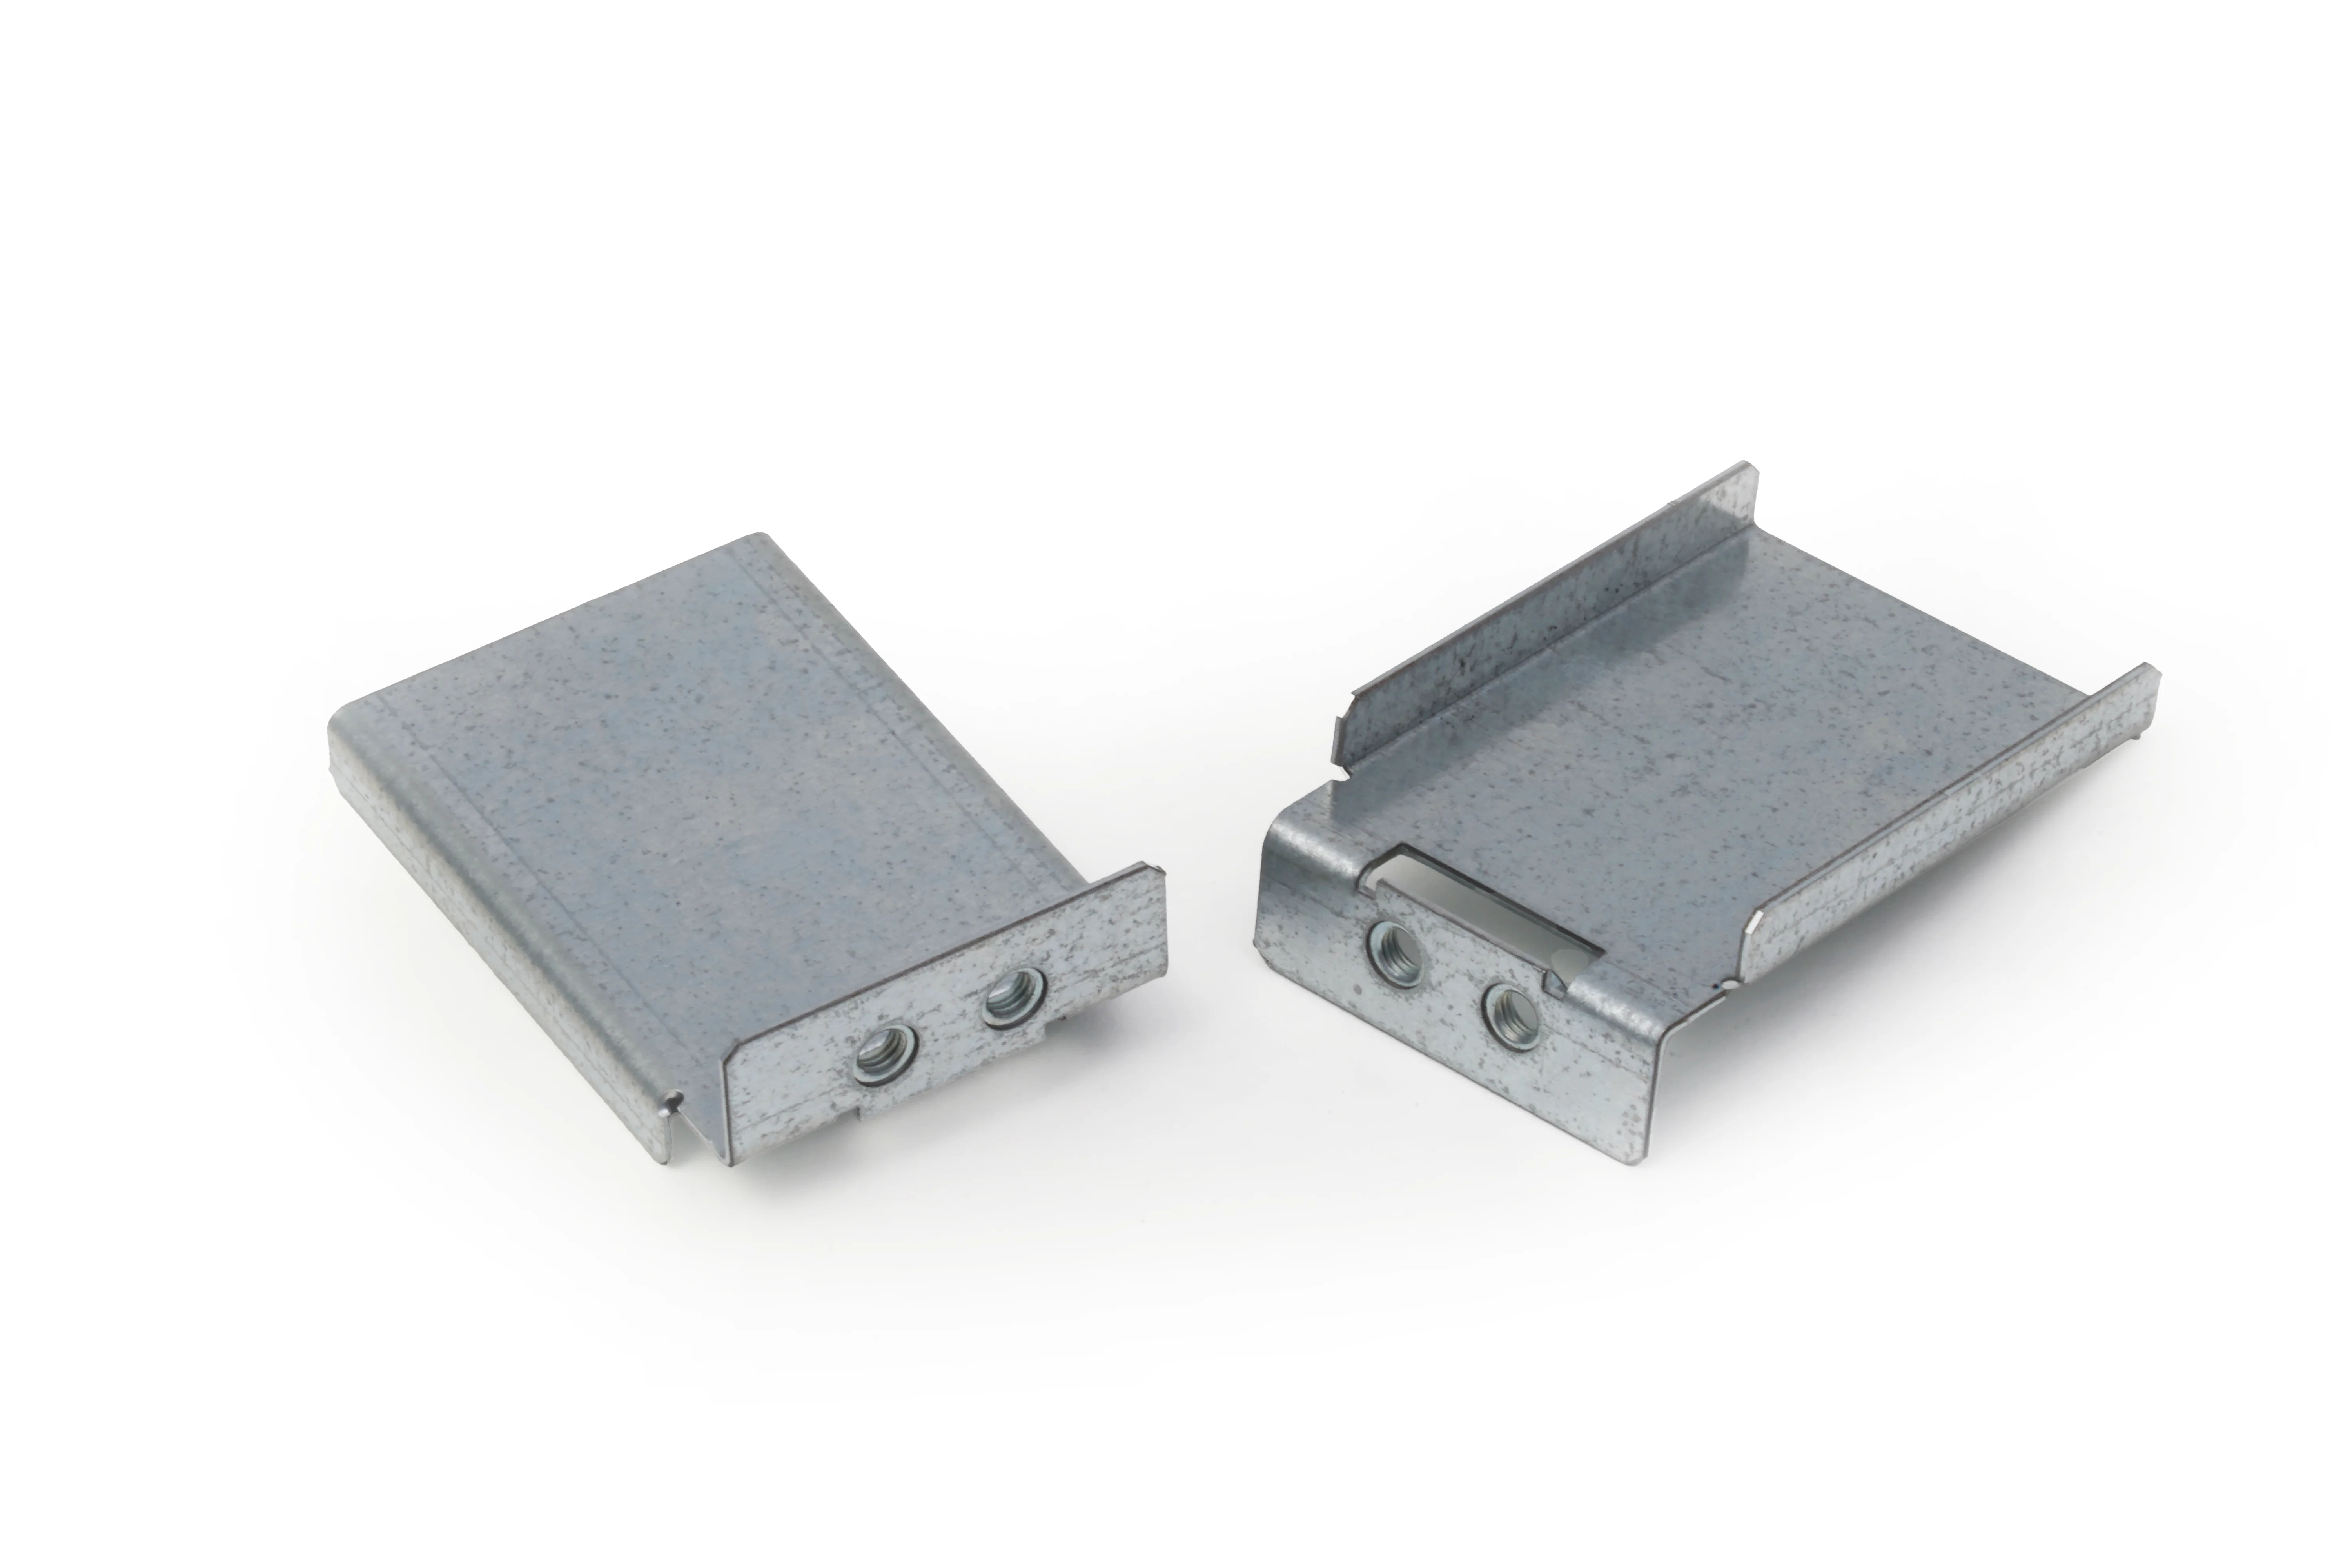
Front Support Brackets - Use with above M5 Screws.
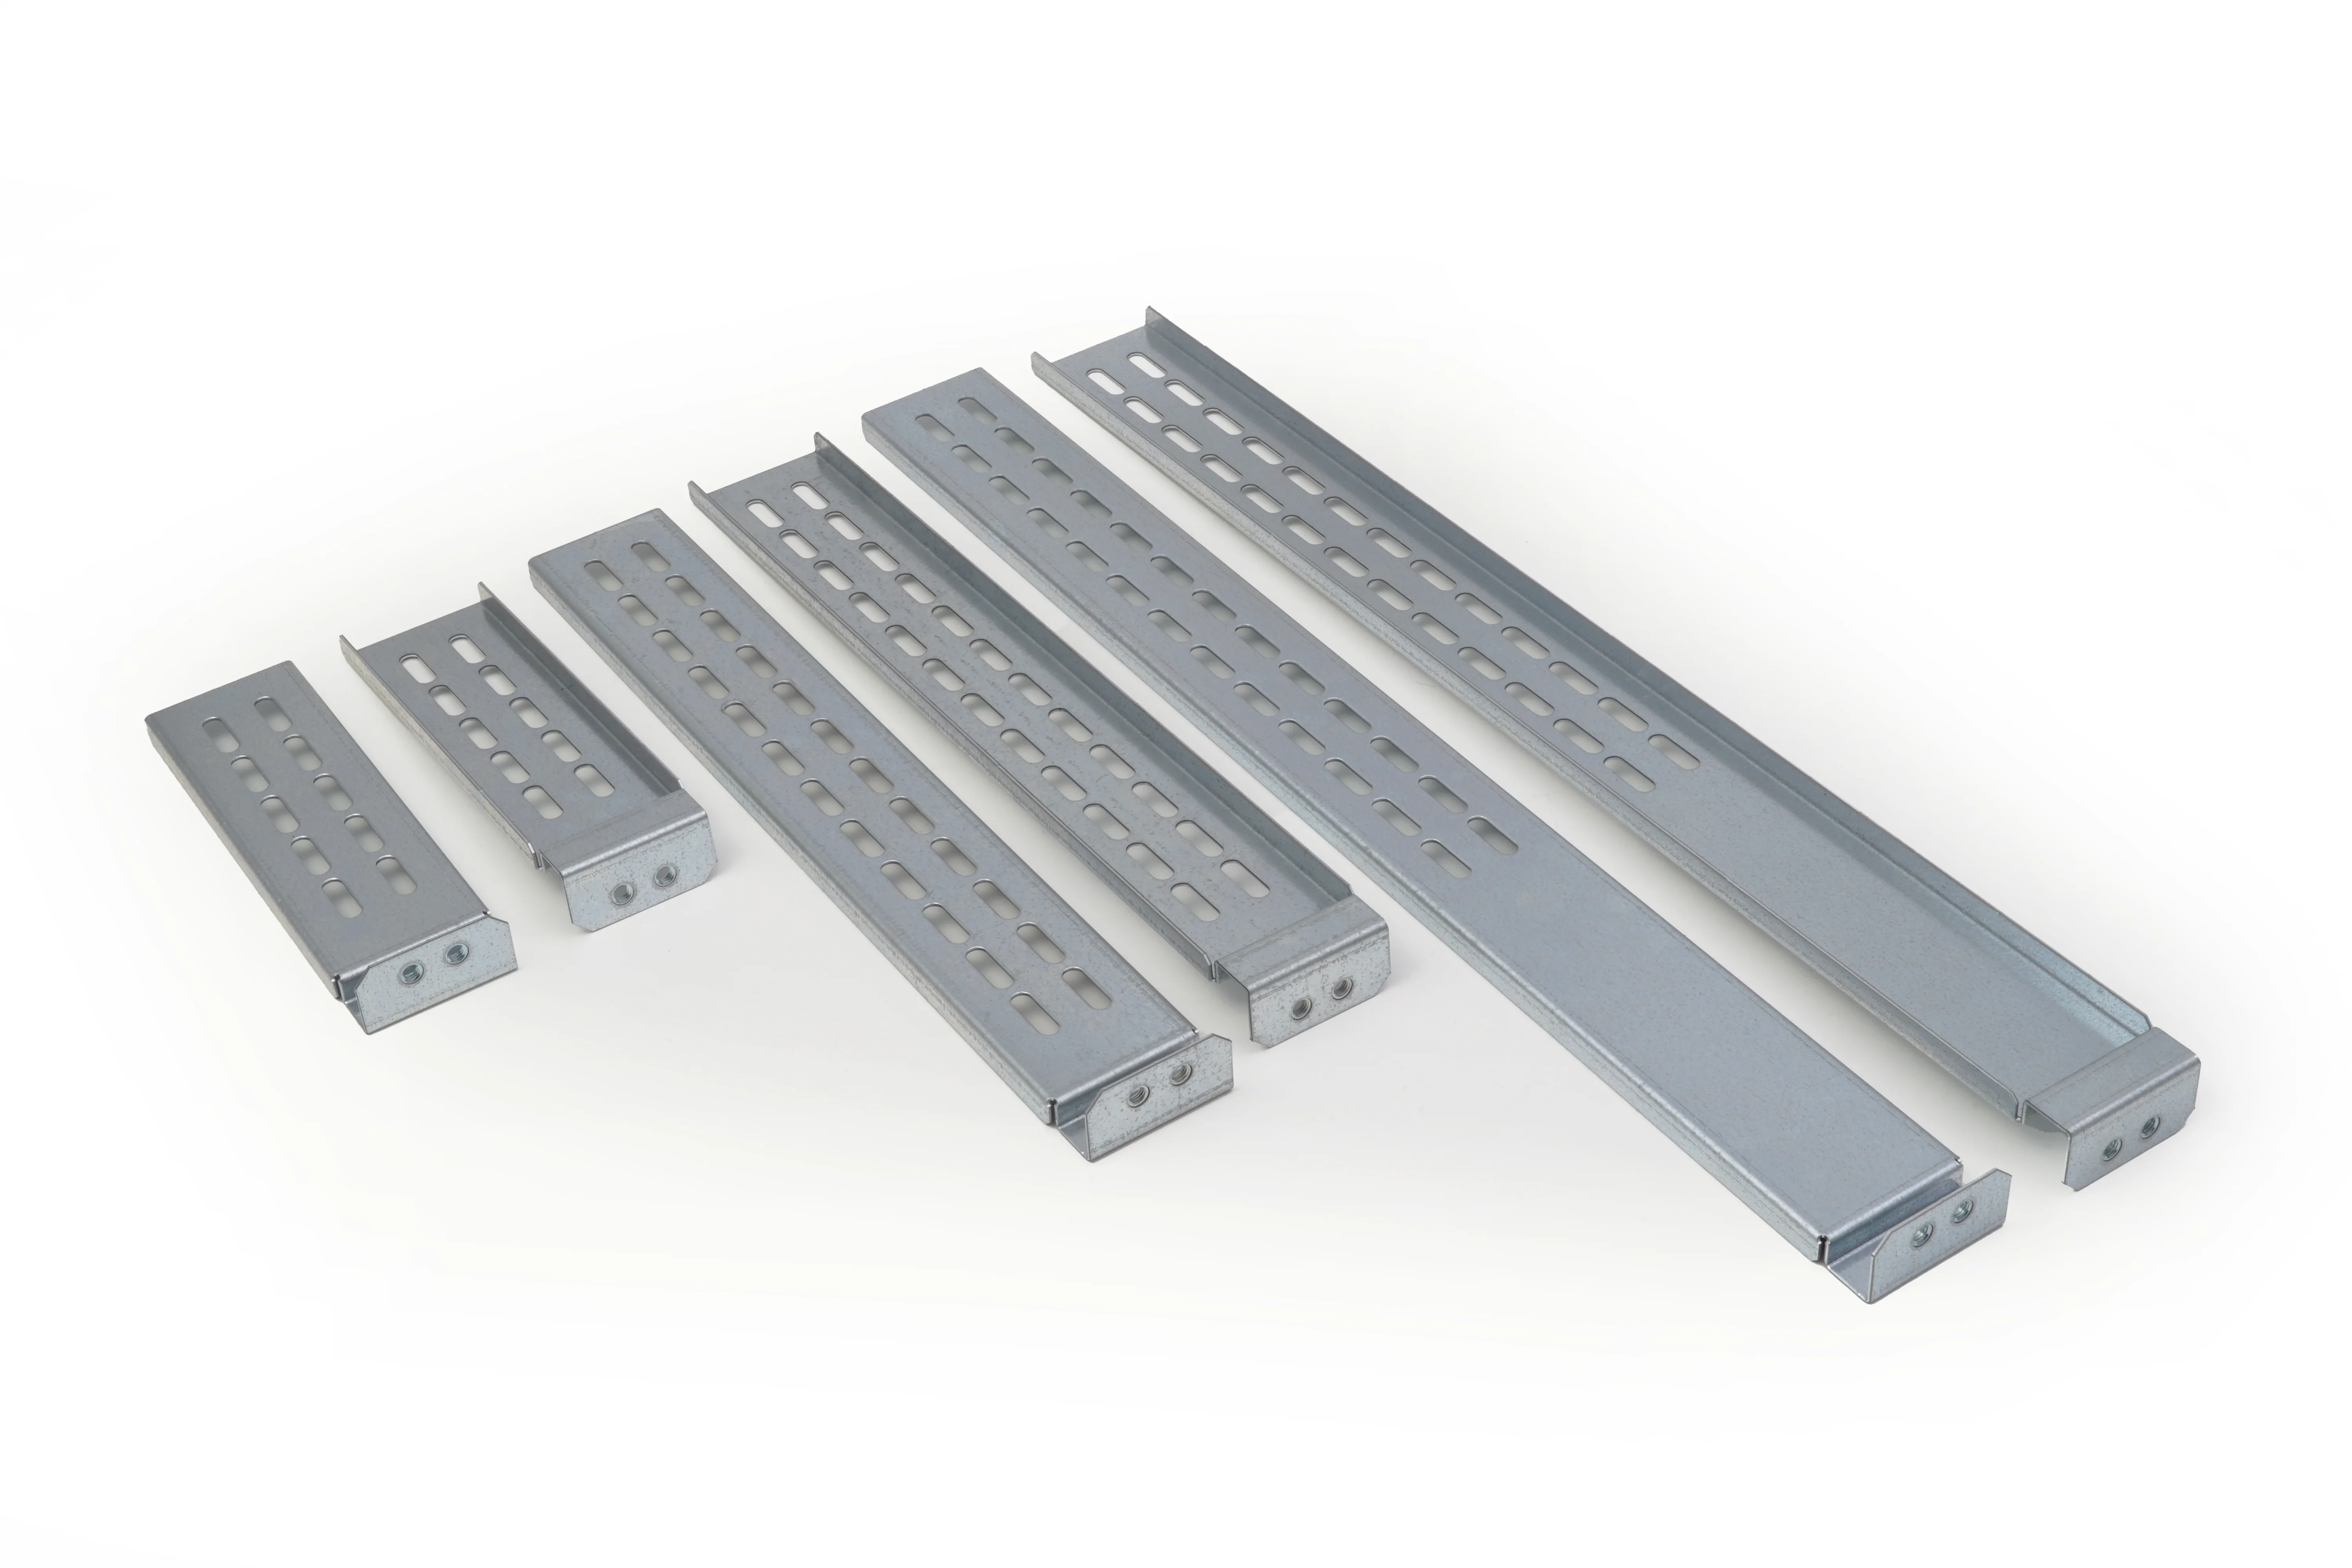
Rear Support Brackets - Secure to rack with M5 Screws, and to rail with M4 screws and keps nuts.
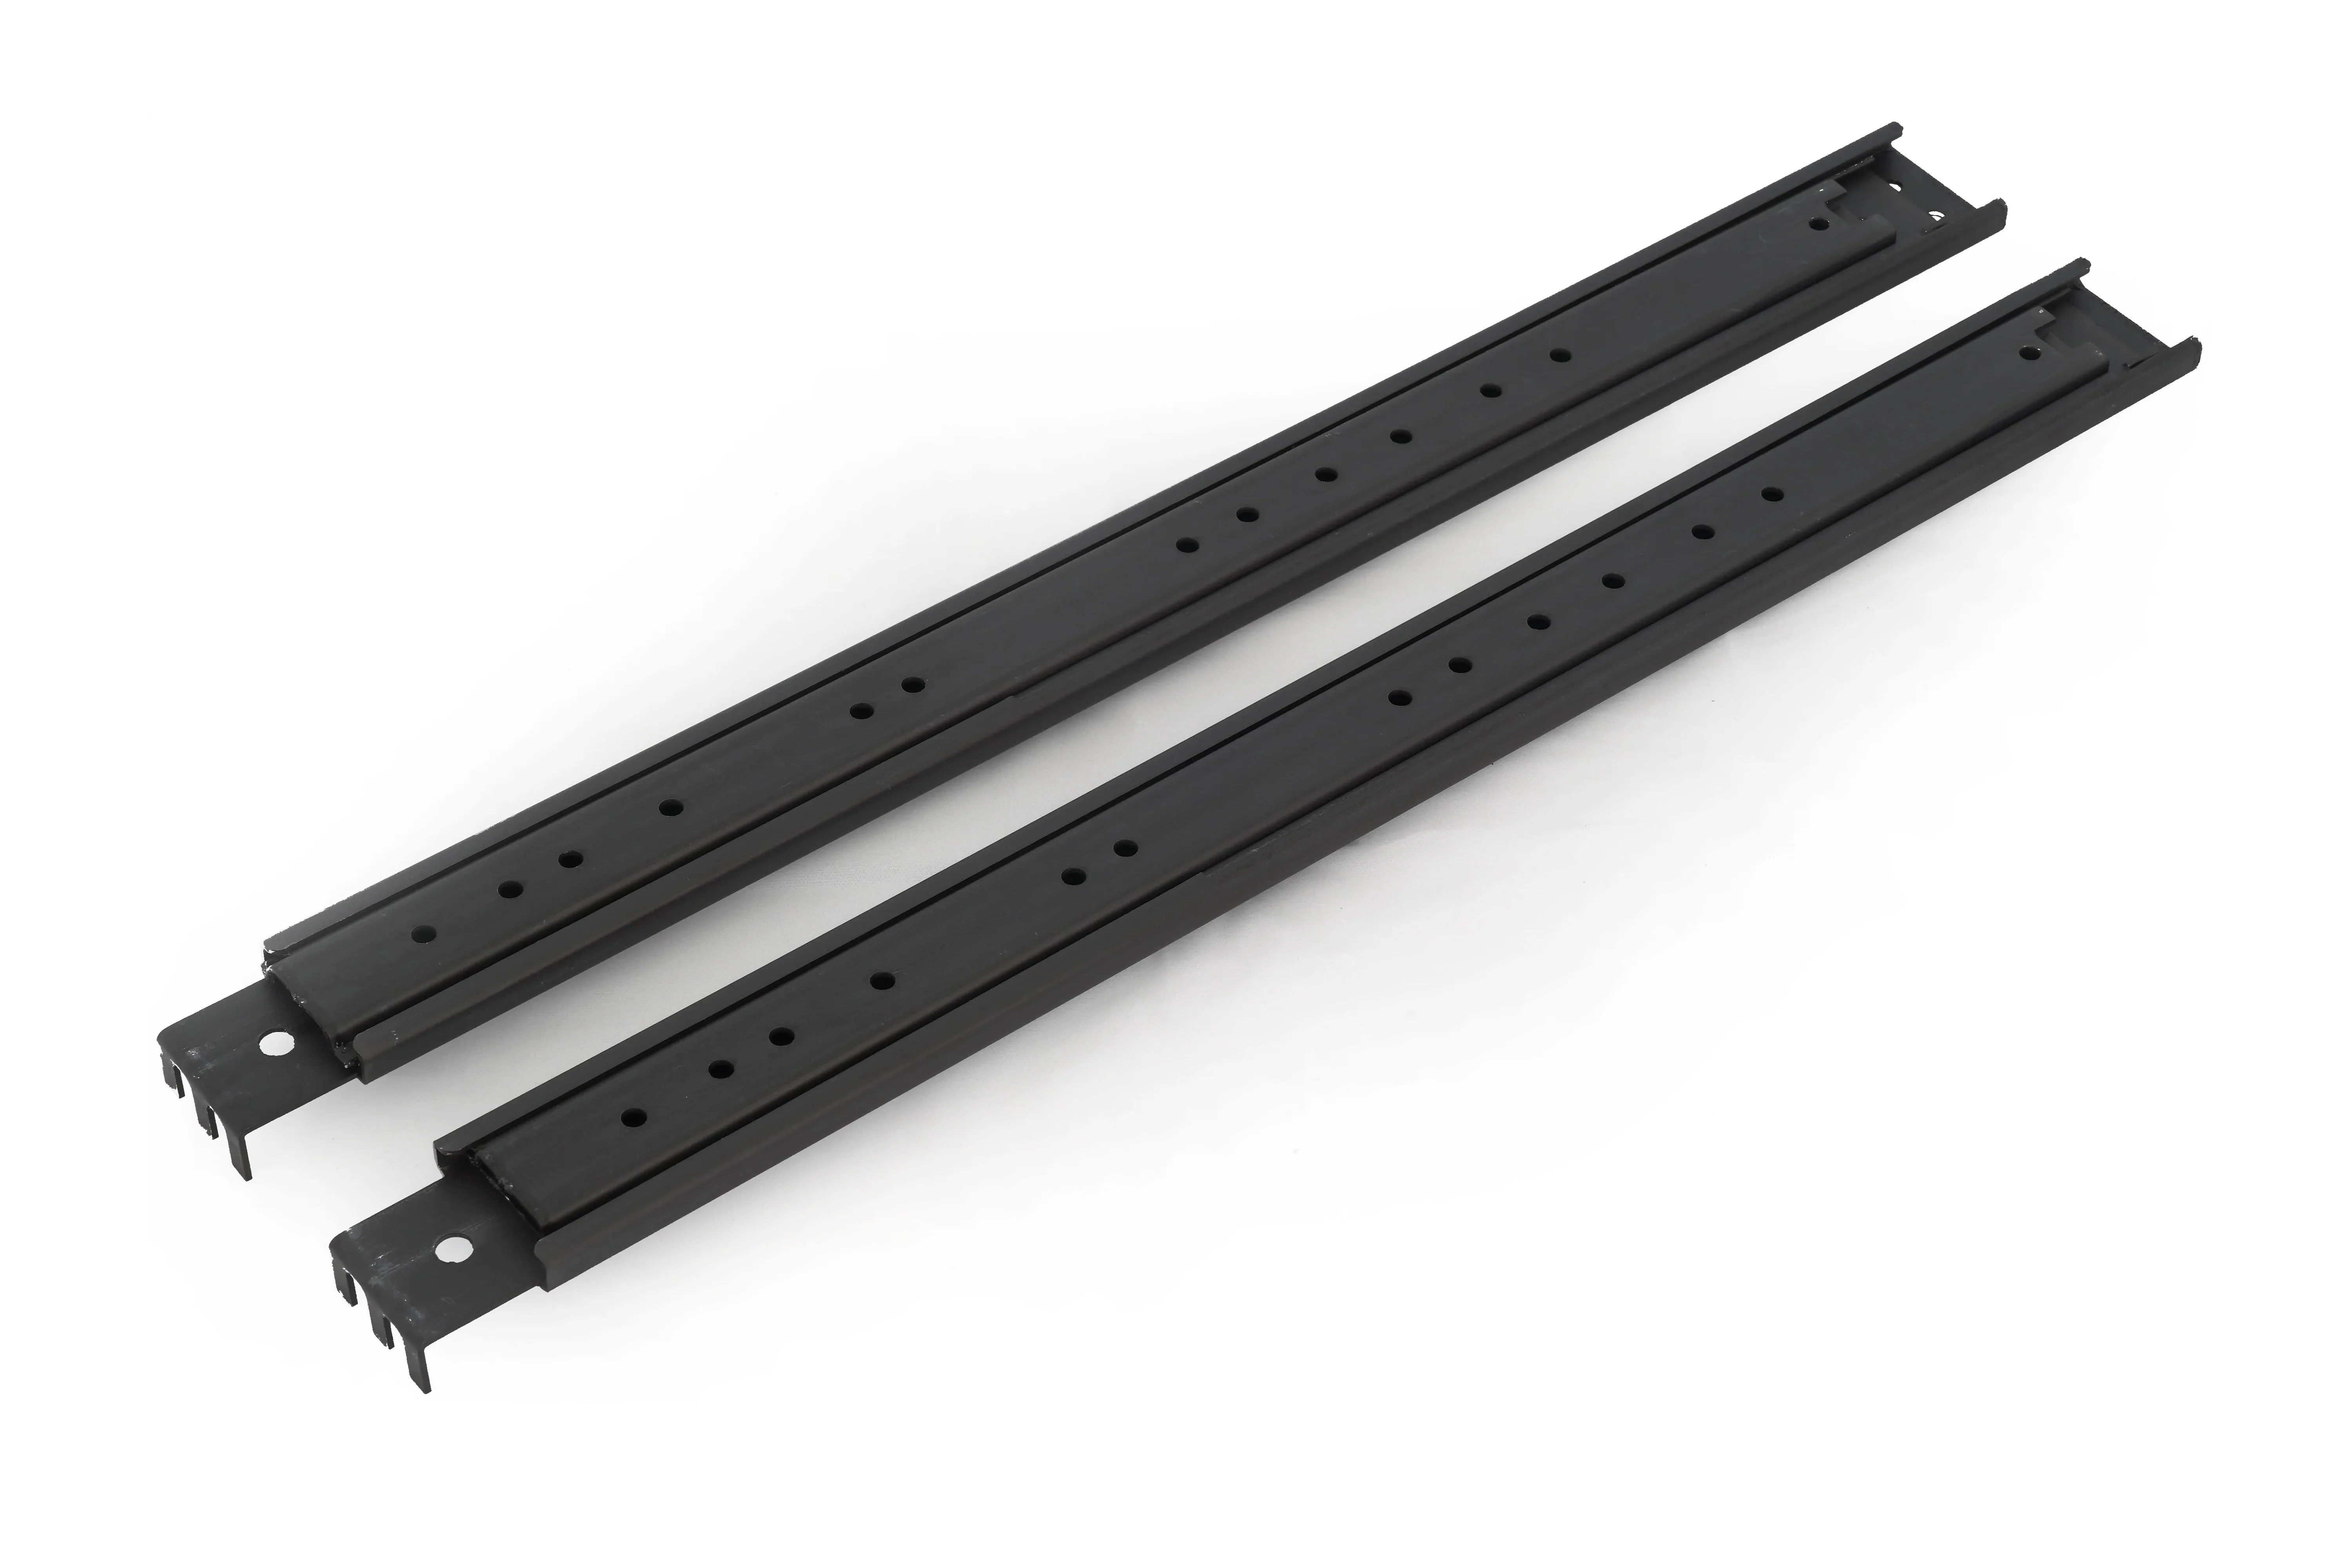
Rack Rail Slides - Secured between back of Rack post and front of Front Support Bracket with M5 Screws.
Installing Slides In the Rack
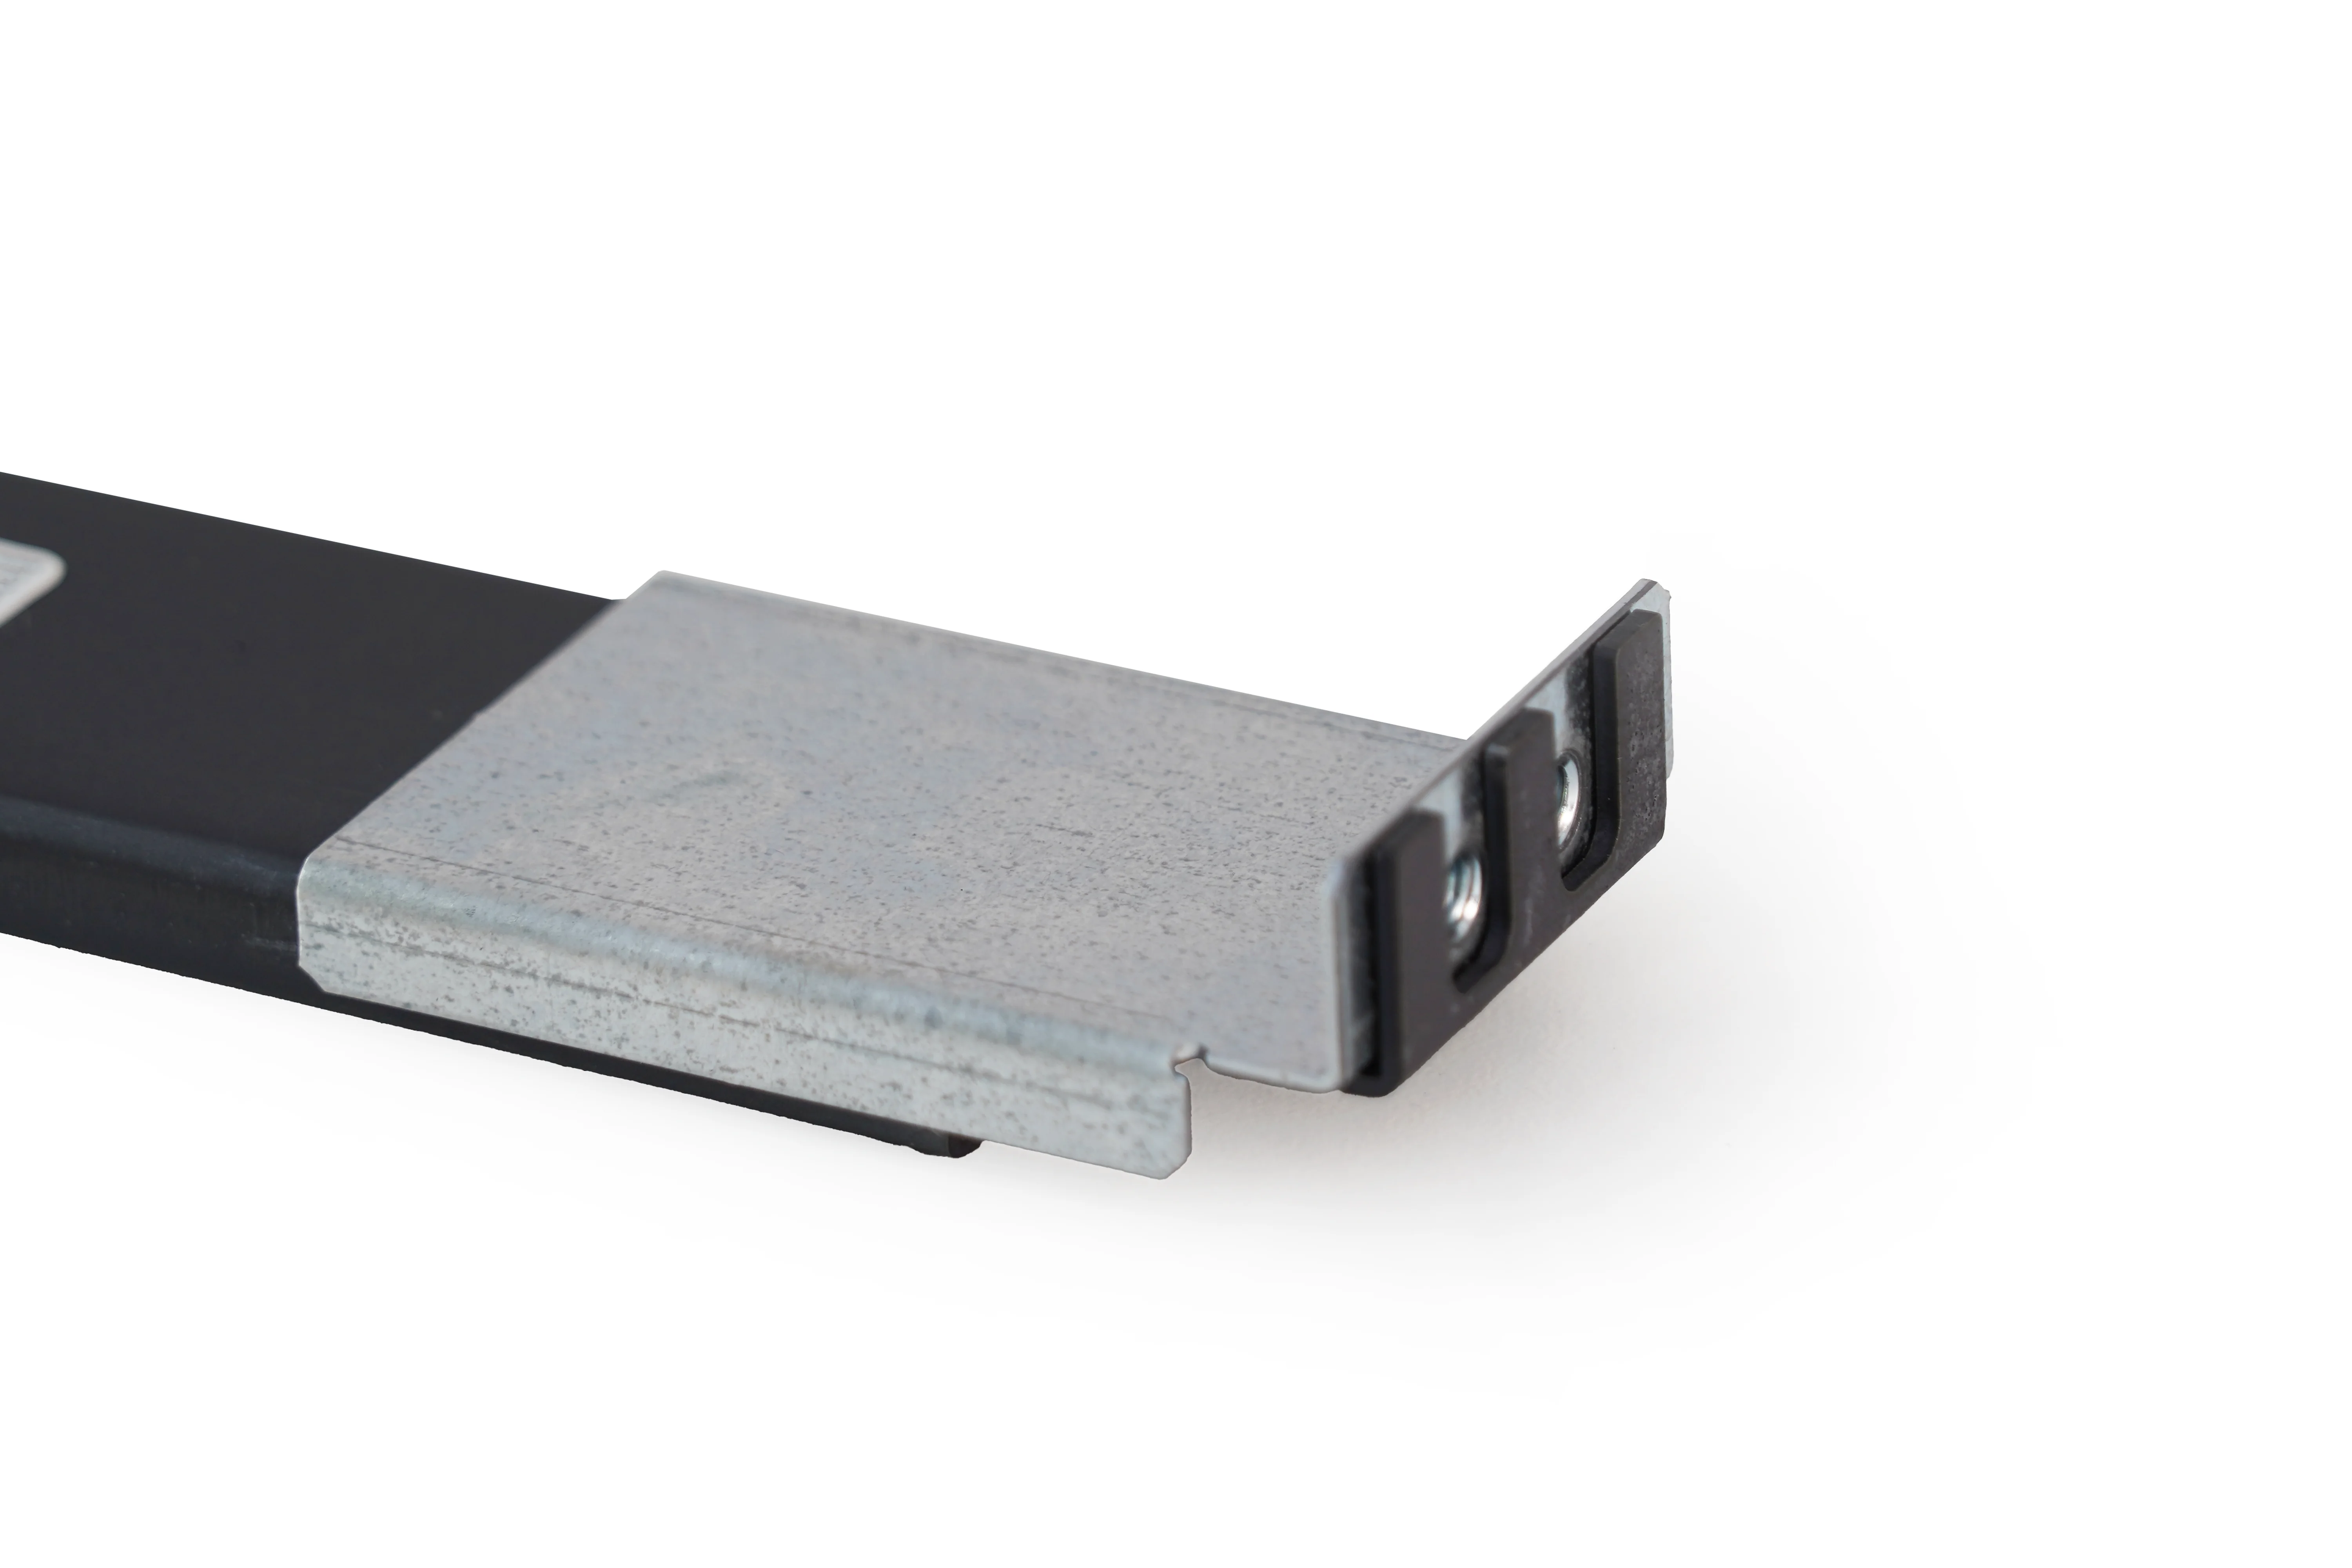
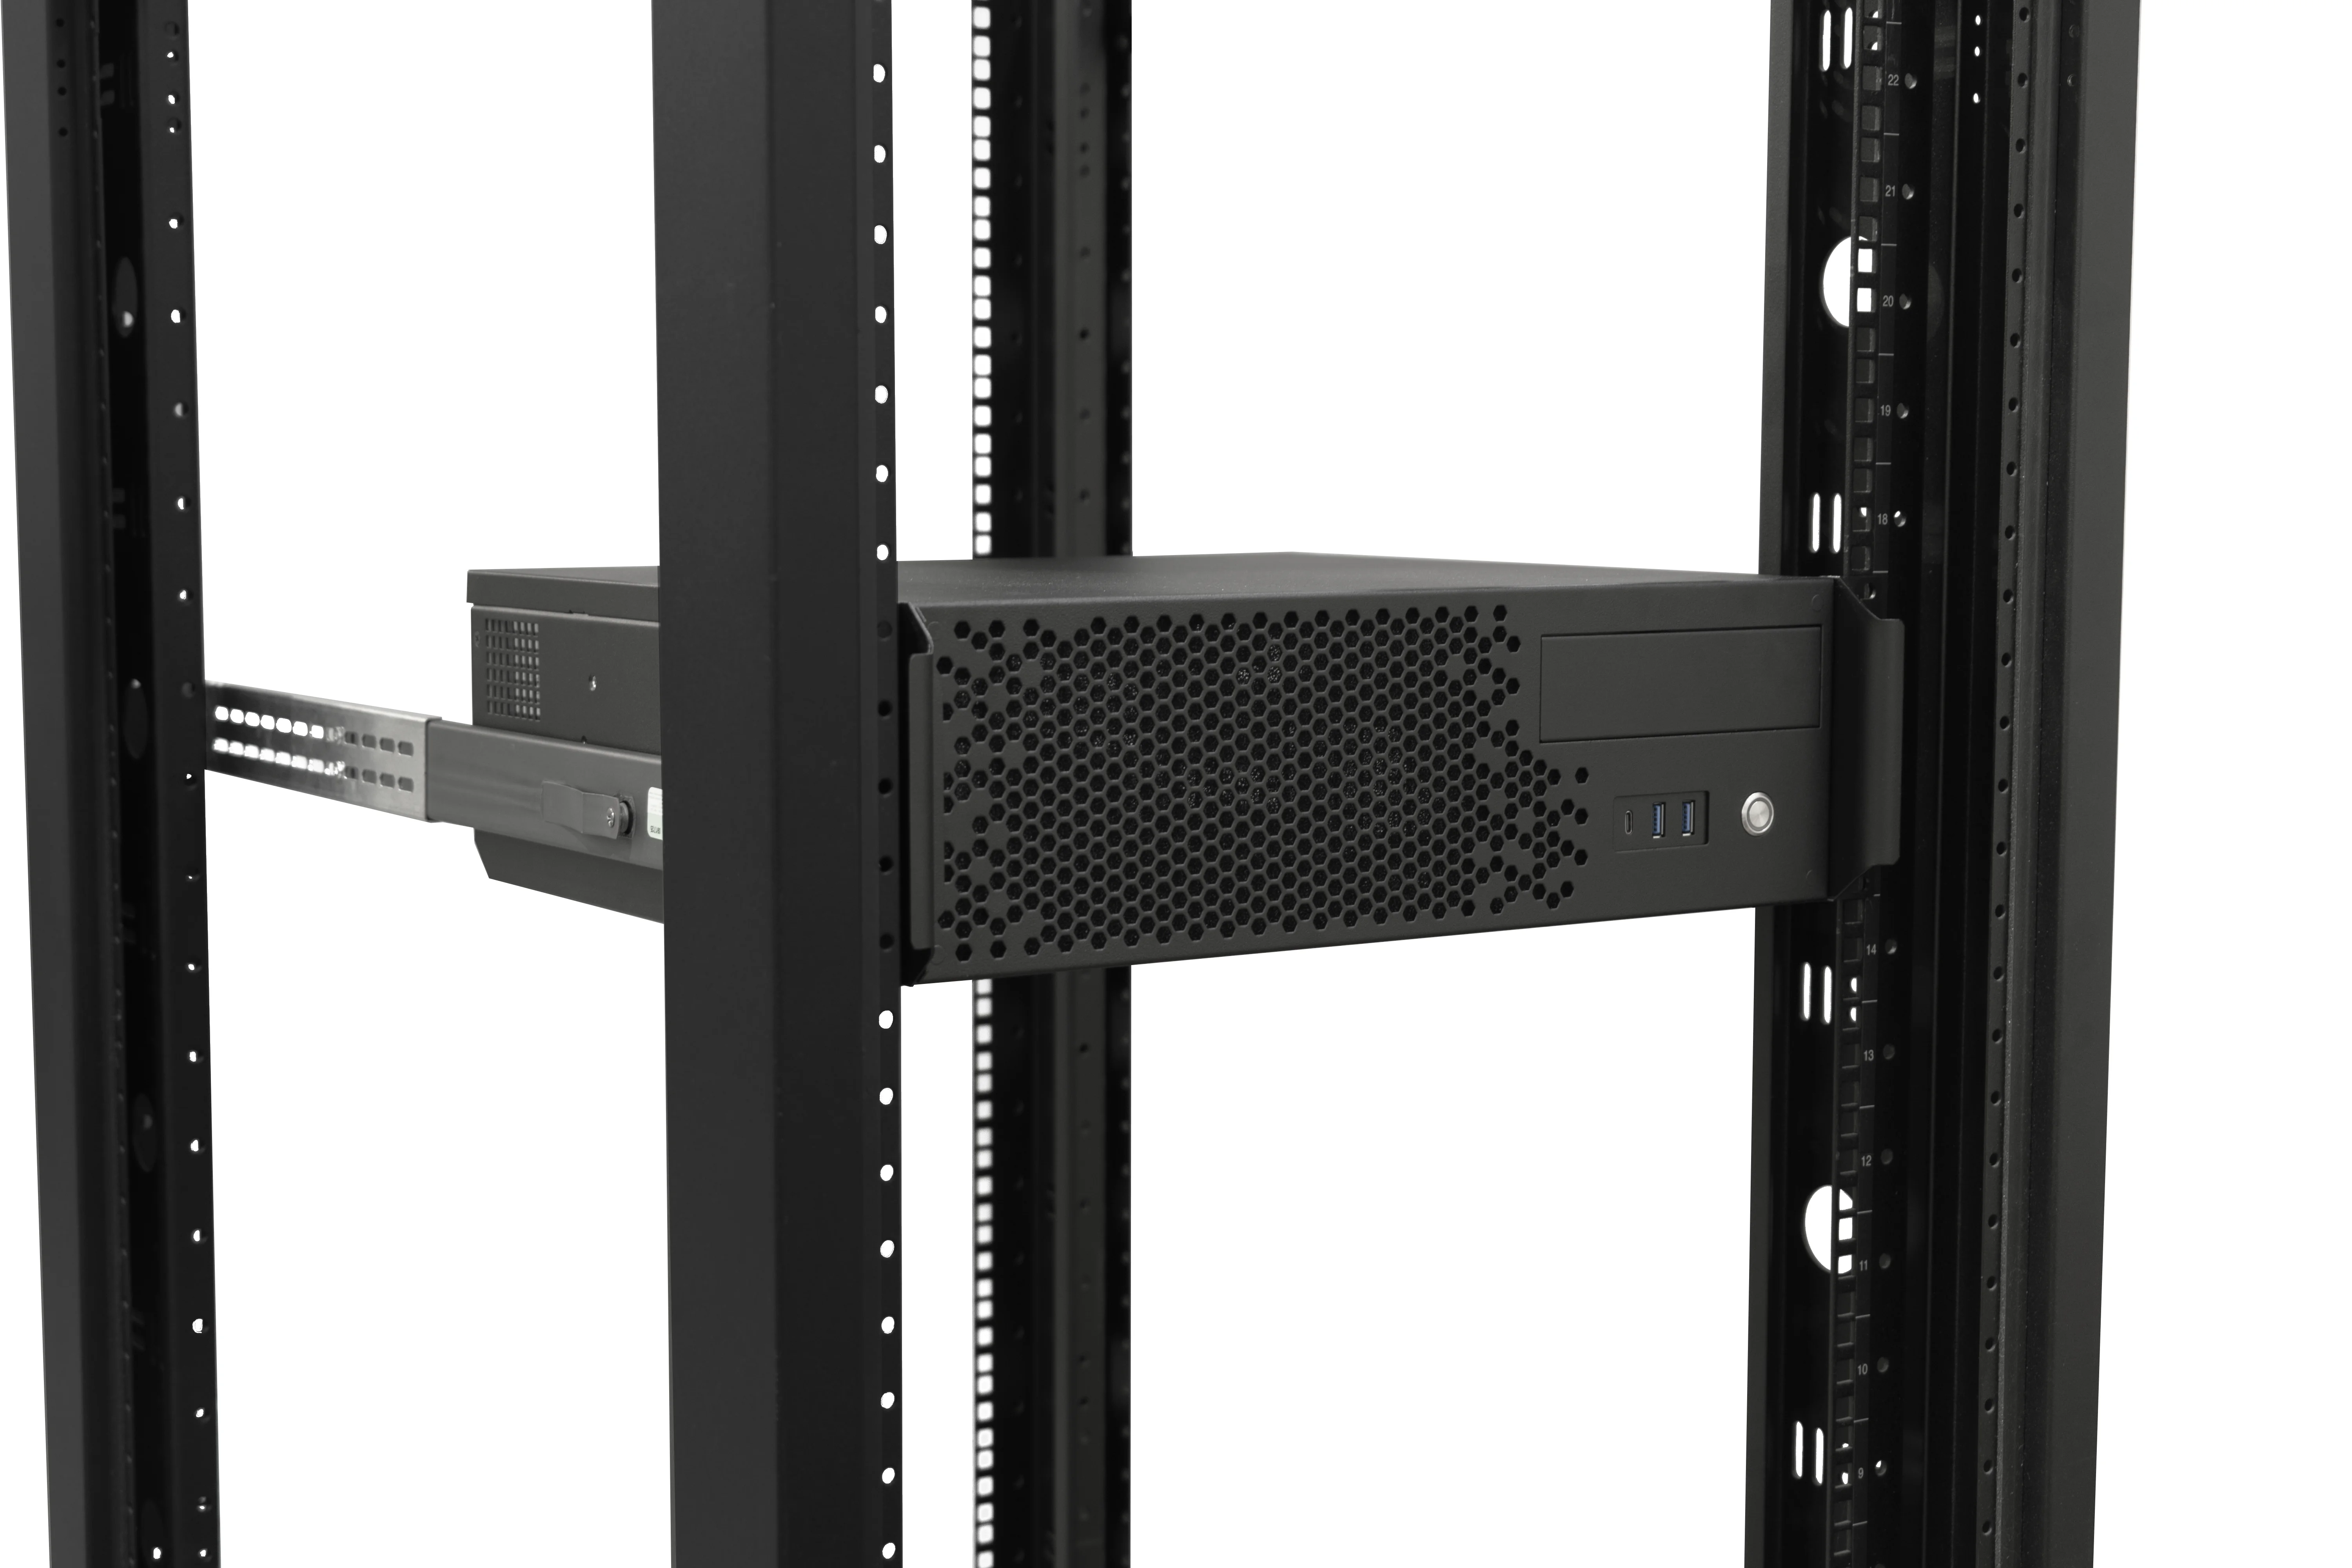
[NOTE] – The Rack Rail Slide is designed to sit between the rack cage and the front of the Front Support Bracket . Loosely mounting the bracket creates the space needed to insert the slide during installation. See image for an example of their alignment outside the rack.
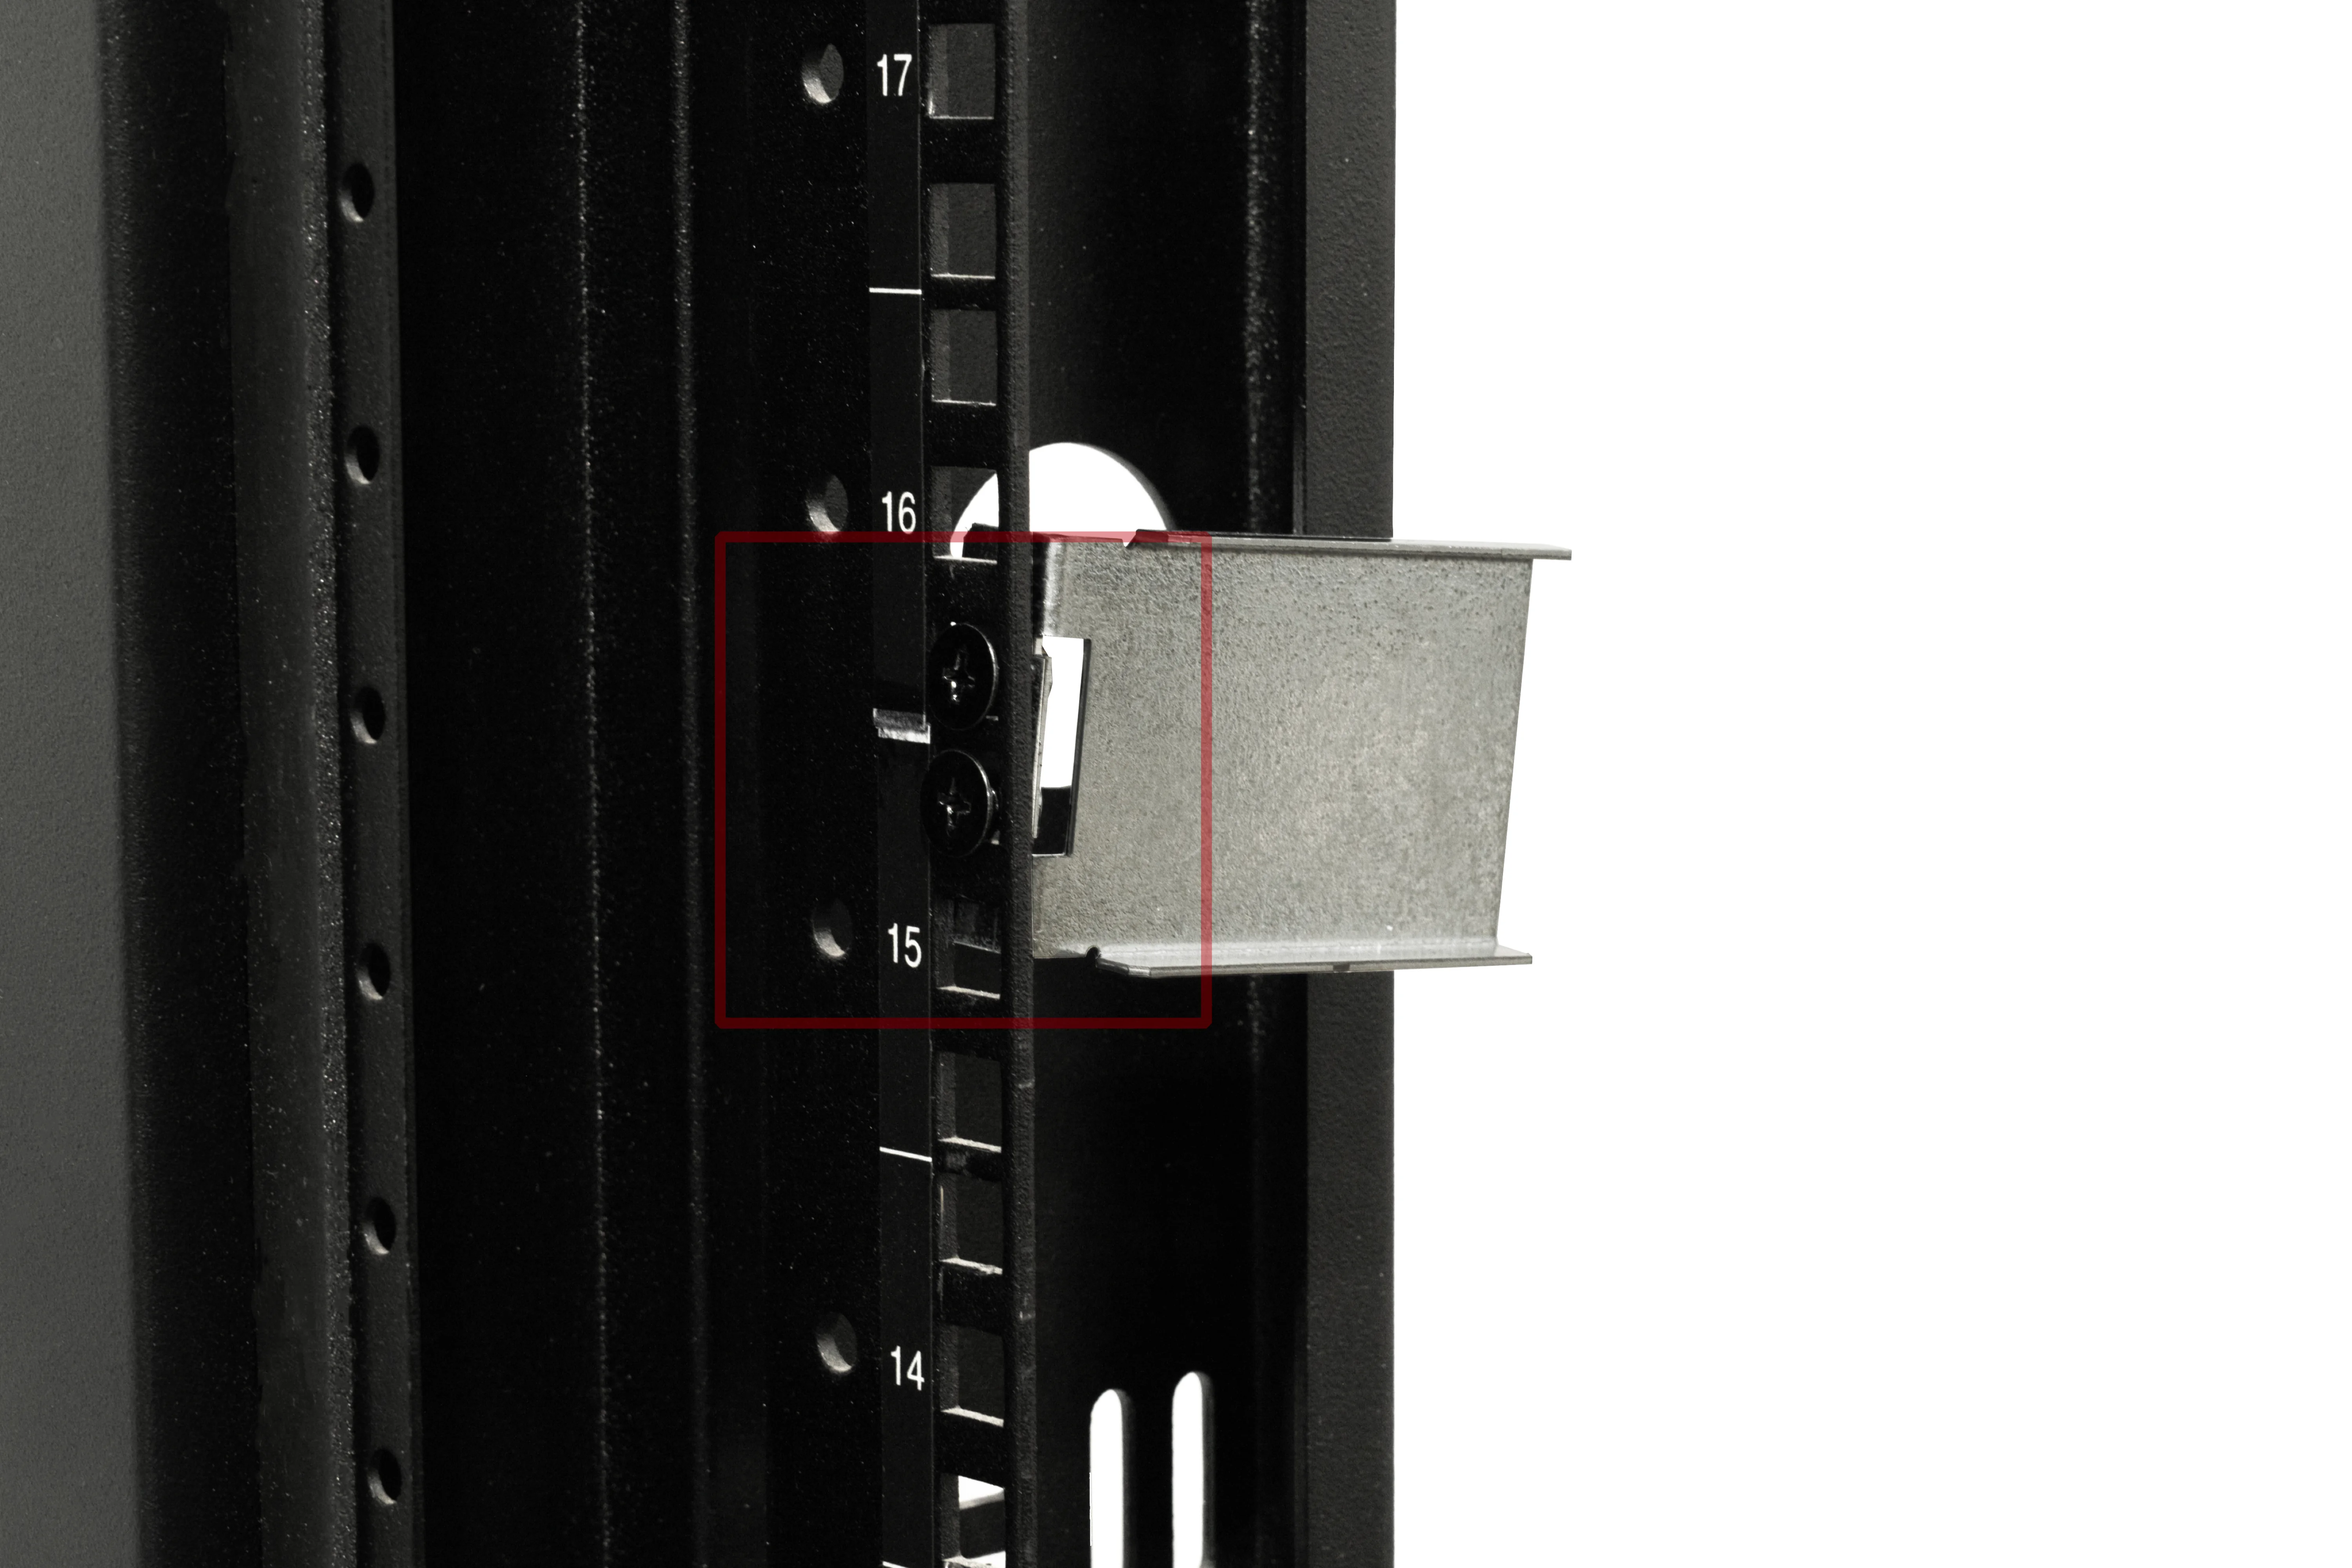
[STEP 1] – Loosely install the Front Support Brackets using (M5 x 9mm) Black Countersink Screws in the top two holes of your chosen rack unit. Ensure both brackets are at the same height to avoid any unwanted design choices.
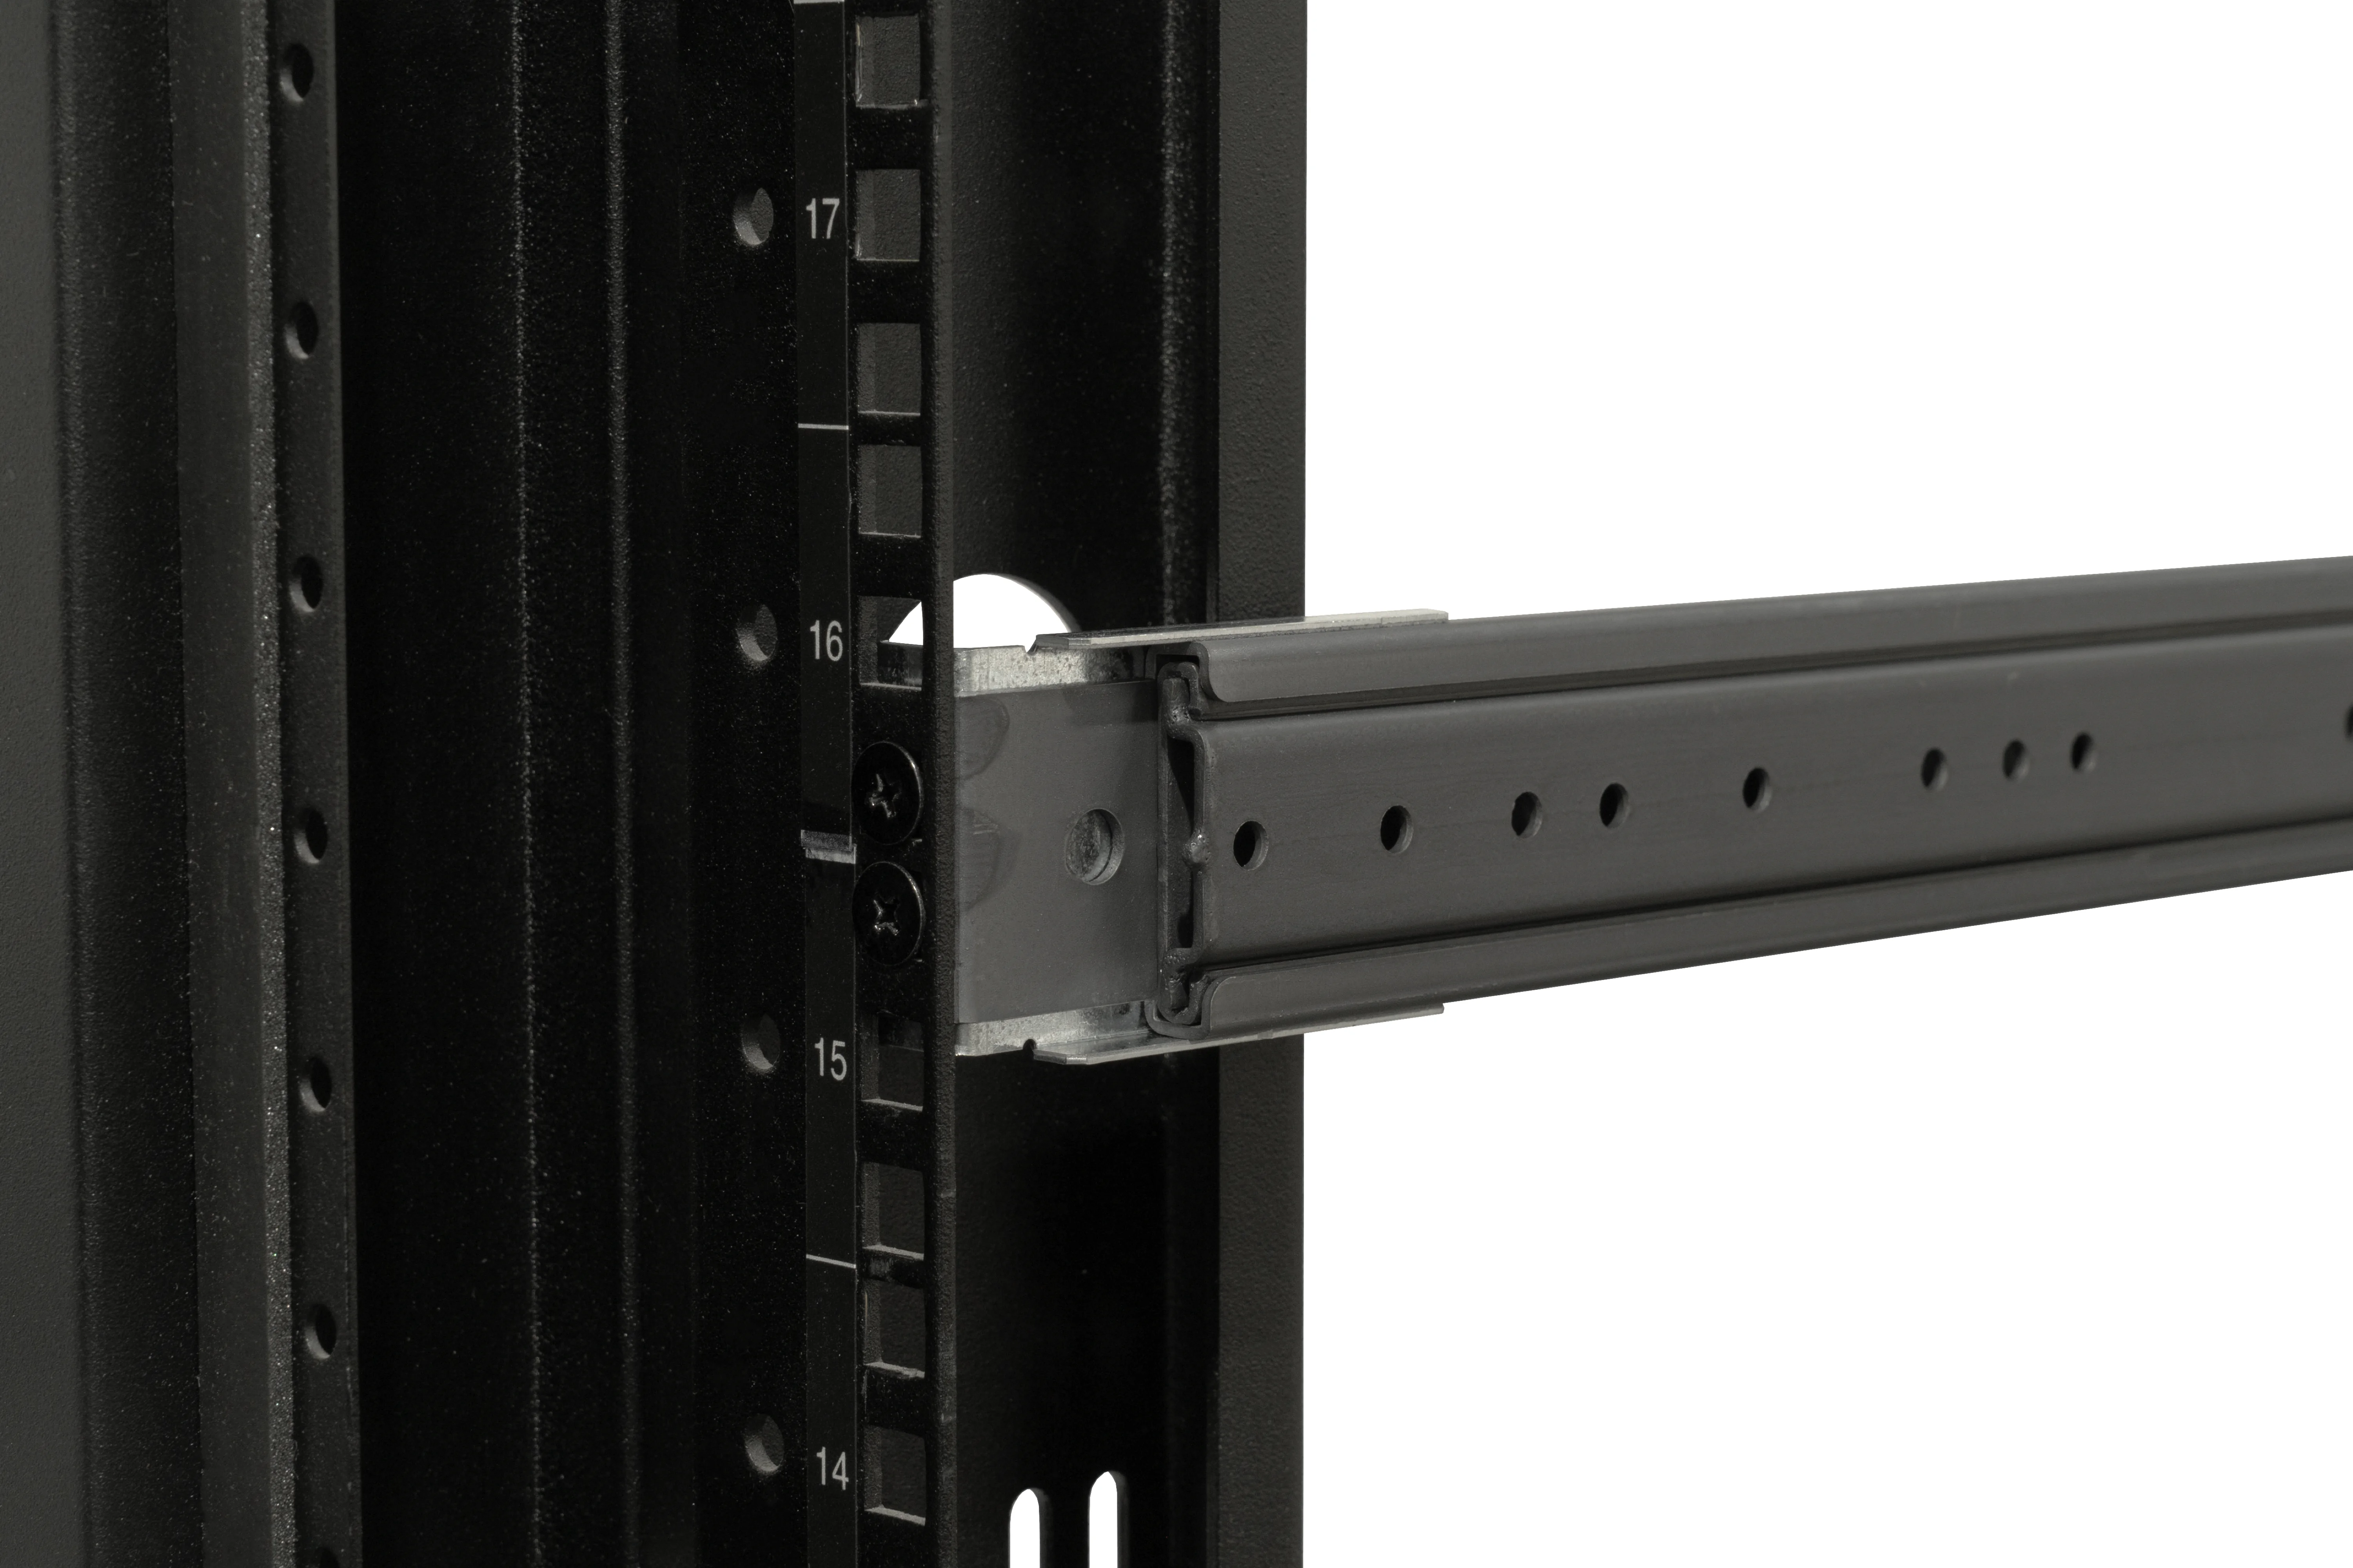
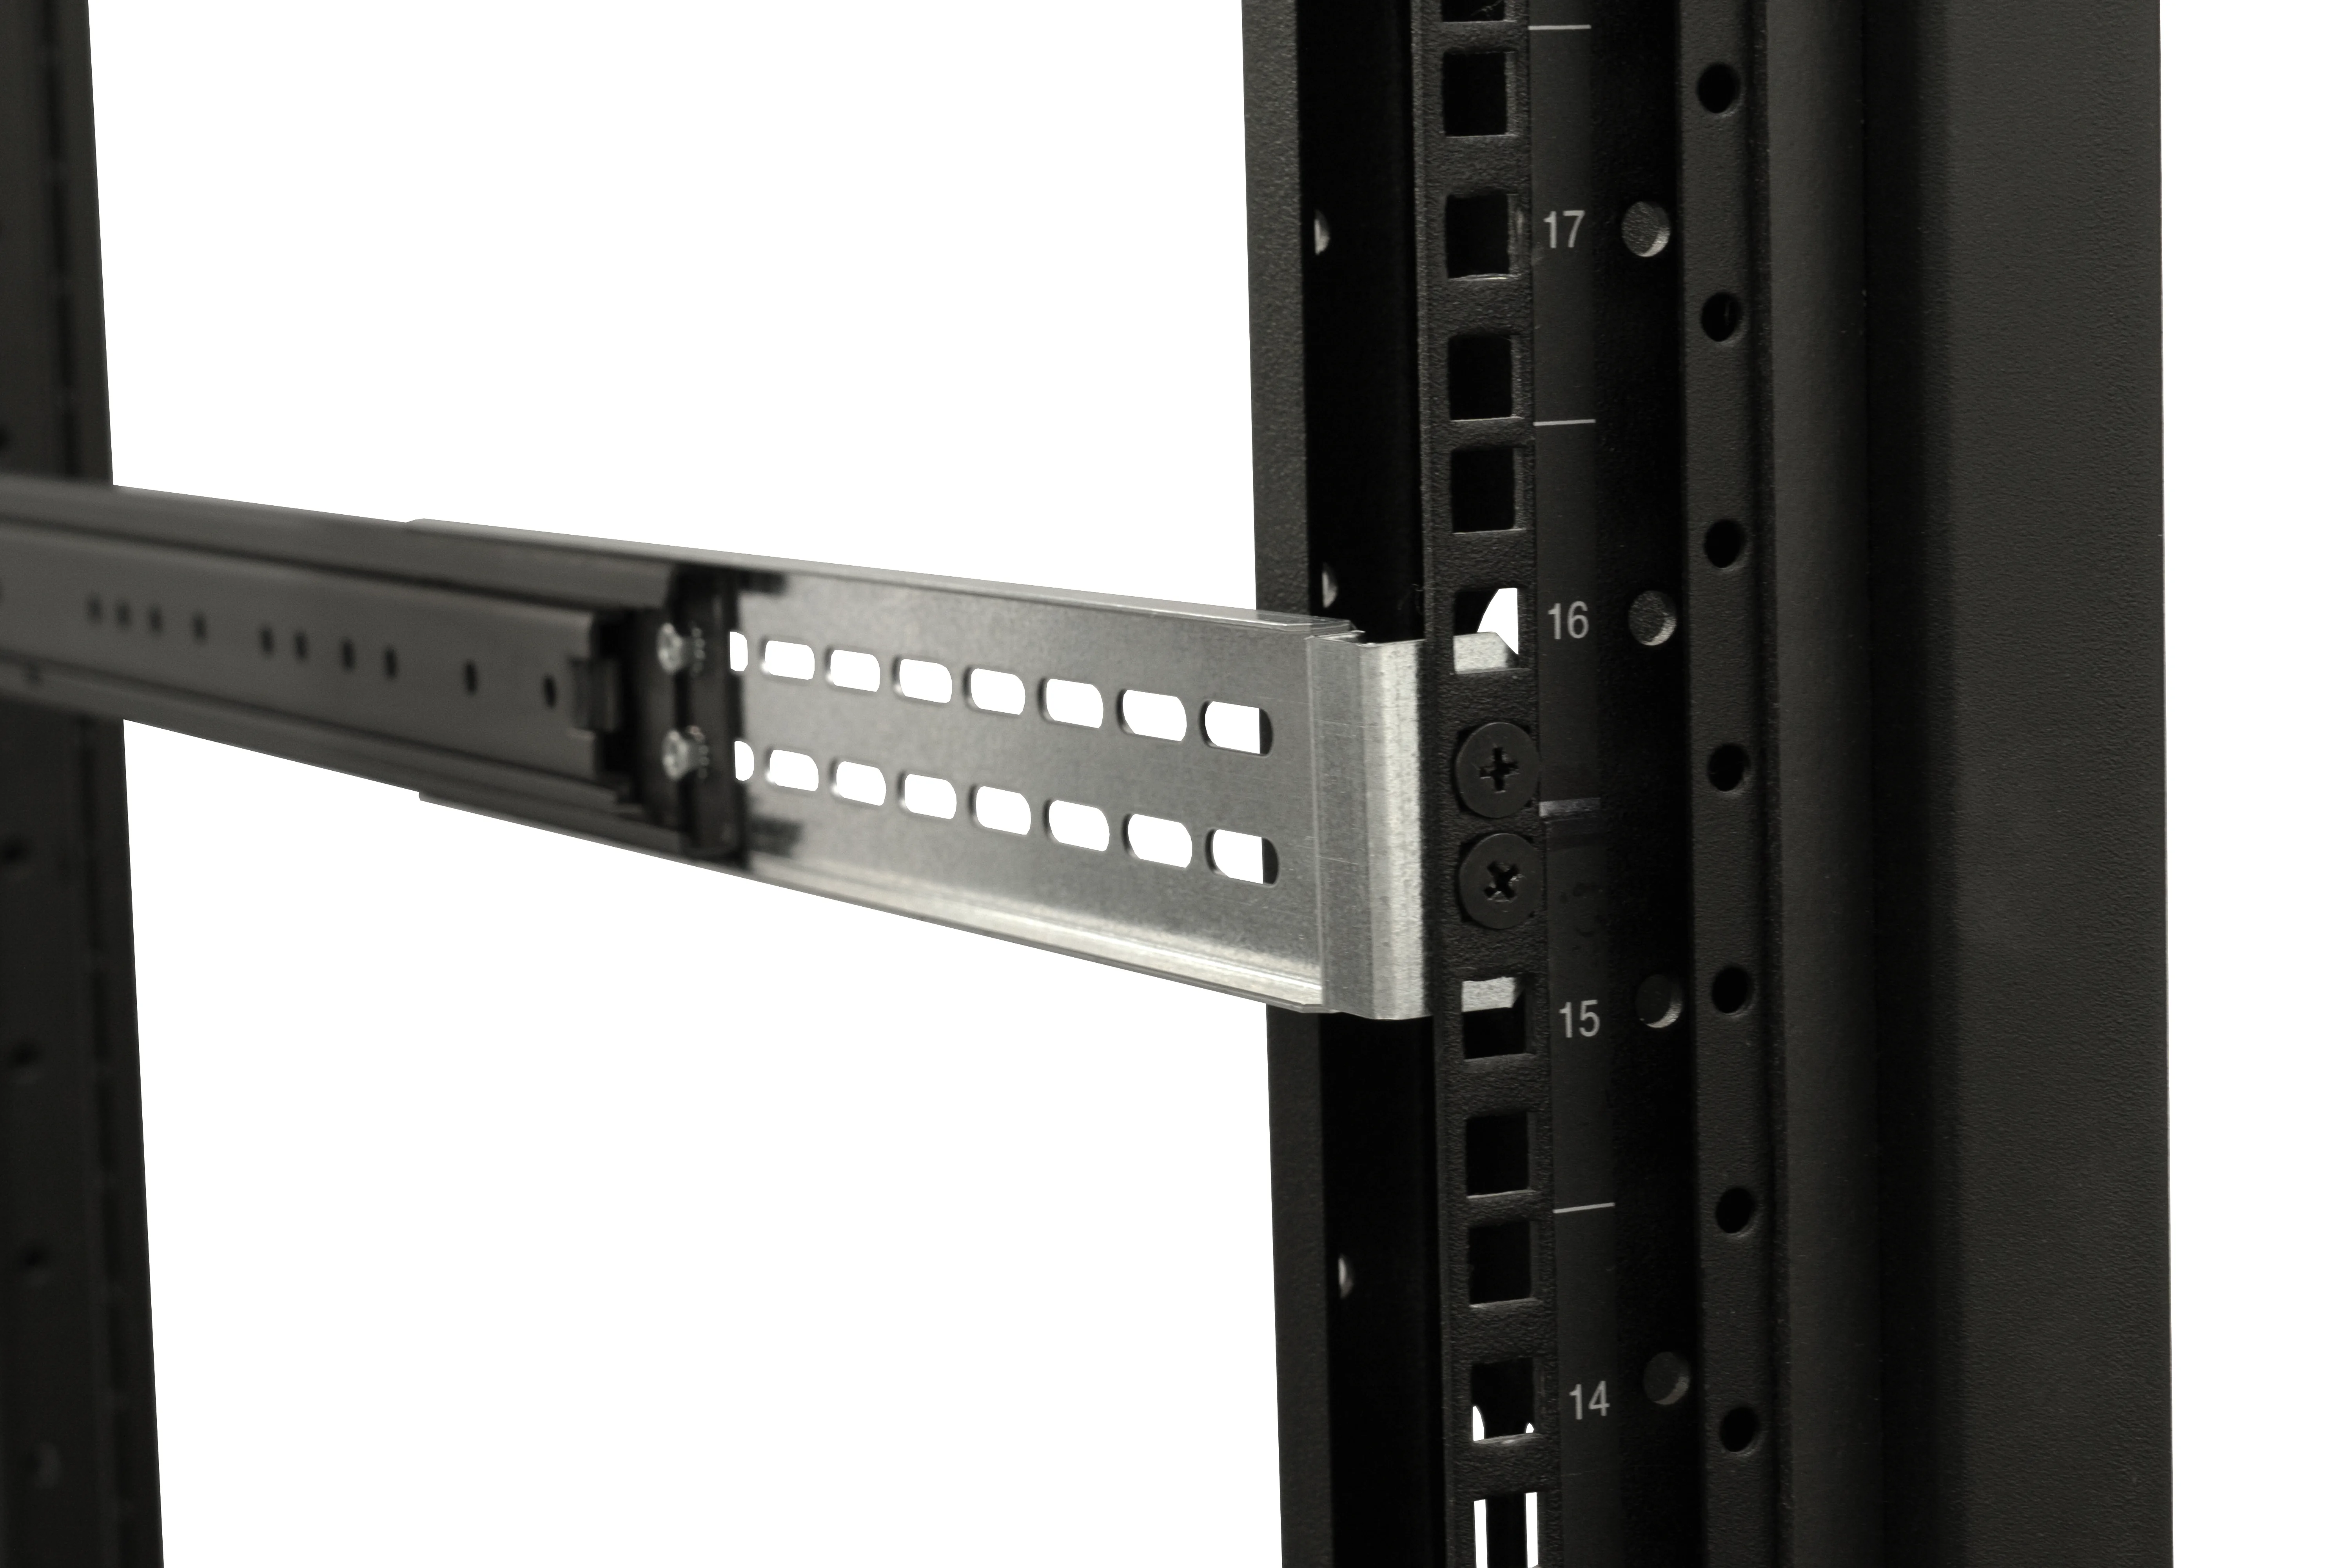
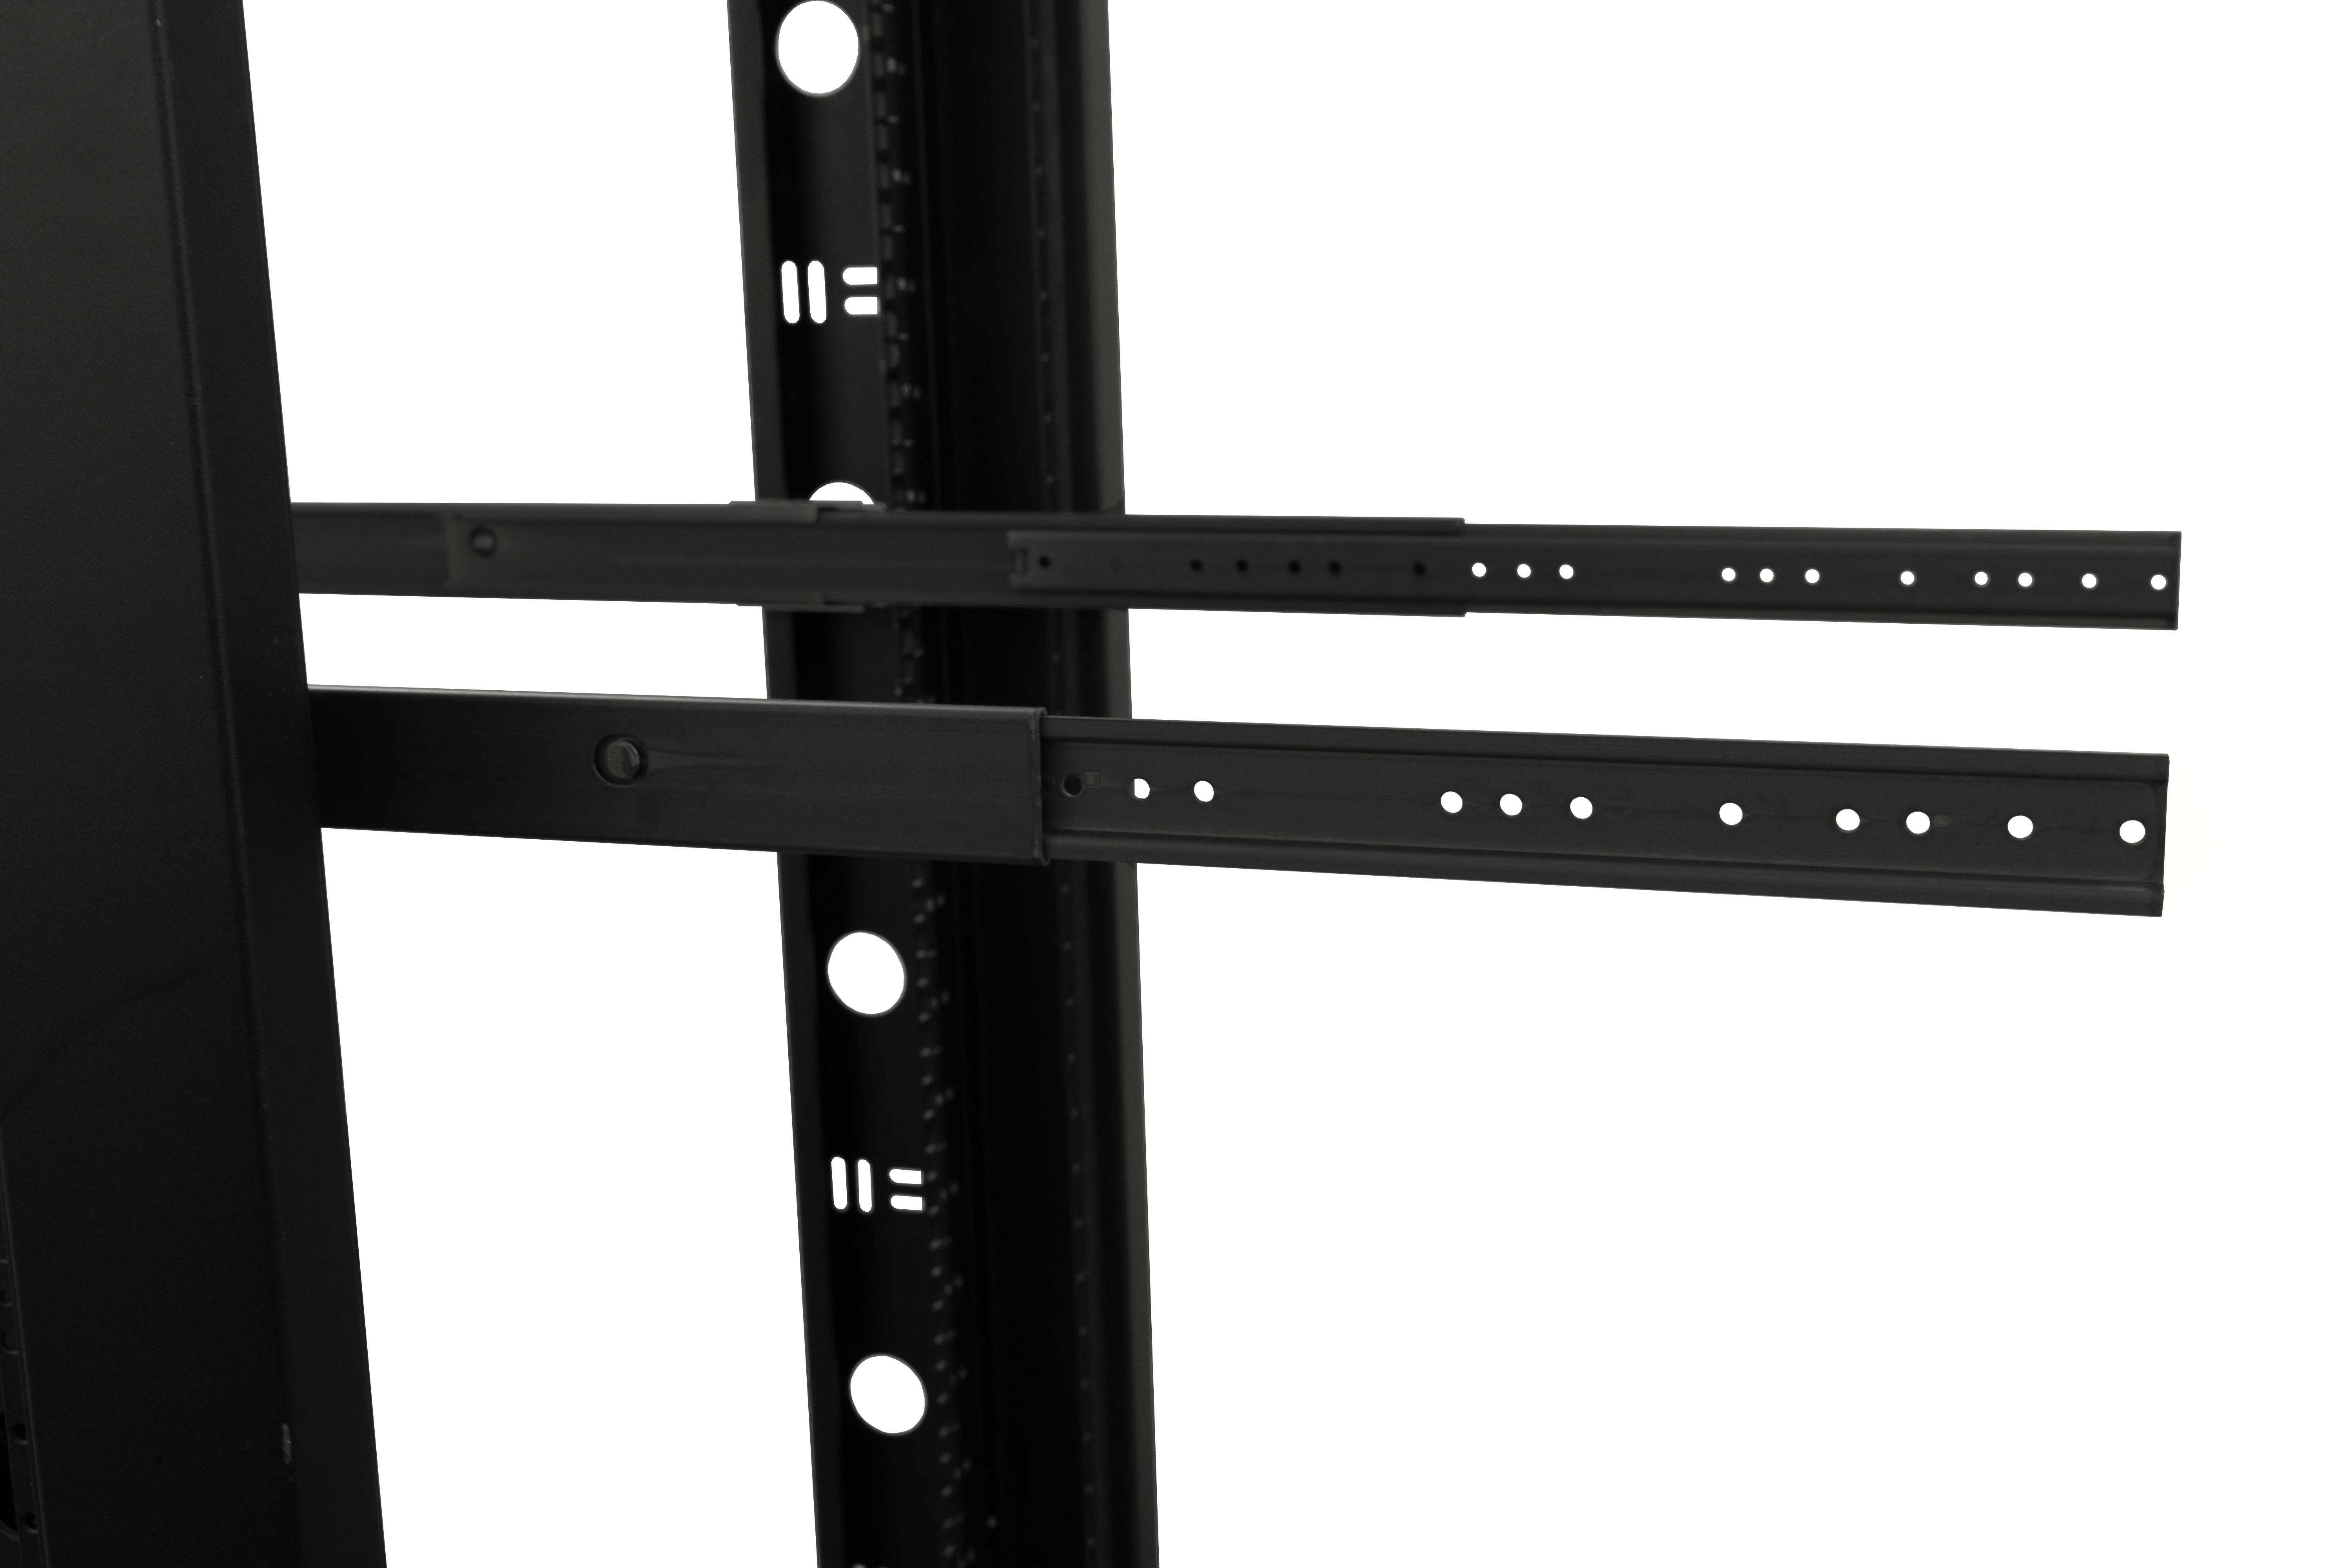
[STEP 2] – Slide the Rack Rail Slides between the rack cage and the front of the Front Support Brackets. Loosen the screws slightly if needed. Once in place, tighten securely.
[STEP 3] – Go around to the back. Select Rear Support Brackets with holes that reach or extend past the rear mounting holes of the Rack Rail Slides. Attach them at the same height as the front using the same (M5 x 9mm) Black Countersink Screws.
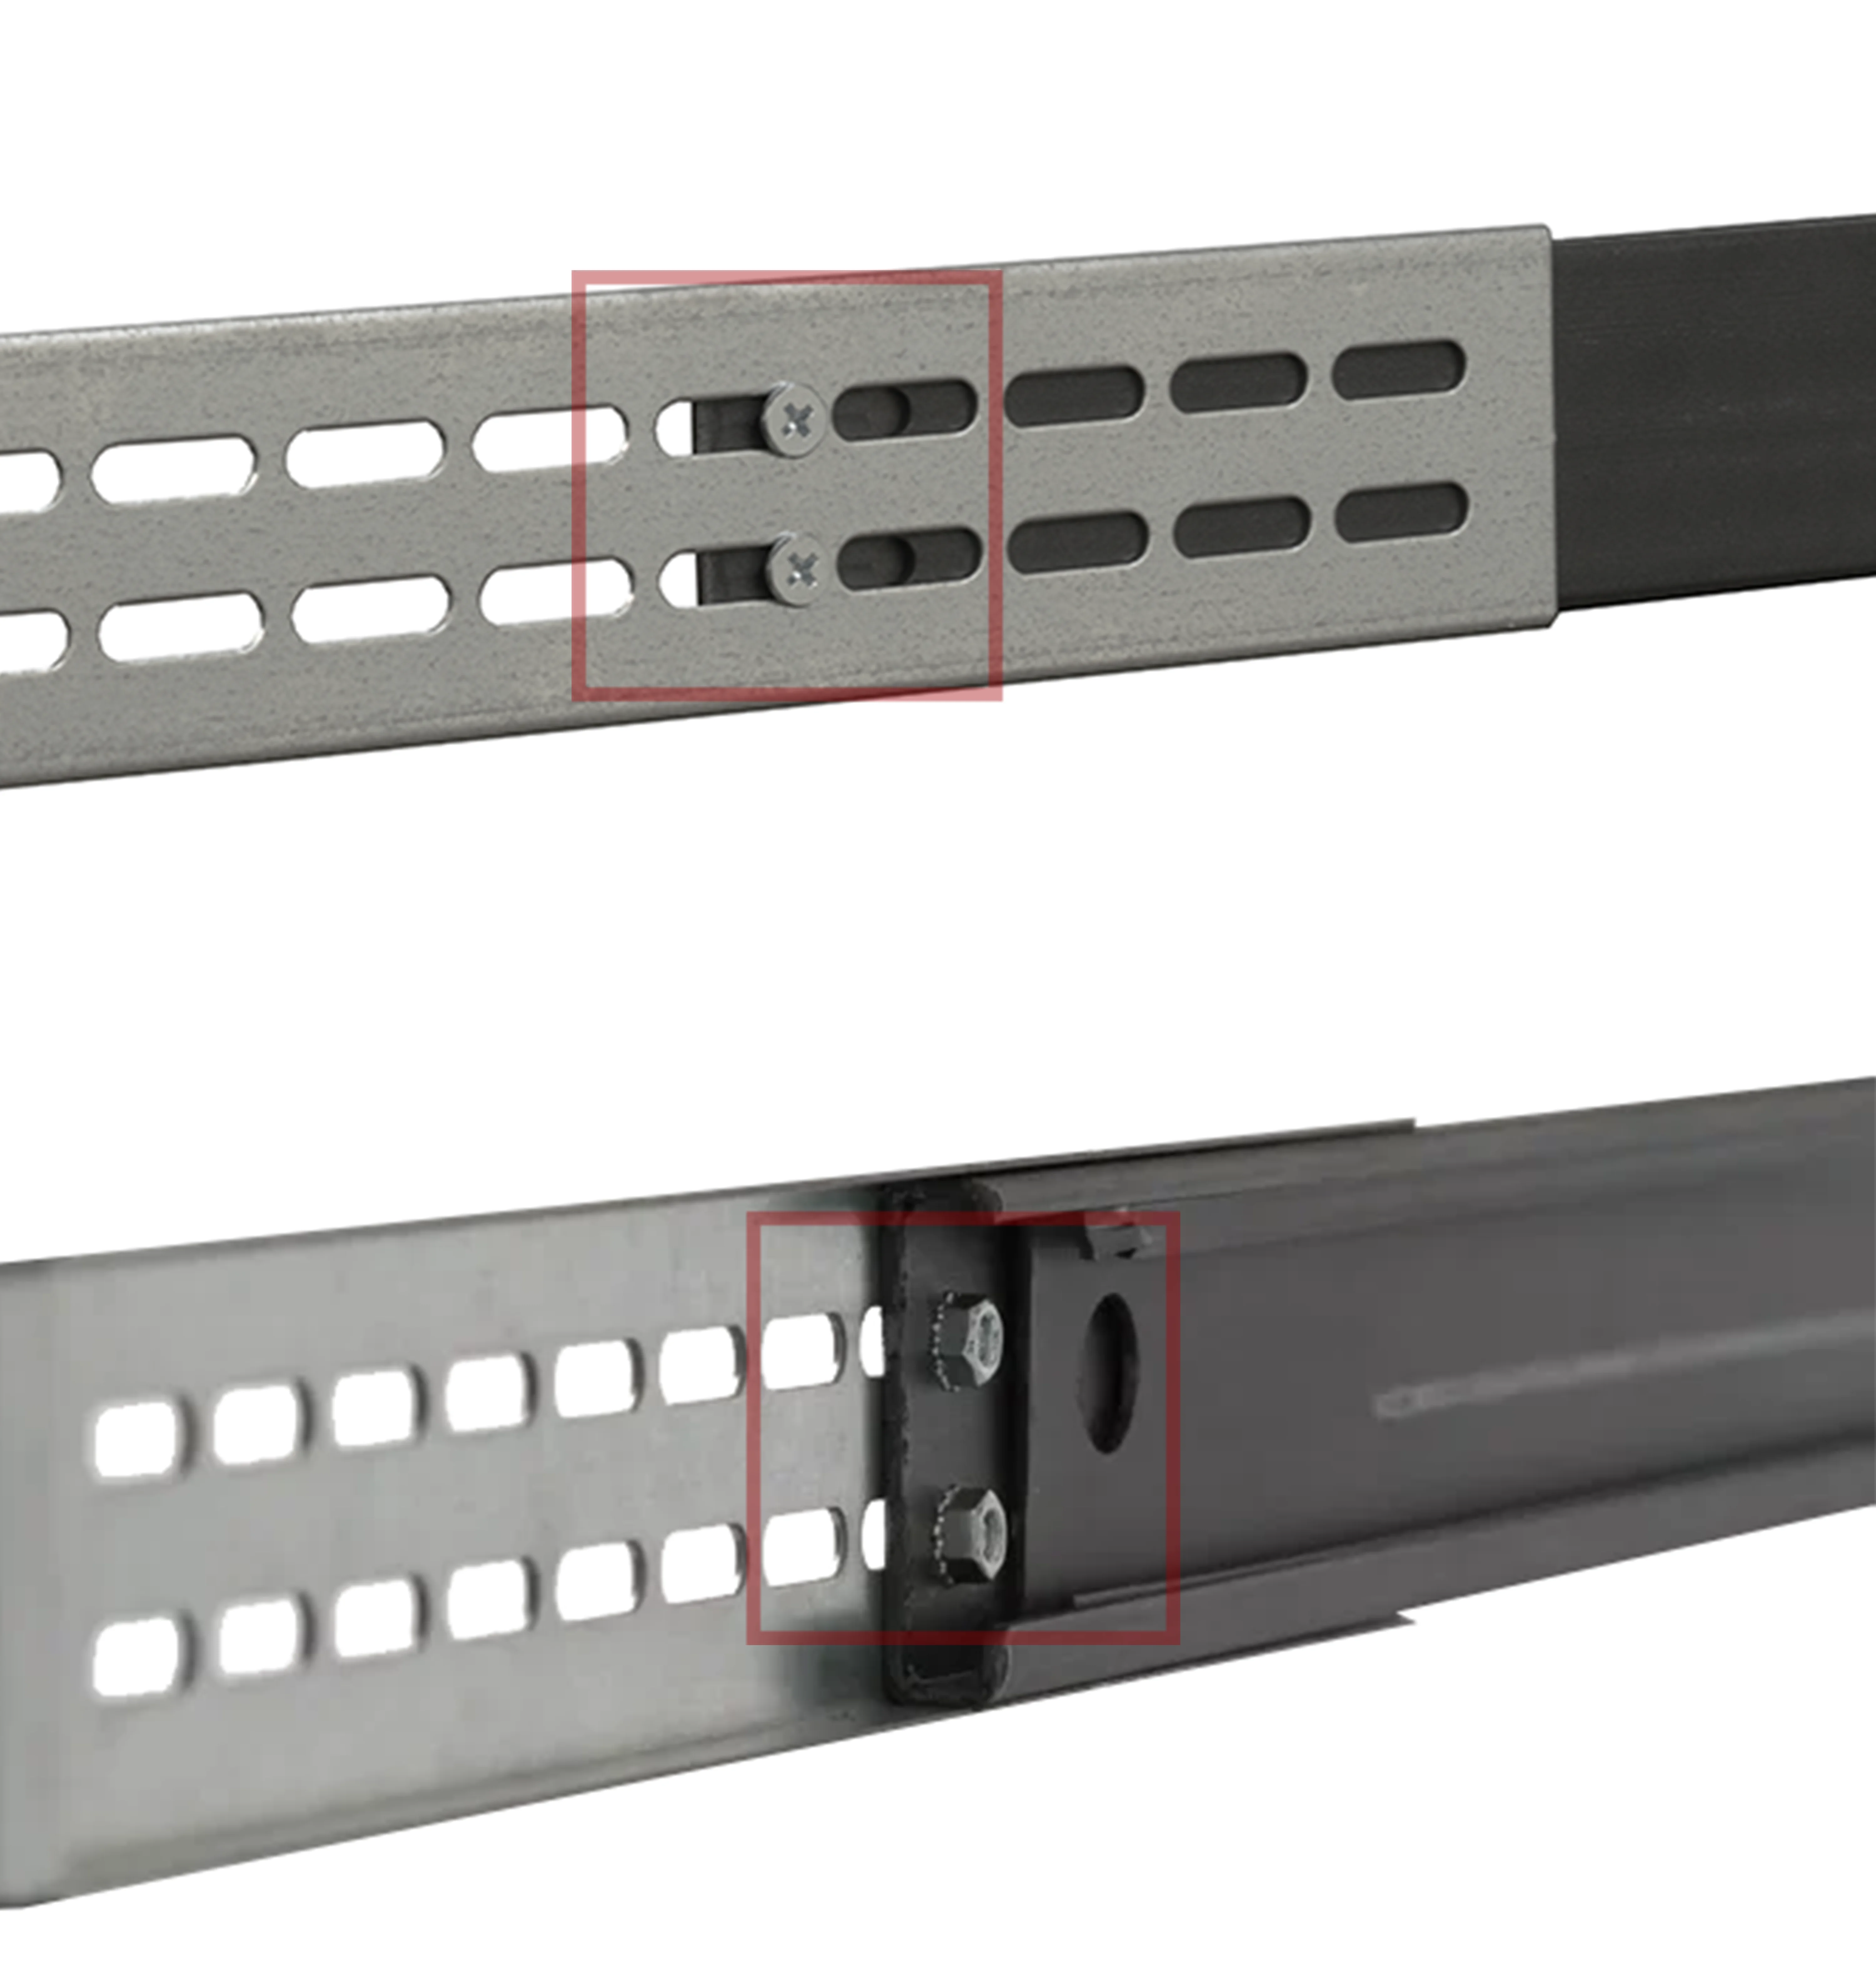
[STEP 4] – Use two (M4 x 7mm) Pan Head Screws with two (M4) Keps Nuts to attach the Rear Support Brackets to the rearmost holes of the Rack Rail Slides. Screws on the outside, nuts on the inside.
[STEP 5] – Return to the front of the rack and extend the Rack Rail Slides fully.
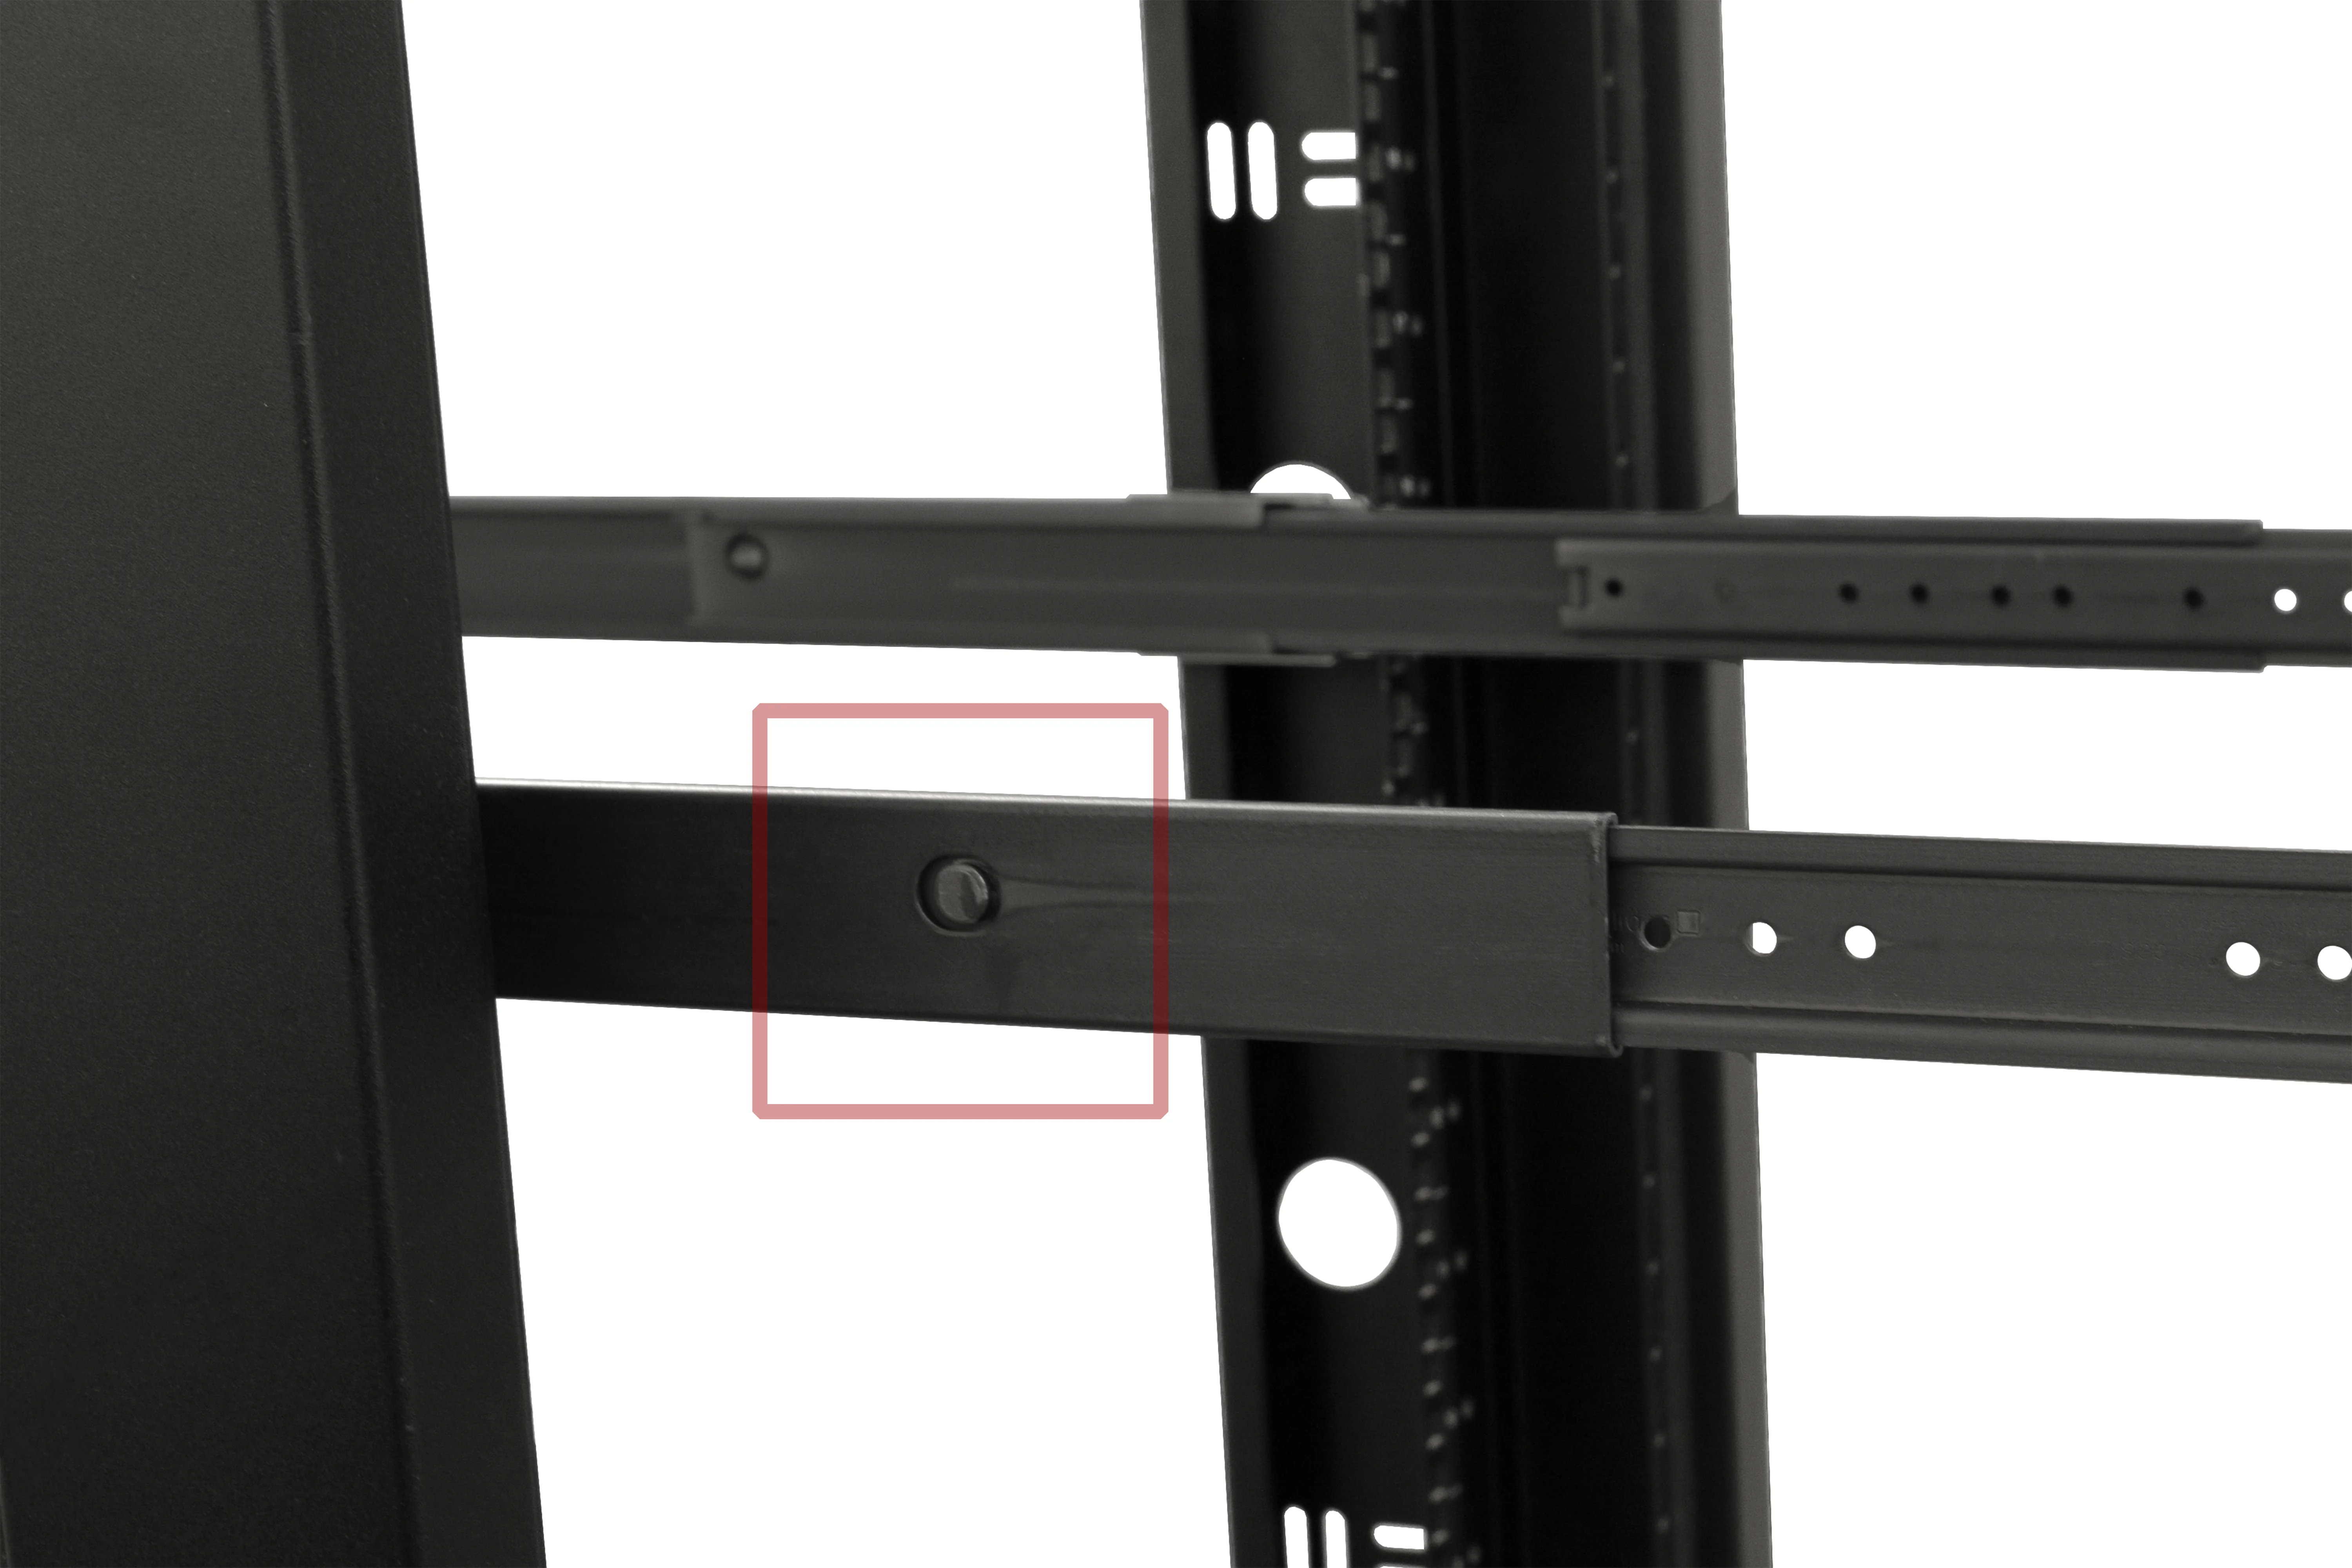
[STEP 6] – Press the locking button on each Rack Rail Slide and remove the innermost rail.
Installing the Rails on the Chassis
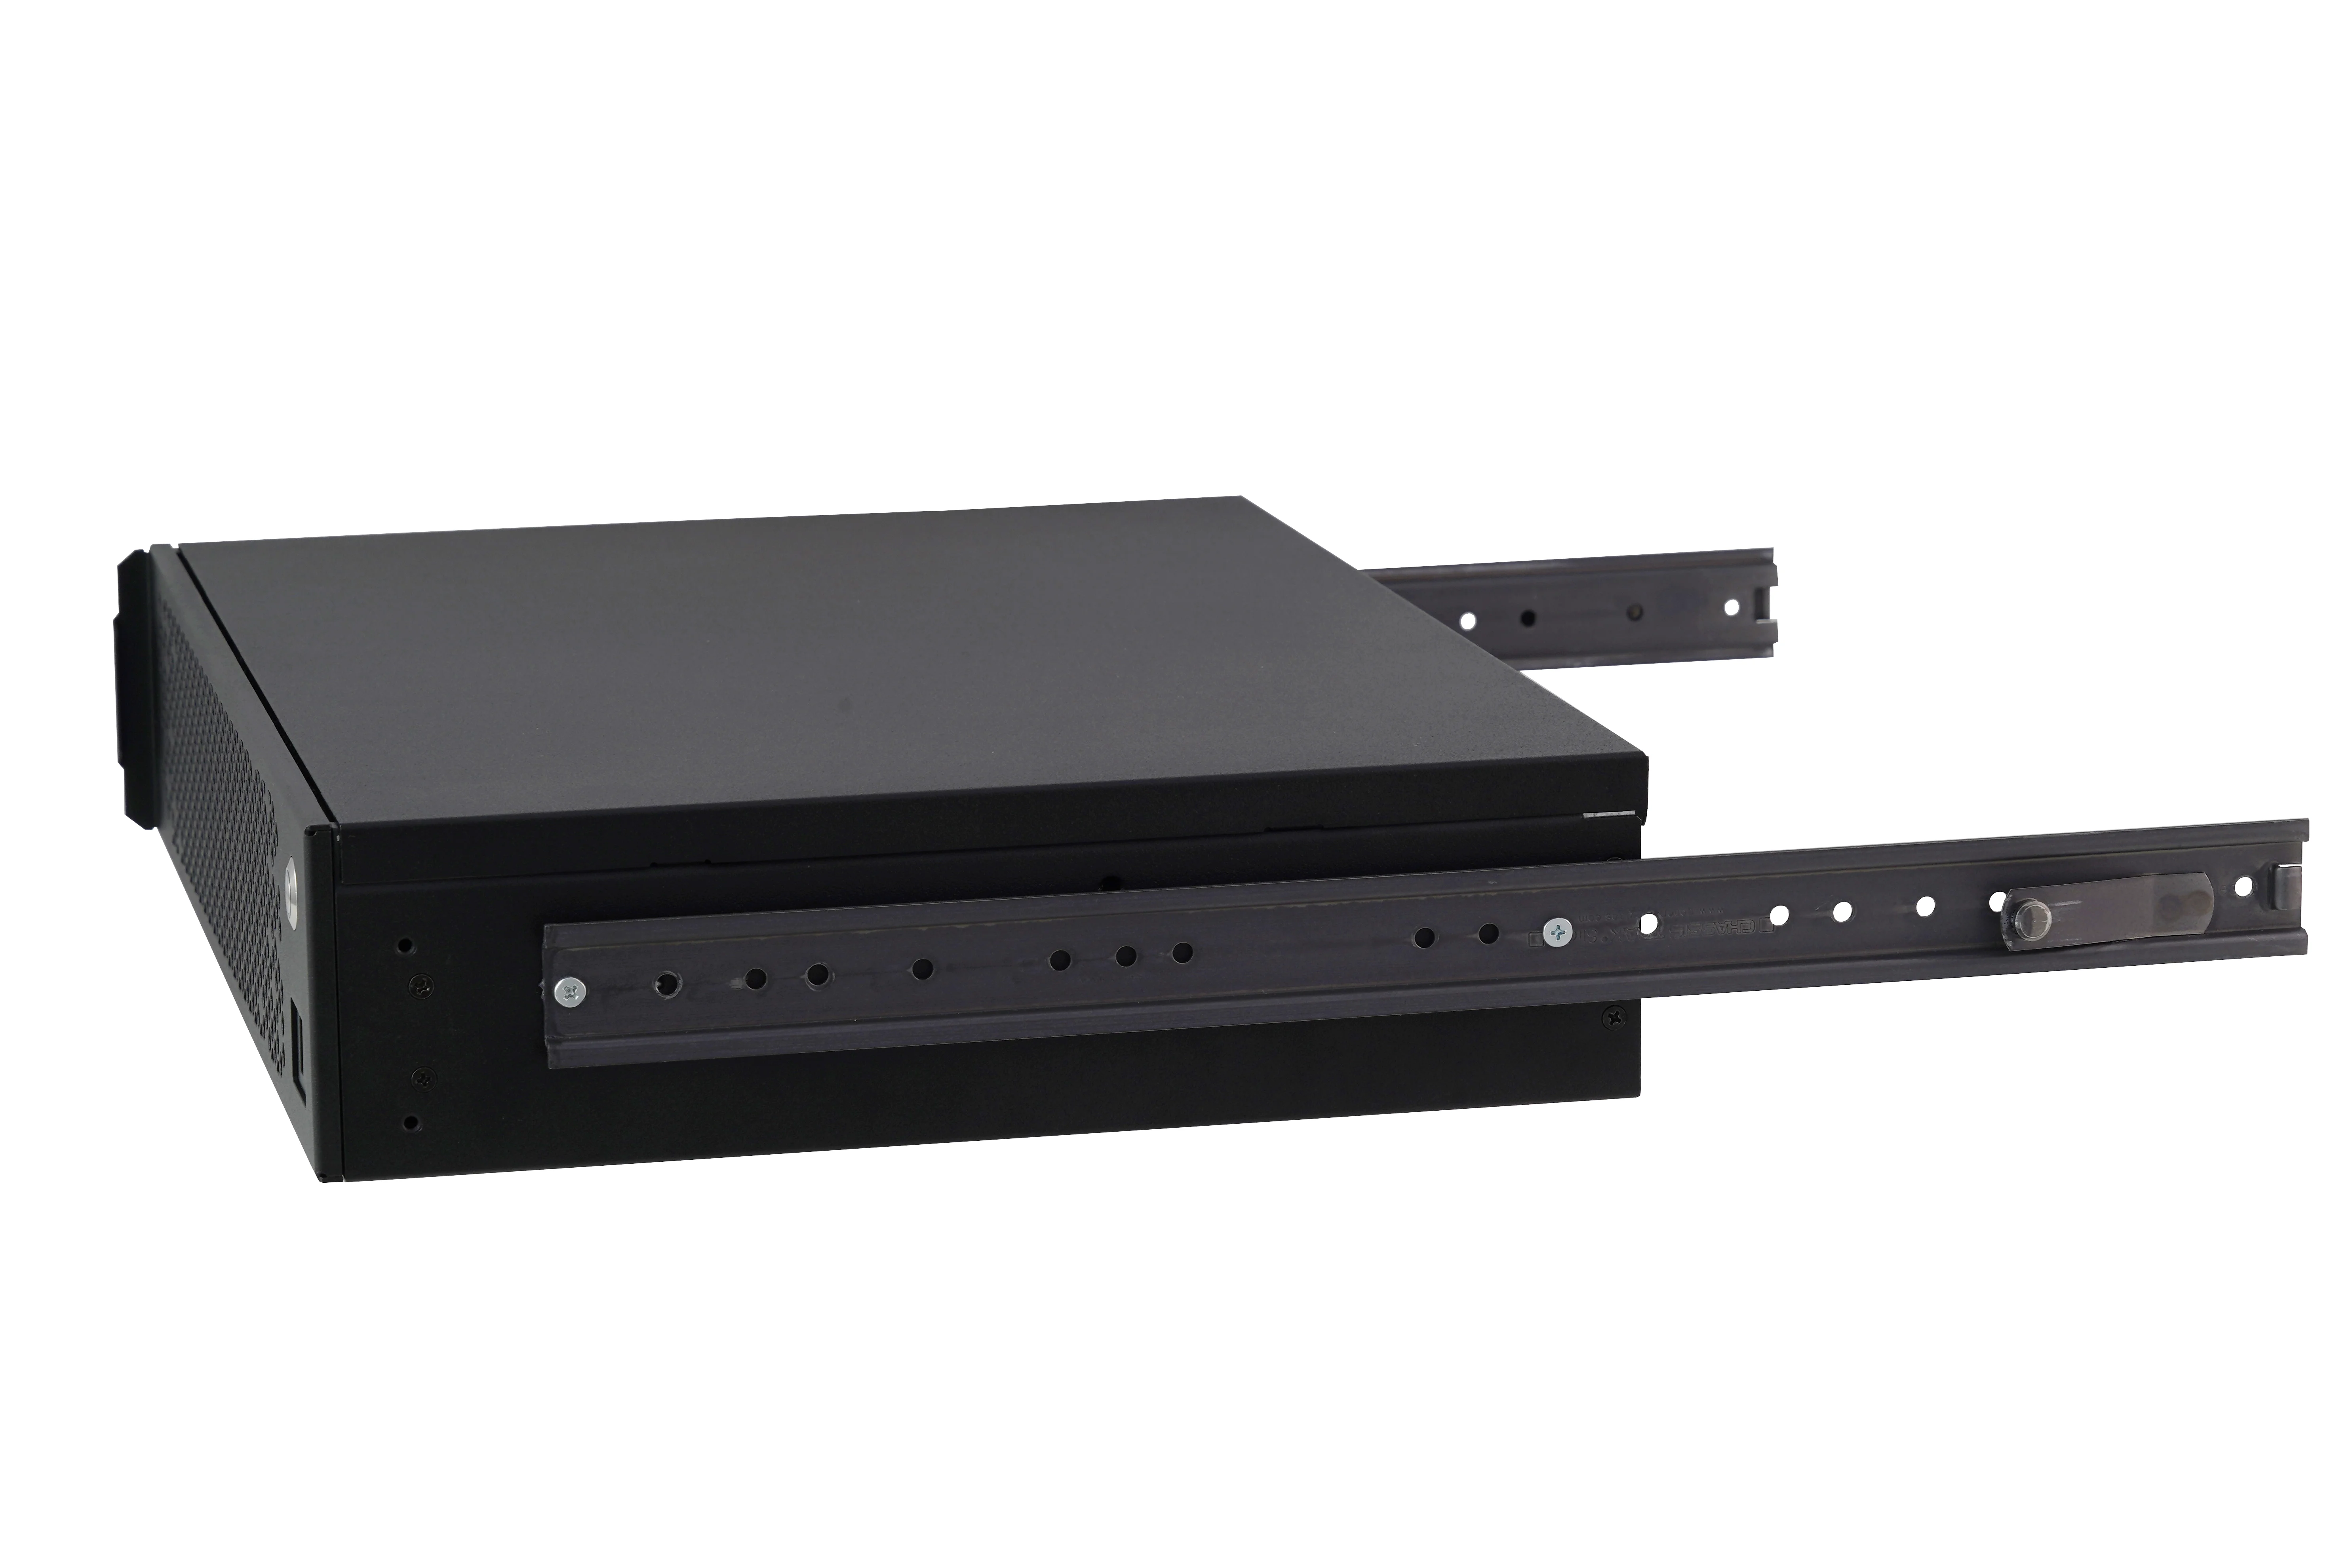
[STEP 7] – Mount the rails removed in Step 6 to the chassis using two (M4 x 7mm) Pan Head Screws per side. Position may vary depending on chassis size and rack depth. If it doesn’t fit flush when installed in the rack, move the rails toward the front panel.
2U Case with Rails
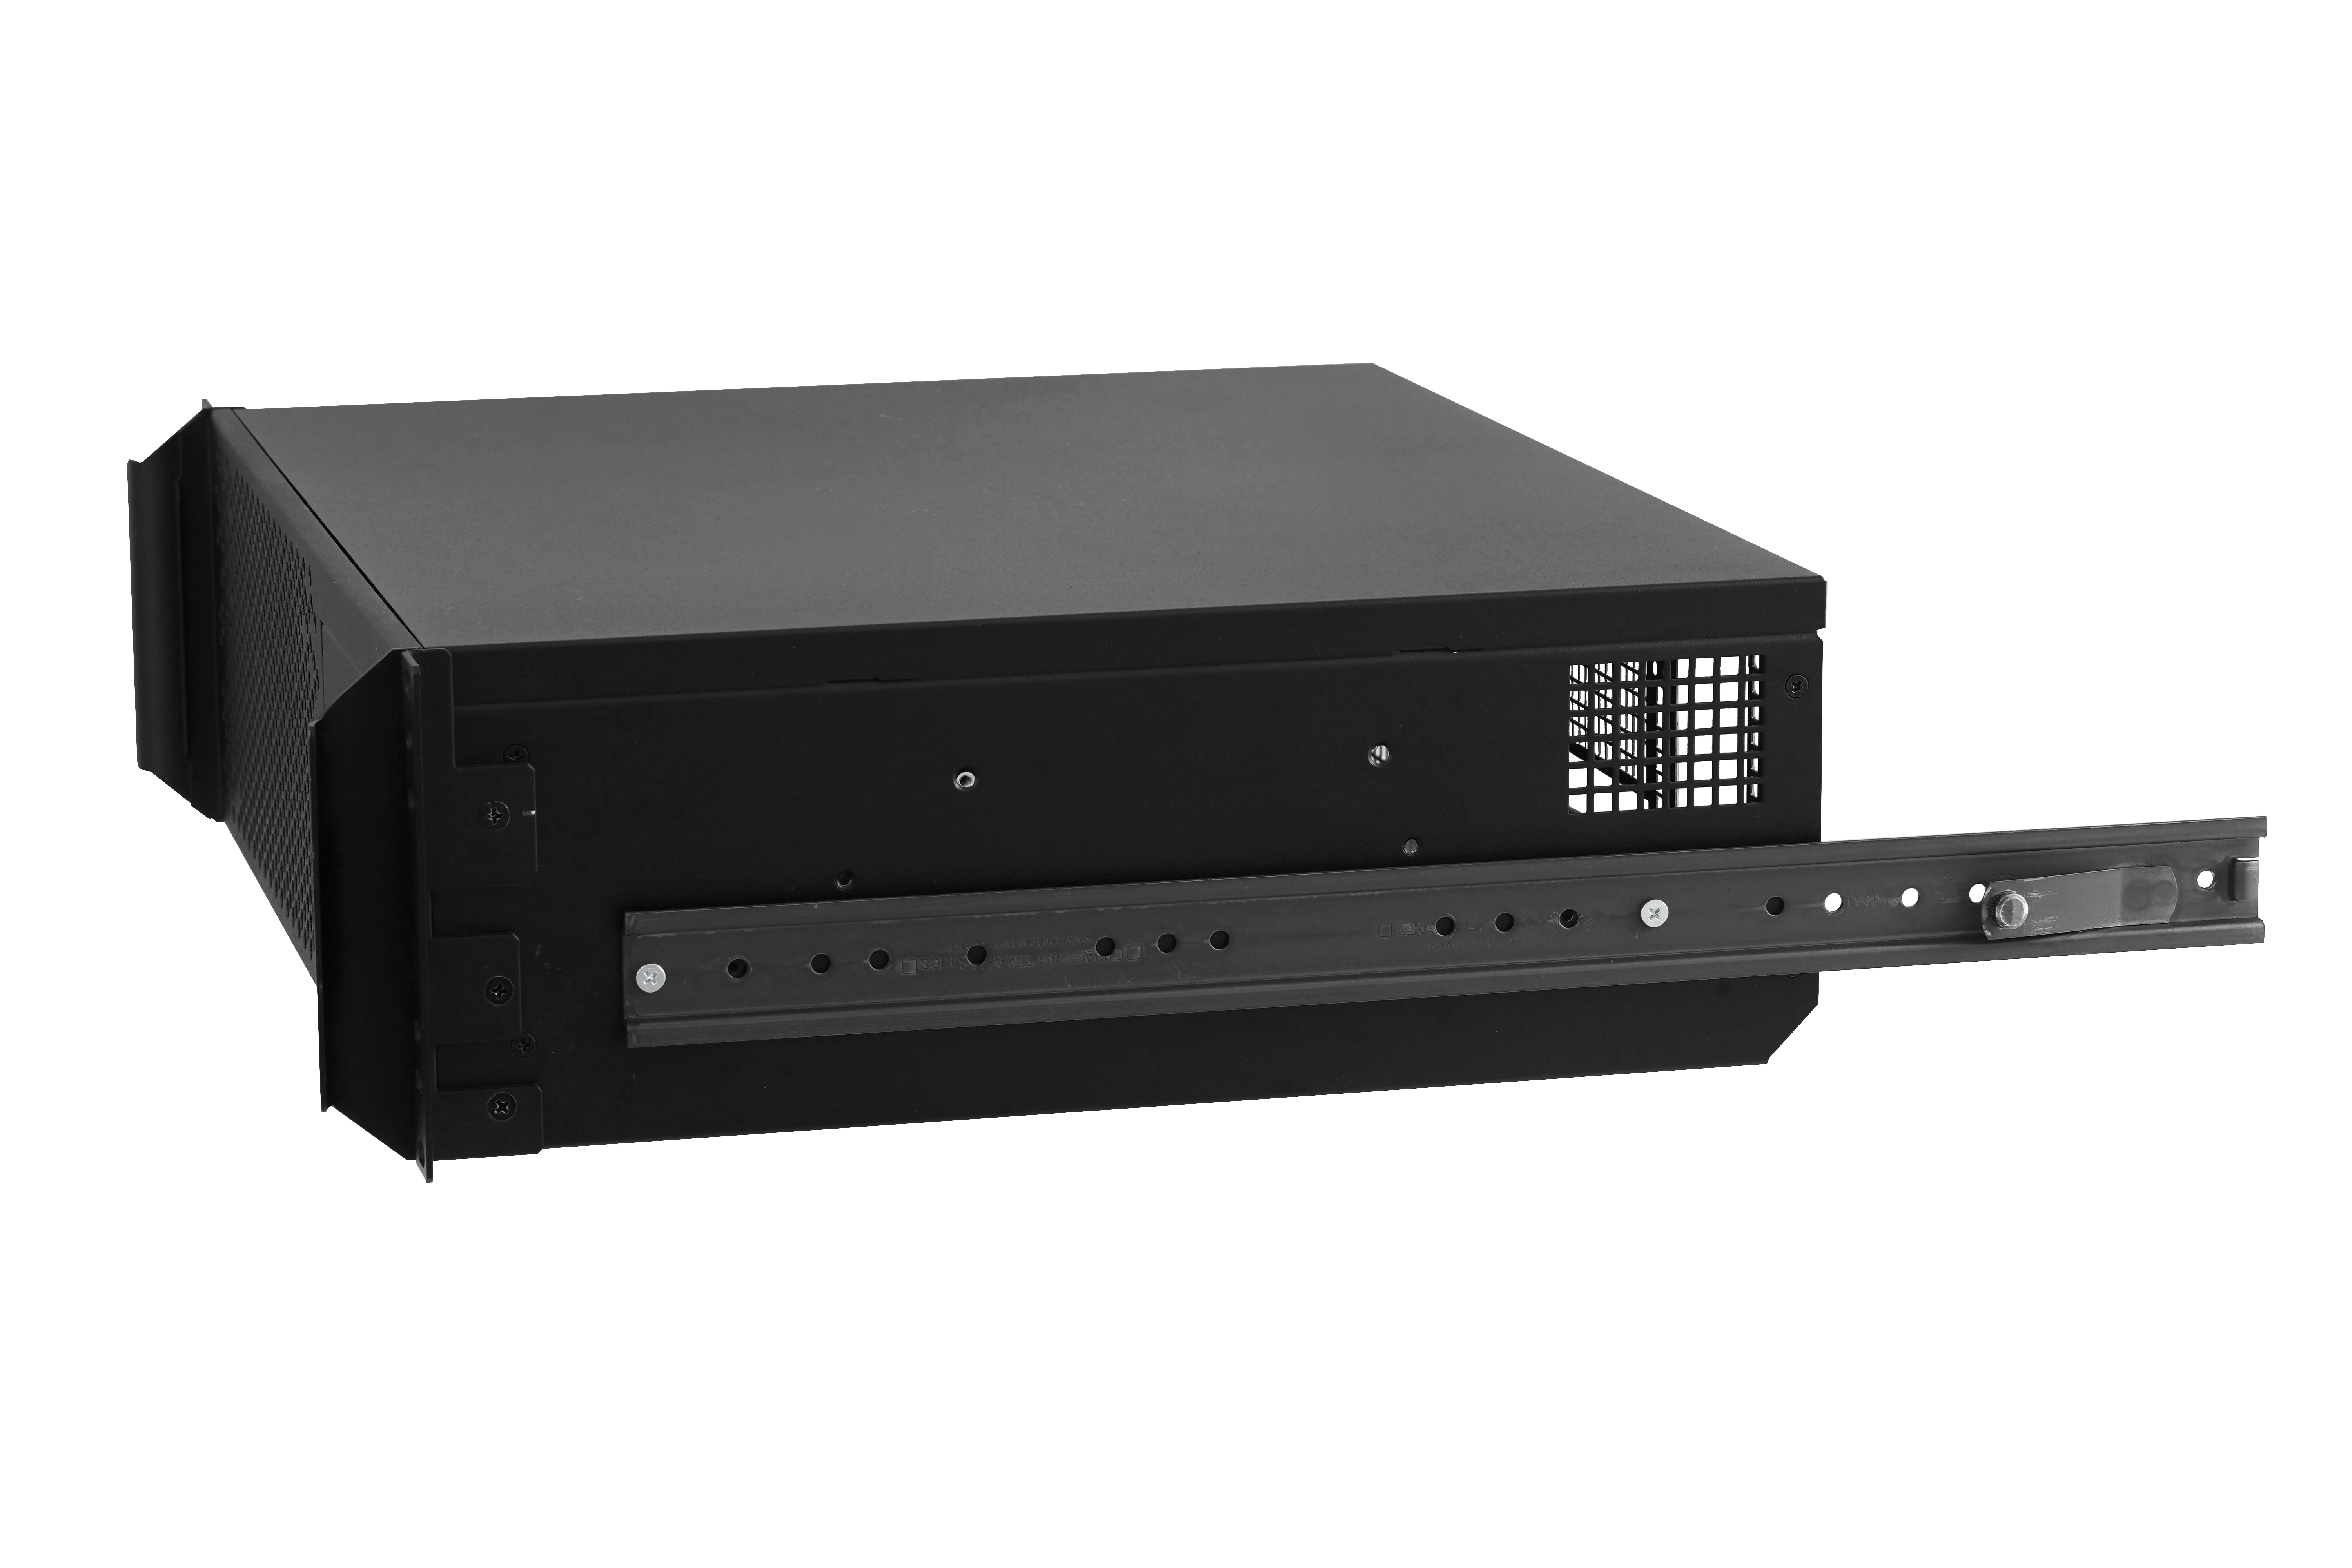
3U Case with Rails
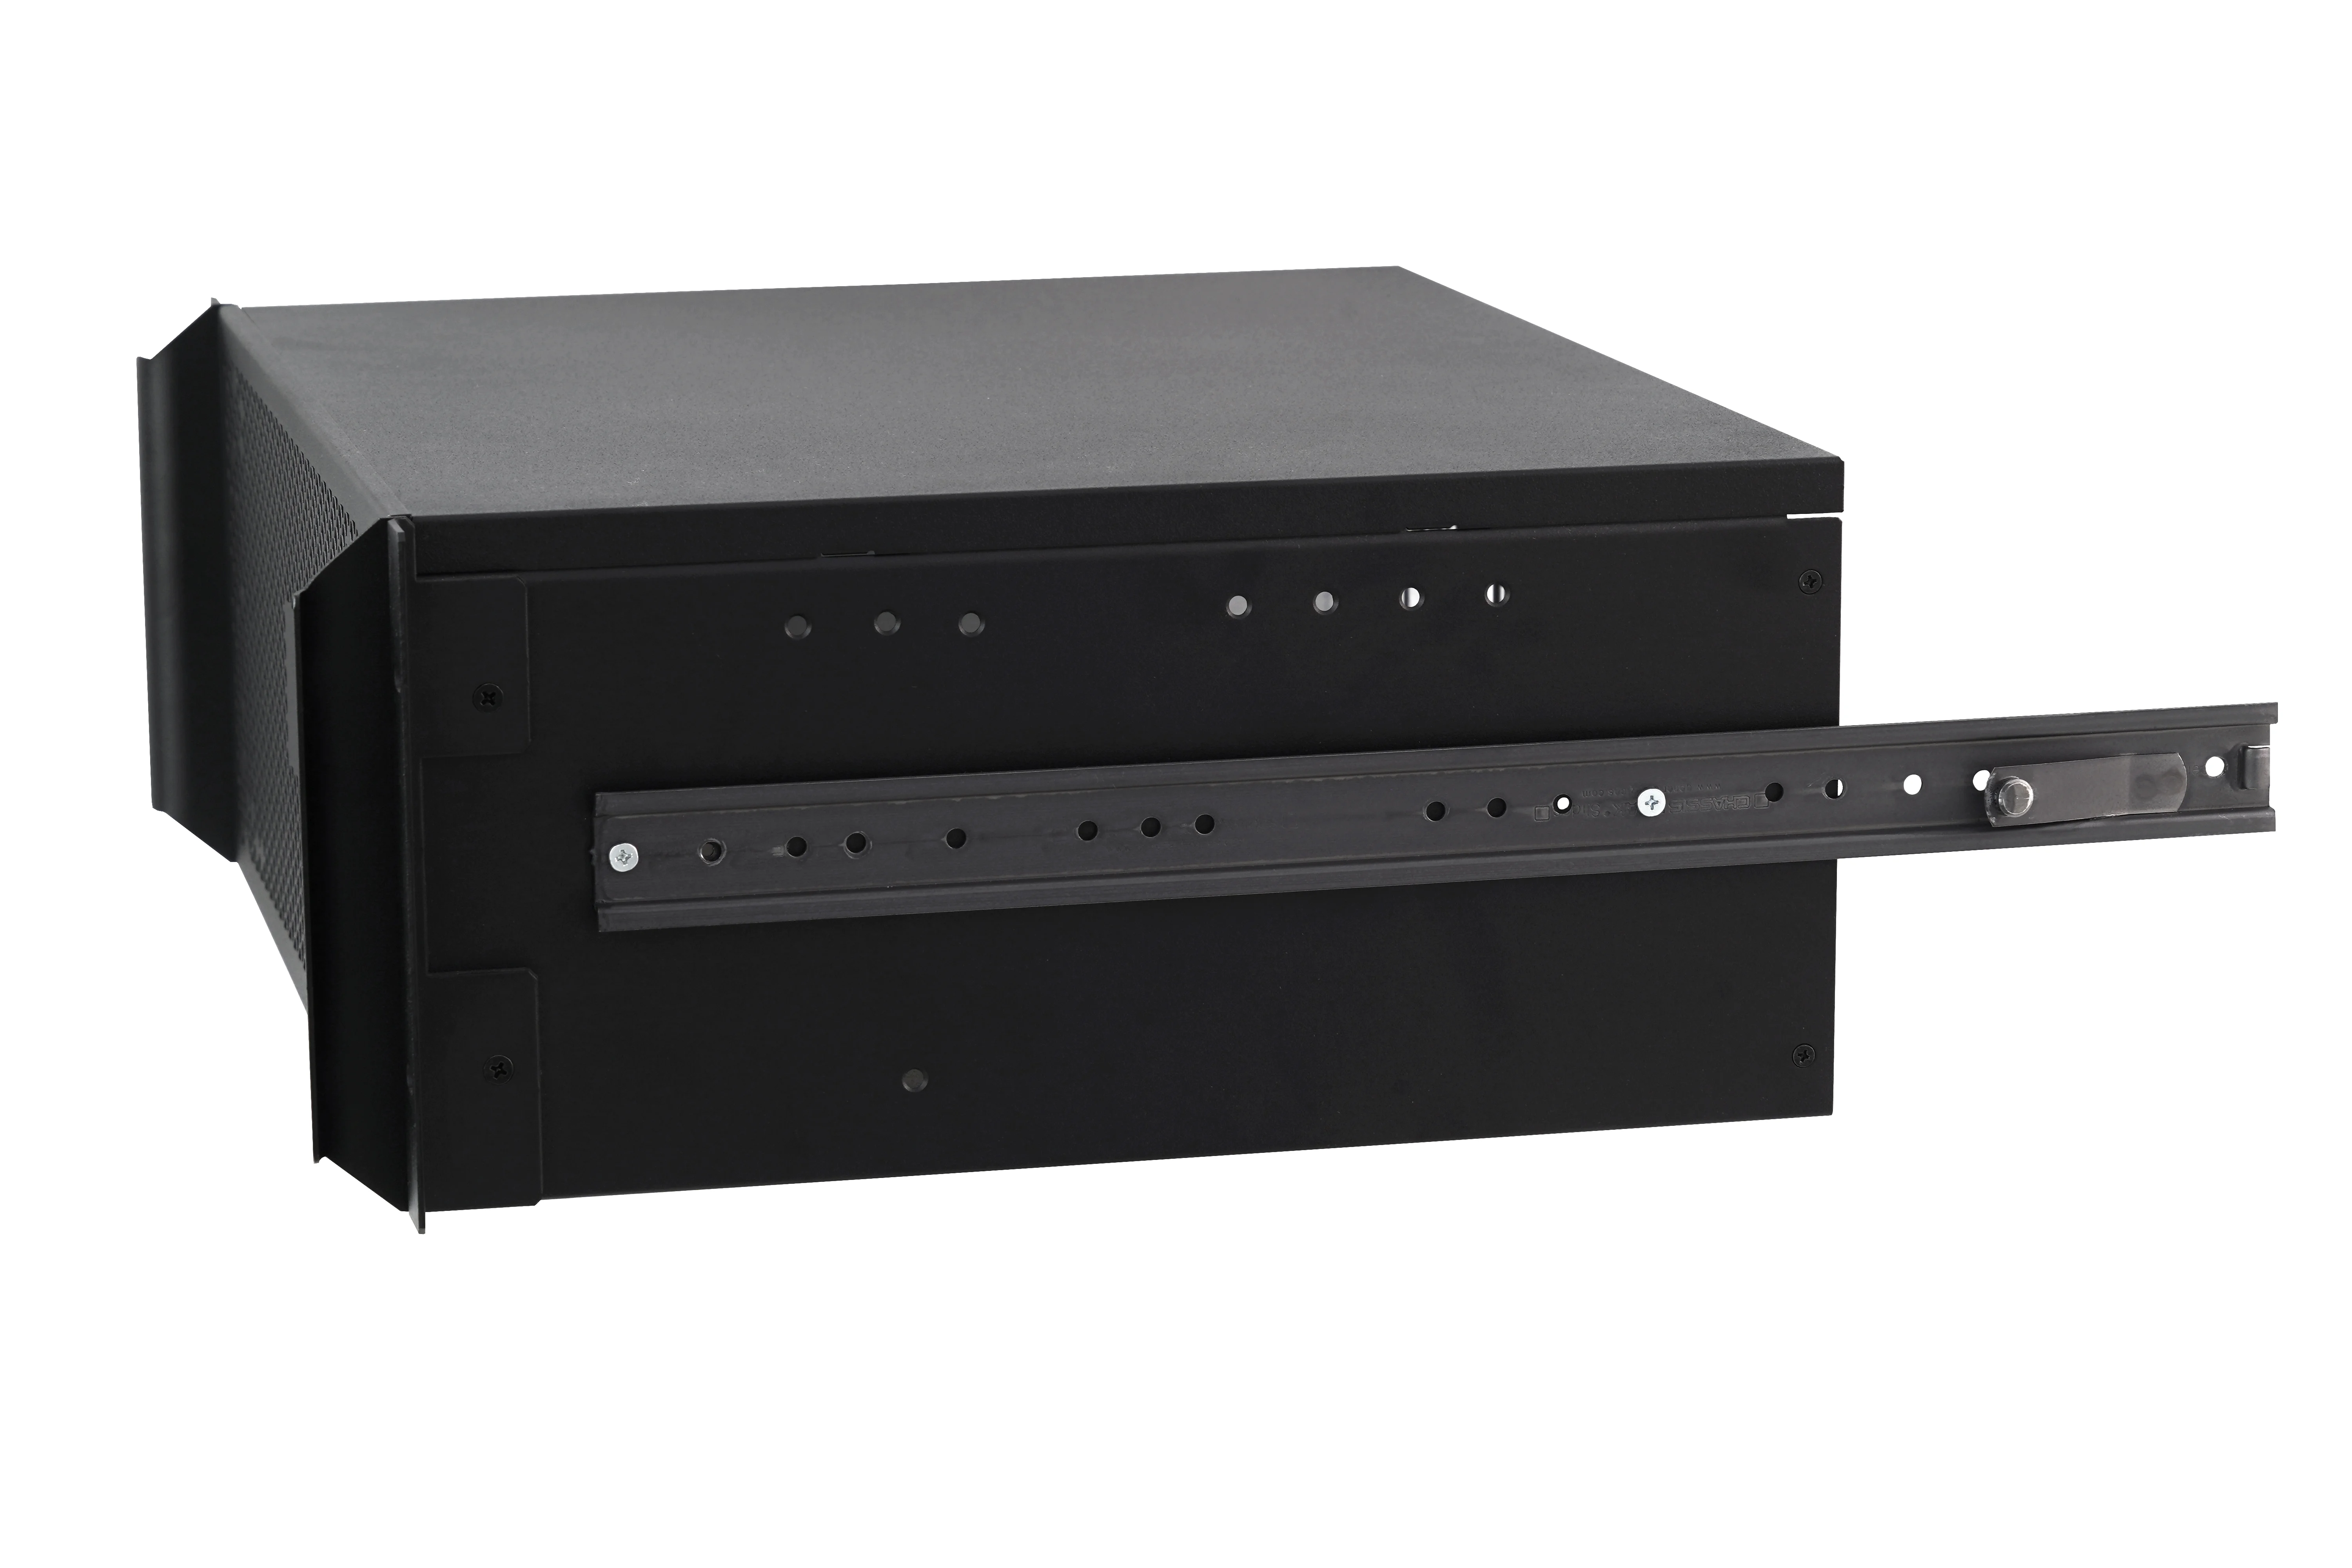
4U Case with Rails
Installing the Chassis in the Rack
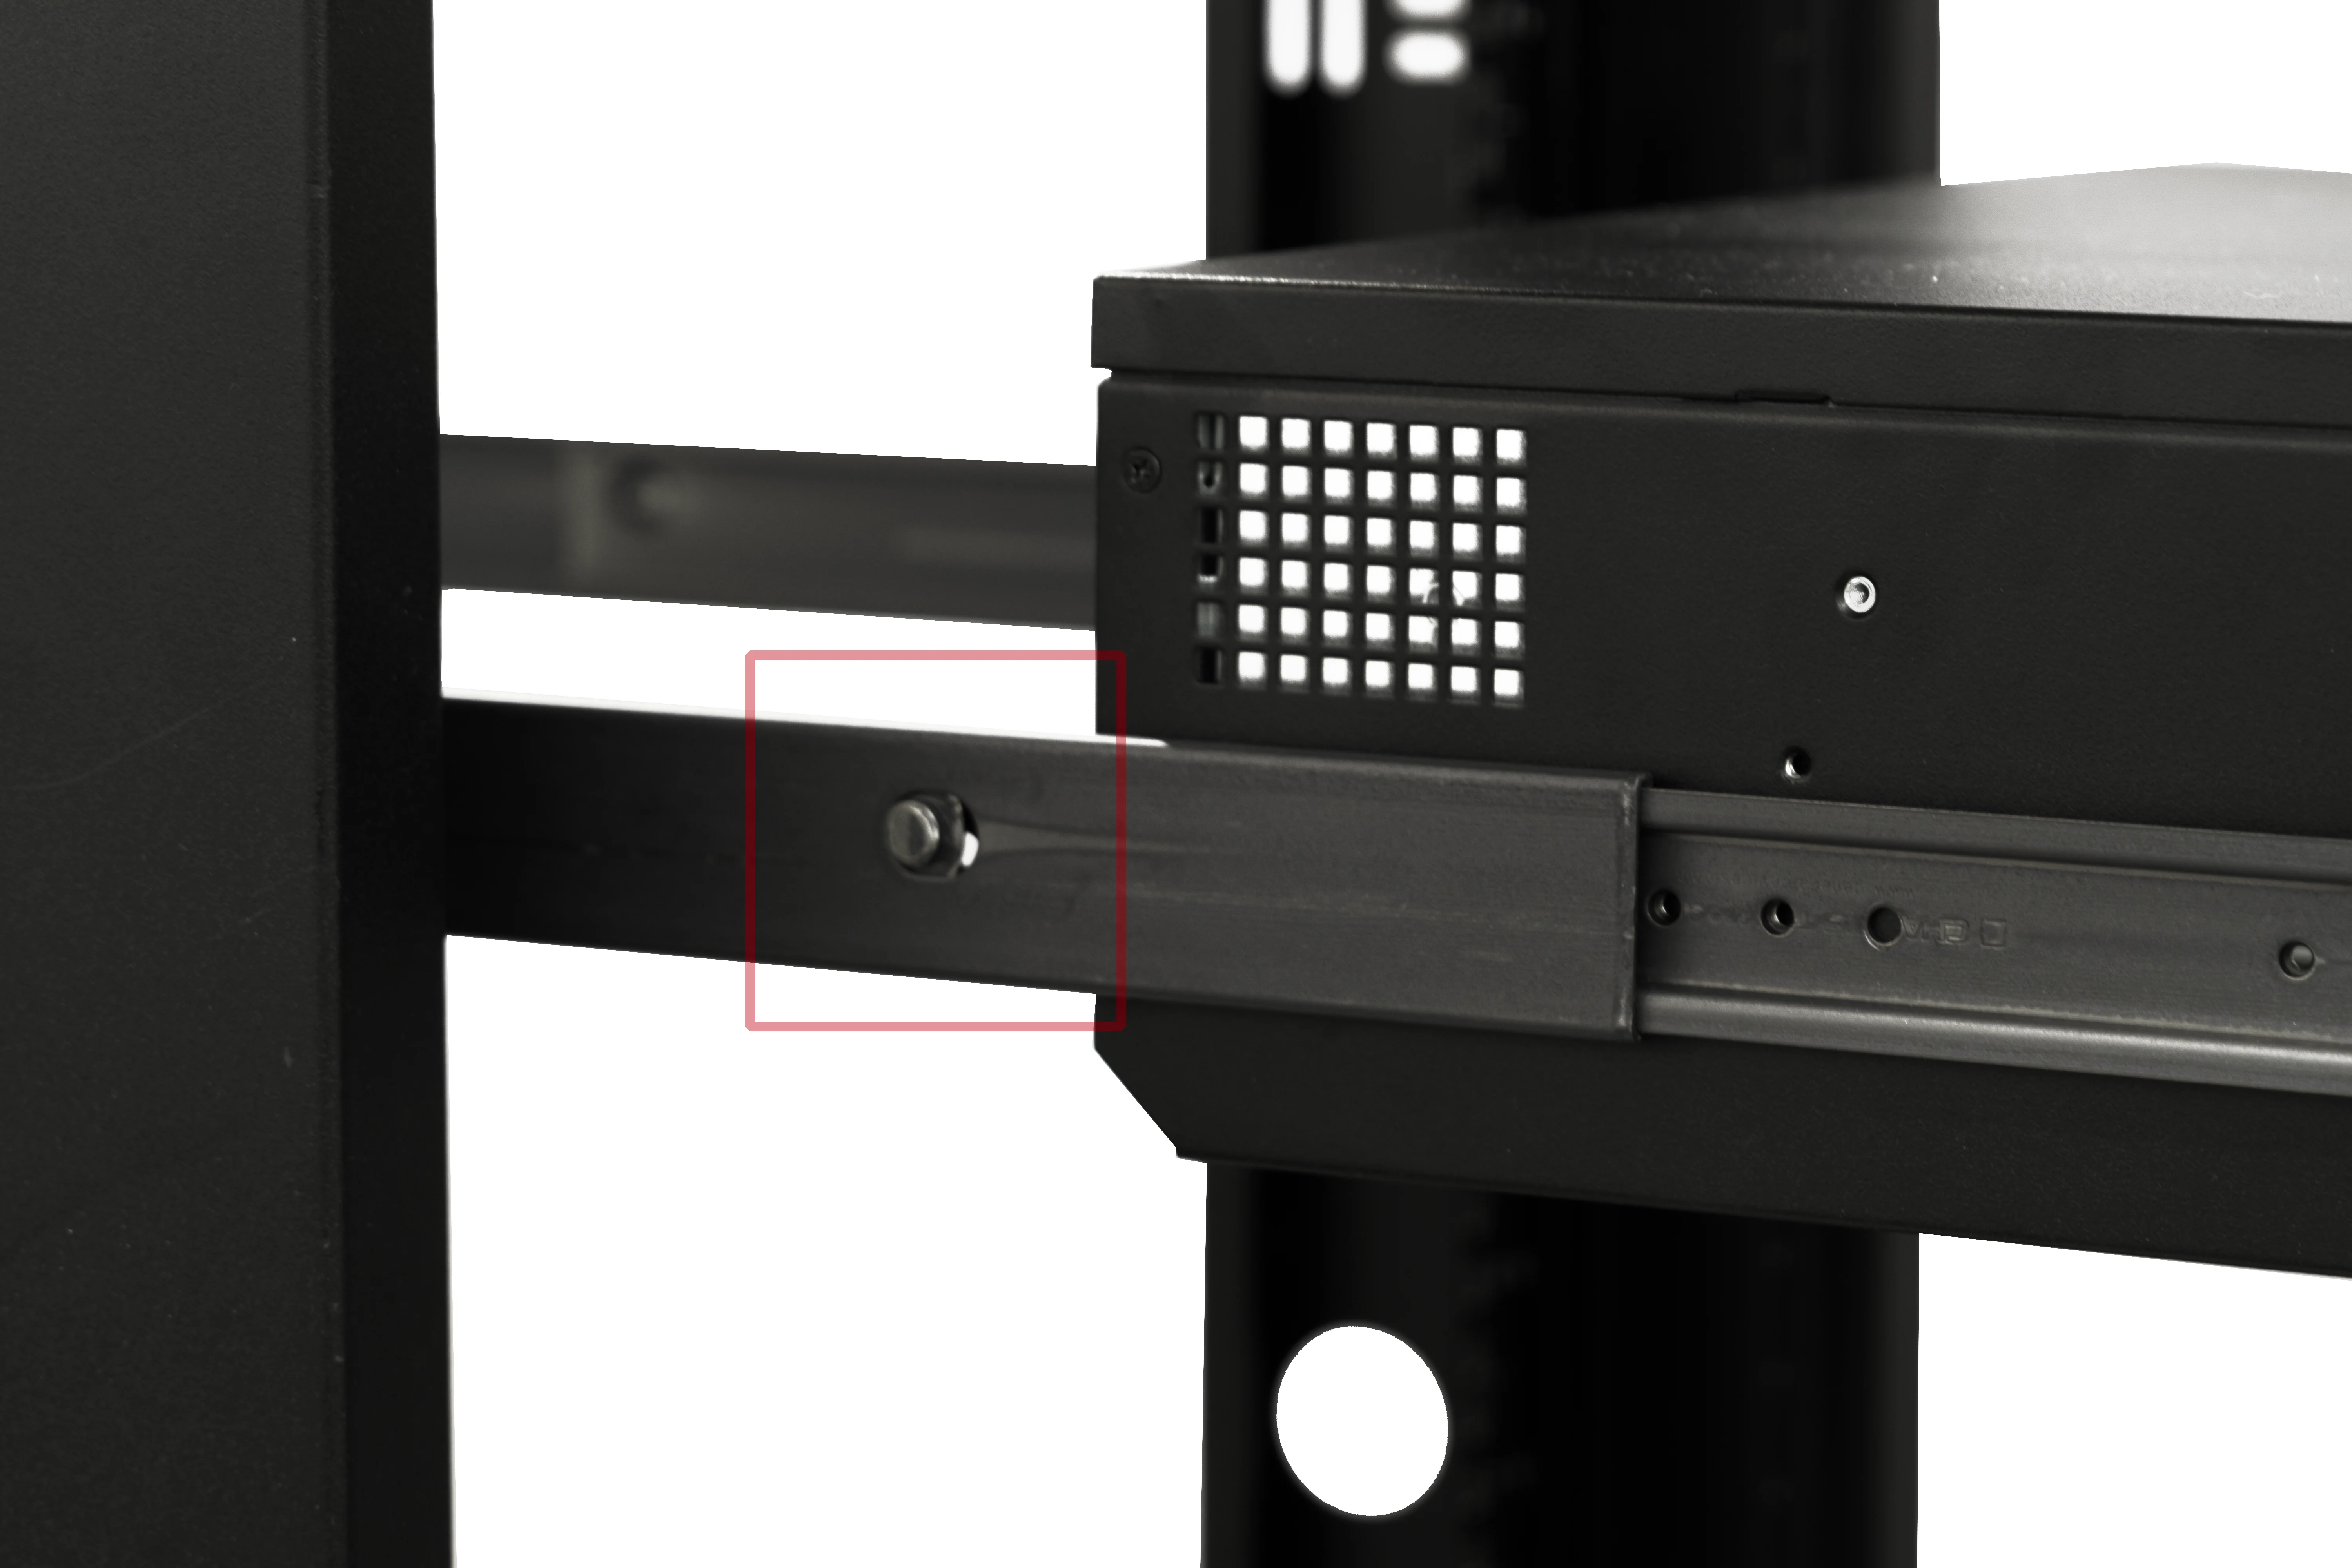
[STEP 8] – Line up the rails on the chassis with the Rack Rail Slides and gently push them back into the guides. Press the locking button while sliding the chassis in so the rails seat fully.
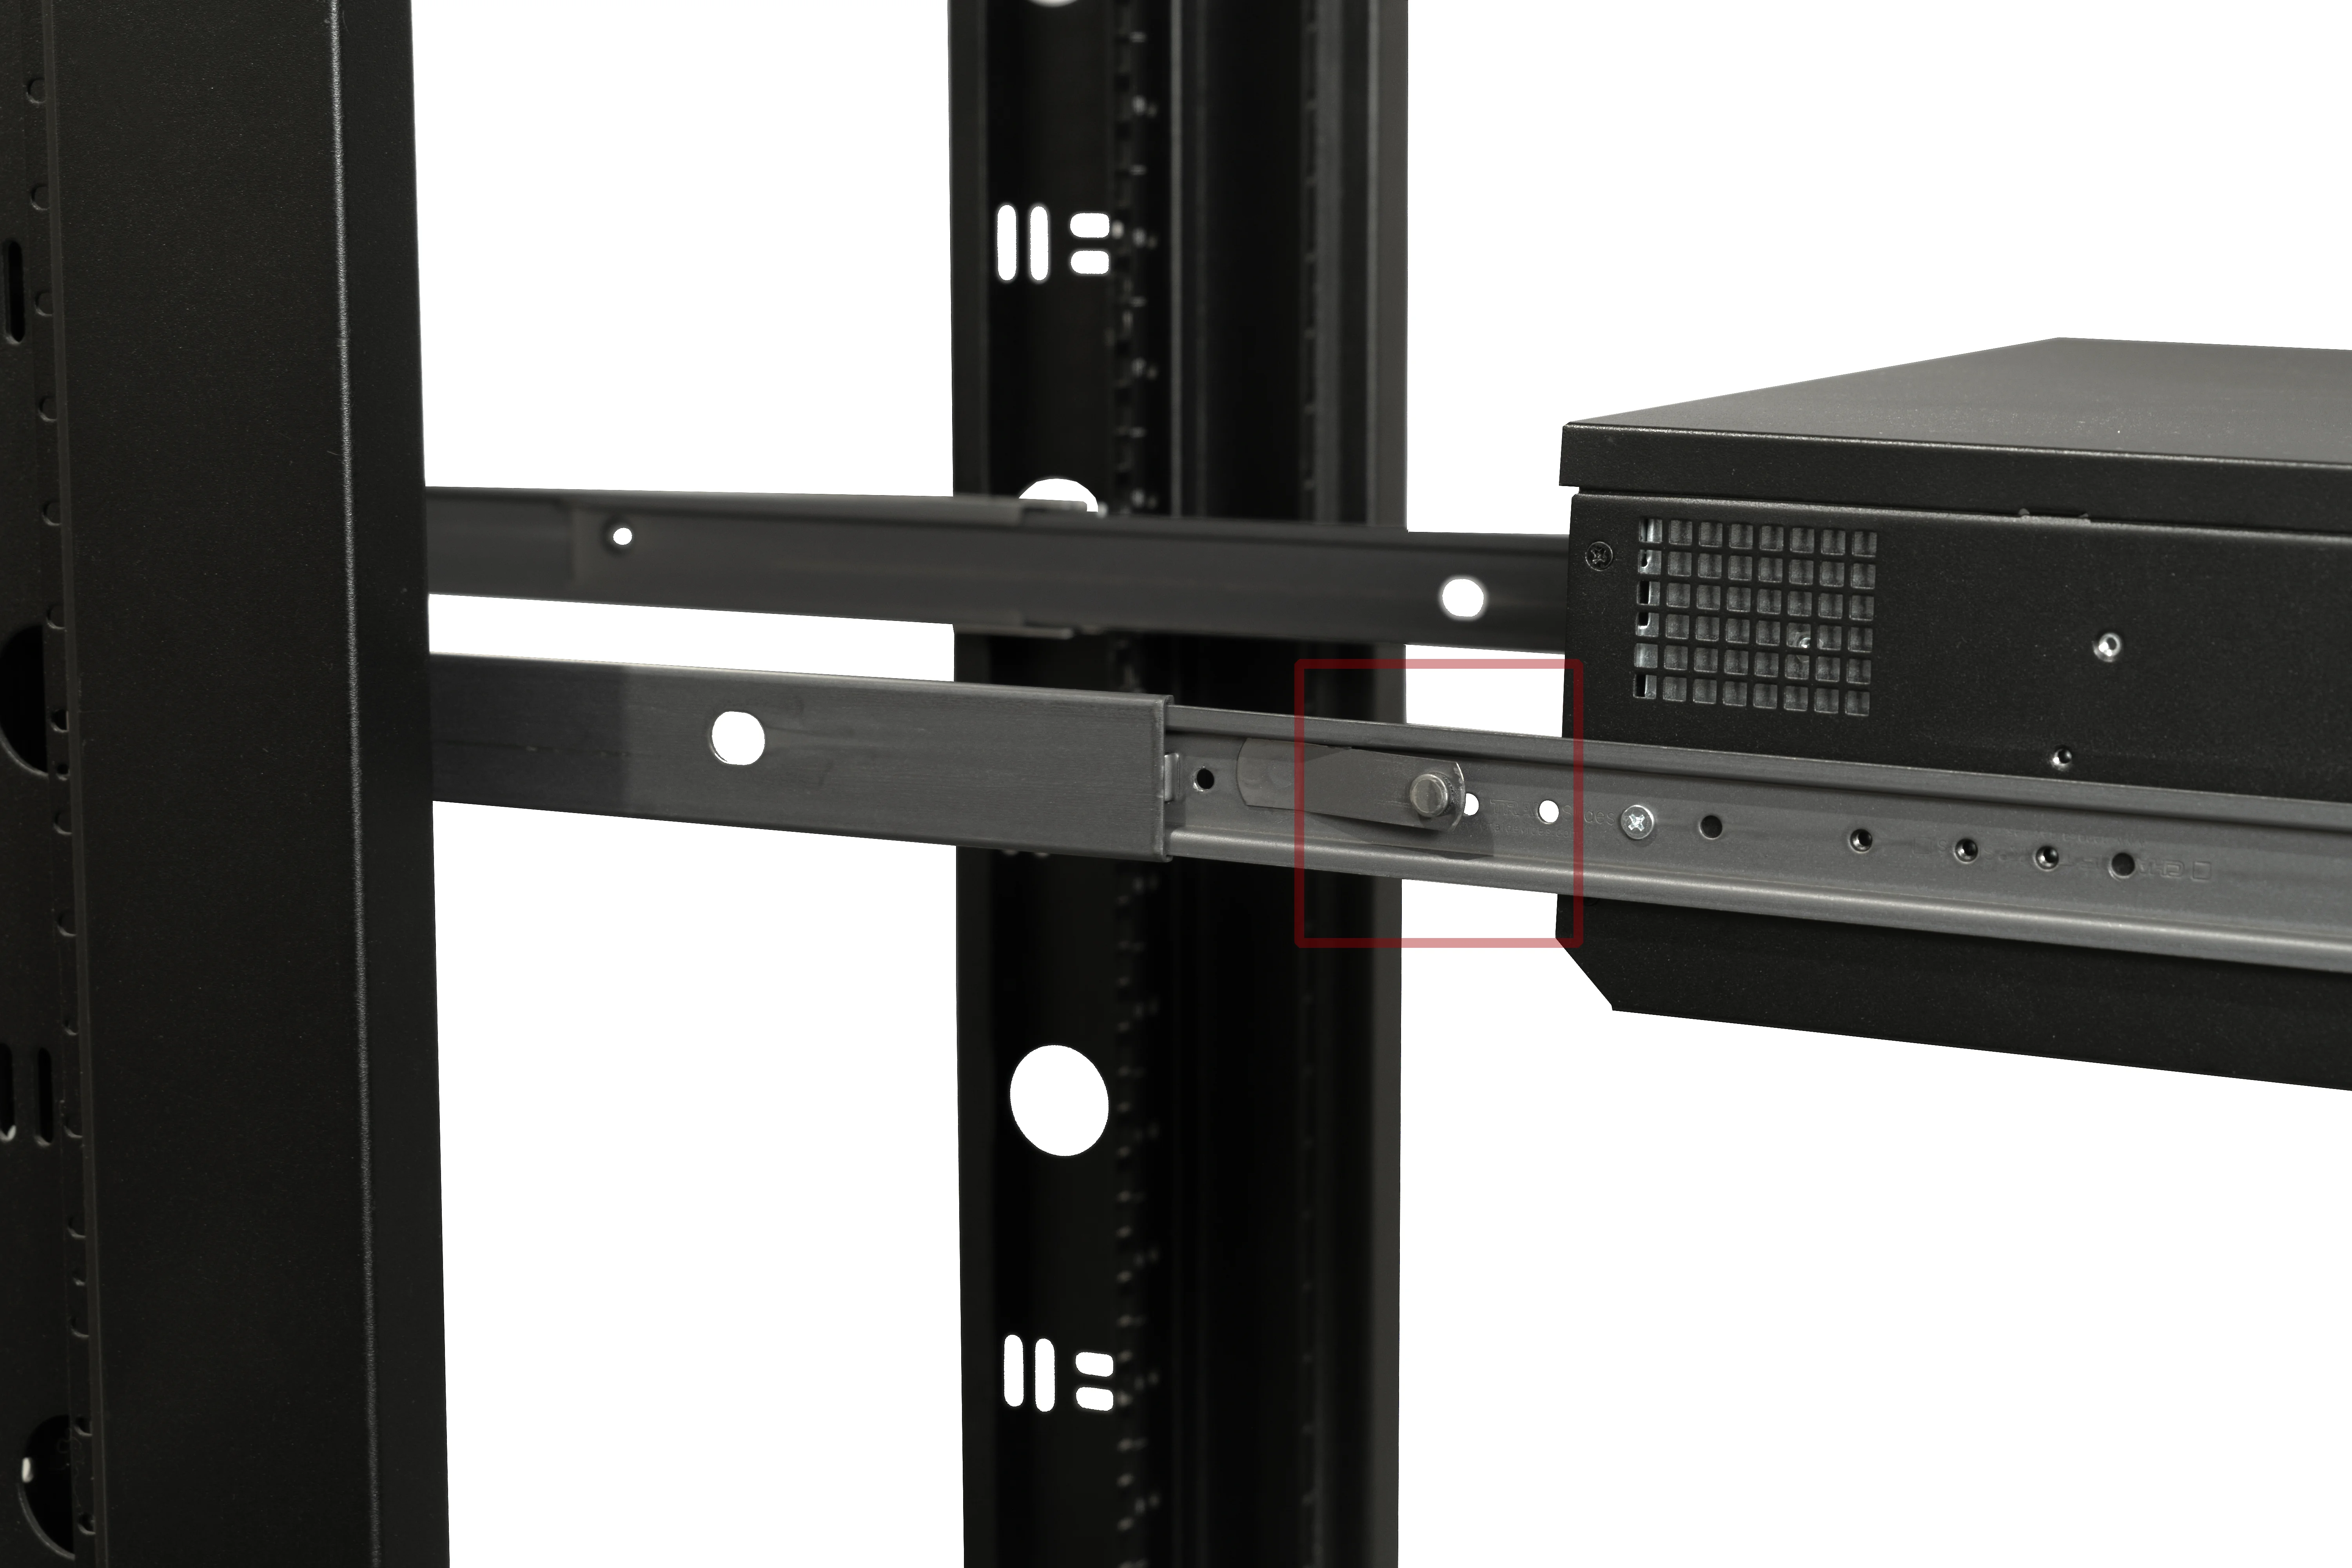
[STEP 9] – Press the locking buttons again and slide the chassis fully into the rack. Congratulations, it’s contained.
Final Installation
Step back and admire your work. The rack is happy, the chassis is happy, and hopefully you are too.