
- 2U Chassis
- 3U Chassis
- 4U Chassis
- Storage Chassis
- Desktop
- OEM / ODM
Table of Contents
General Devices - Rack Slide Installation
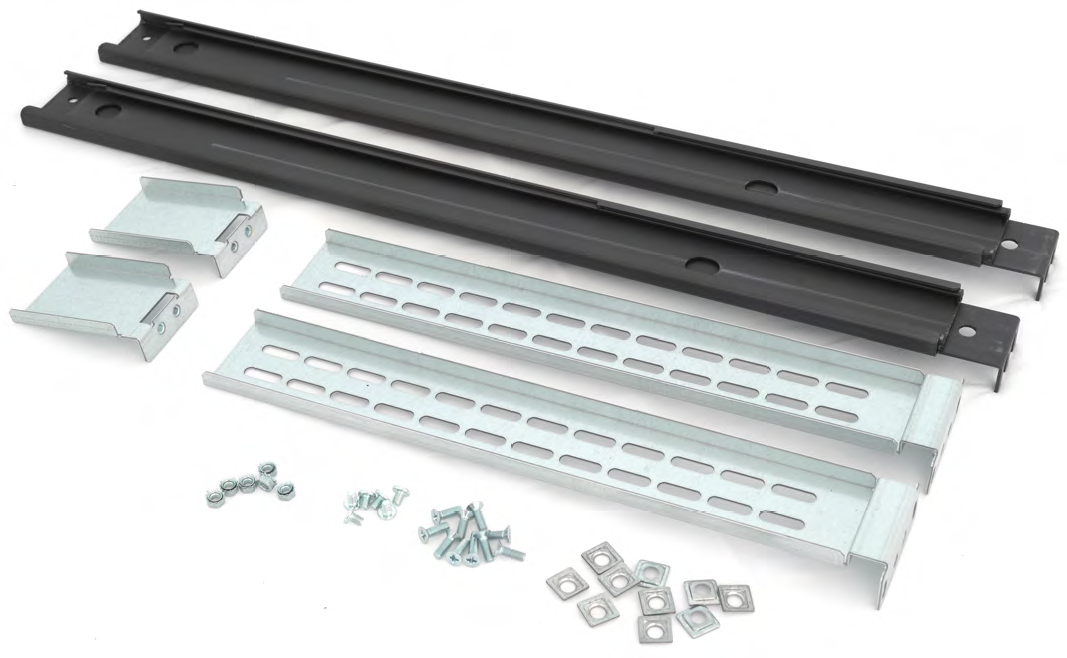
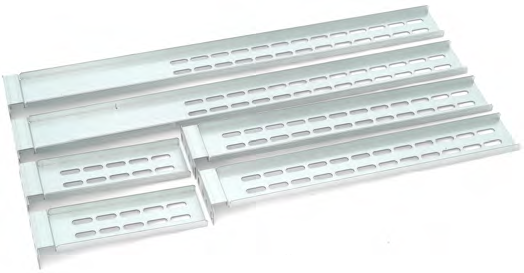
Kit Parts

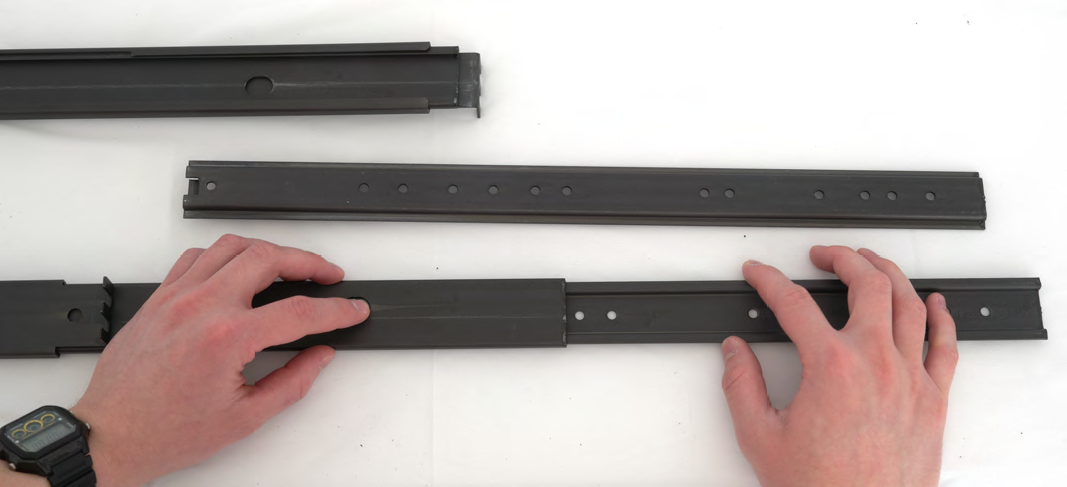
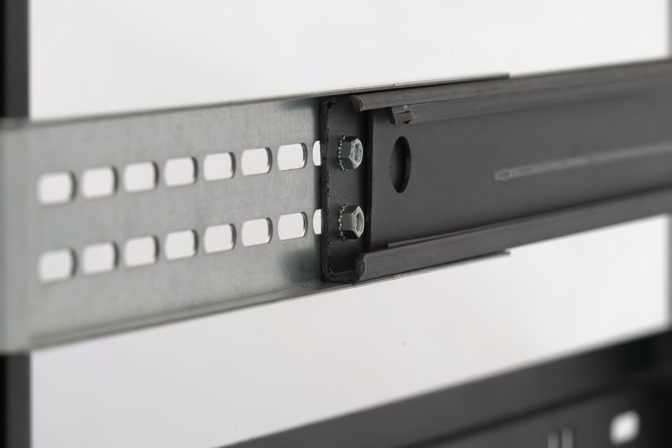
Inner Member
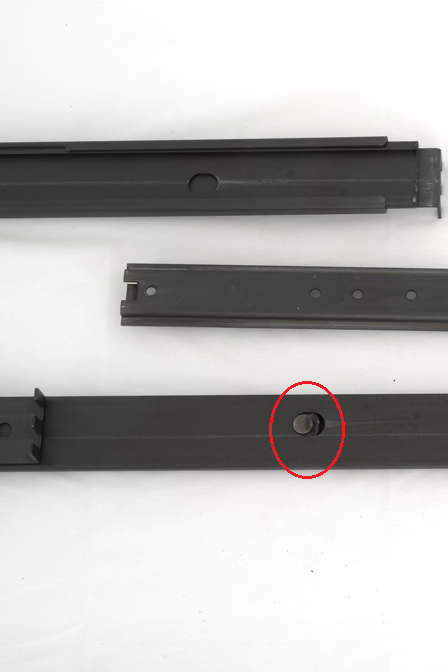 |
REMOVE INNER MEMBER by depressing the release button, pictured at left, and sliding the inner membercompletely out of the slide assembly as puctured at top. This inner member must be removed from both slides before any installation work can be done. |
|---|
CASE SIDES
 |
|---|
|
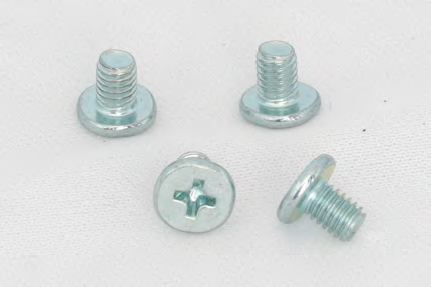
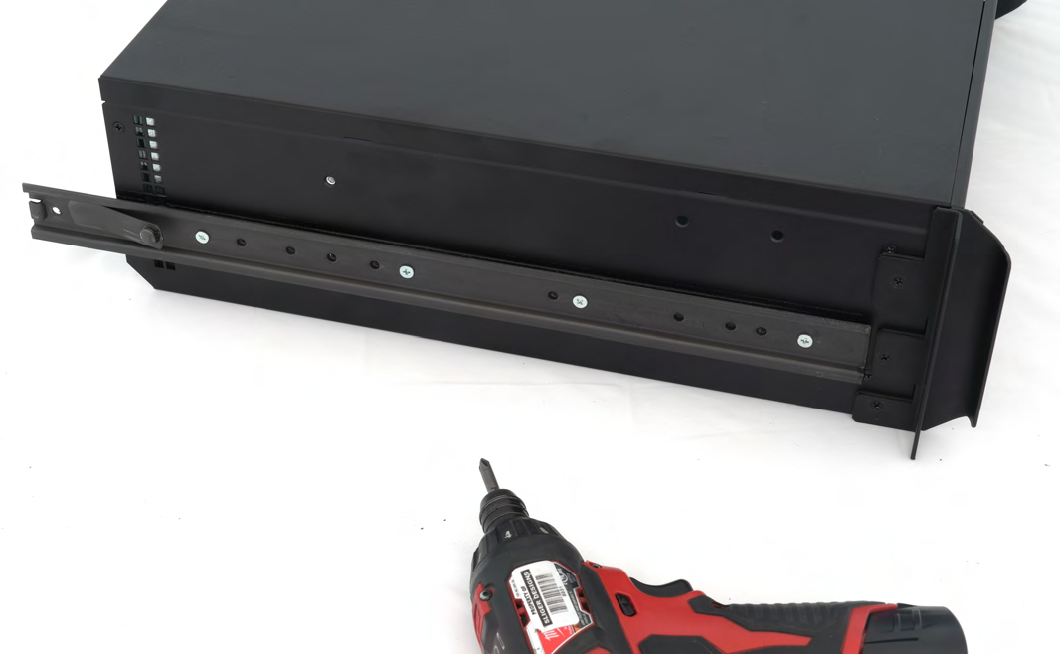
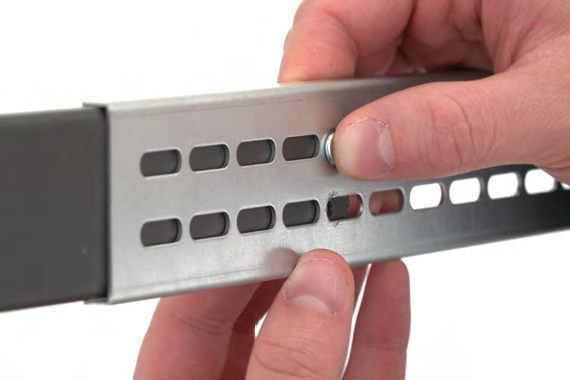
ATTACH INNER MEMBER TO SIDES OF CASE Starting from the front most screw hole, attach the inner member to the side of your case using M4 PAN HEAD screws from the 2nd page of this guide. |
|
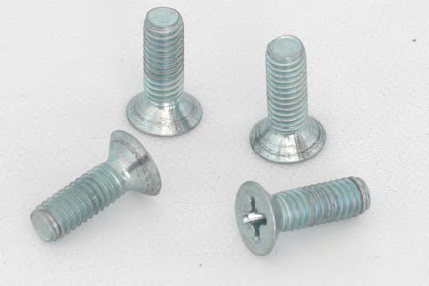
DO NOT USE THE M-4 LONG SCREWS |
|
Repeat this on both sides of the case. The number of M4 screws required will vary between CX models; 3 - 5 screws per side |
SLIDE ASSEMBLY
|
|
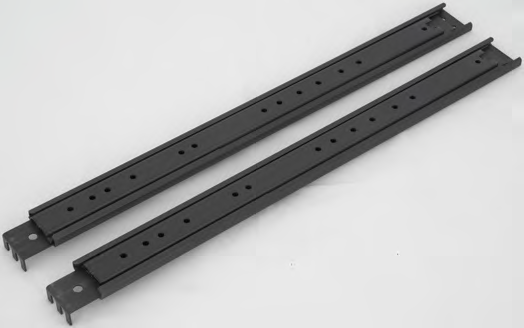
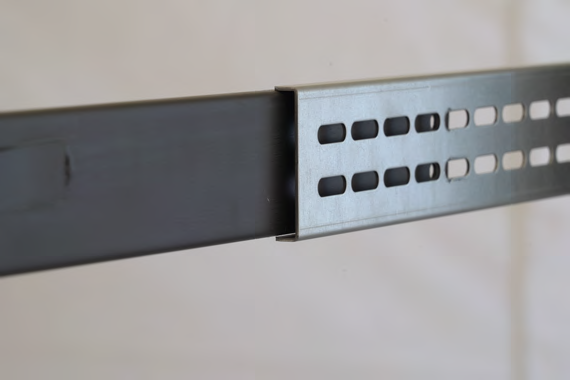
Now, with the inner member attached to the case, the parts you have left should look like the above. (Lengths of slides may differ based on the rail kit length you purchased.) |
RACK ATTACHMENT
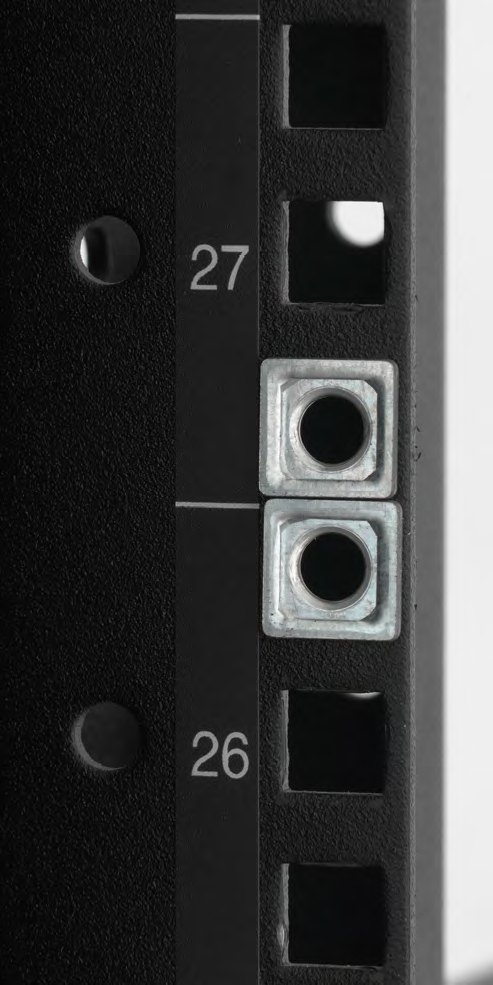 |
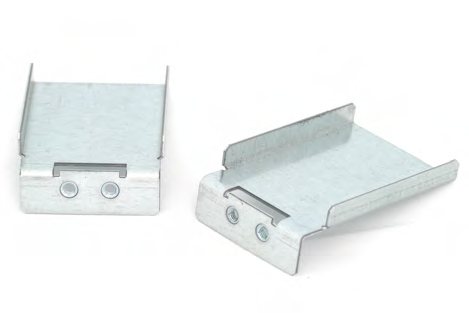
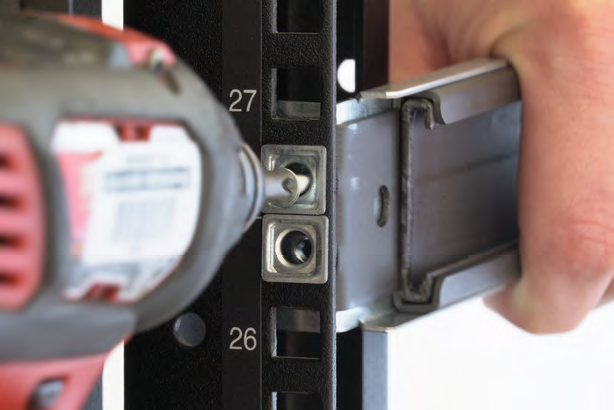
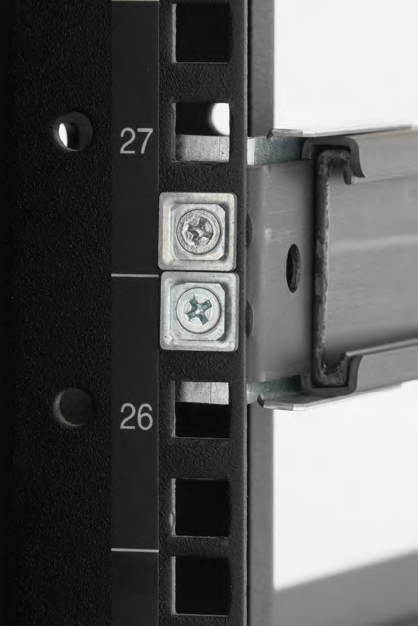
Install the Rack Post Dimples as pictured, with screw pass-through holes centered in the rack post hole |
 |
Hold 1x Front Support Bracket against the front prongs of the rail slide outer member, as shown on the left. Make sure the bracket is flush against both the outer member and the front prongs. |
|
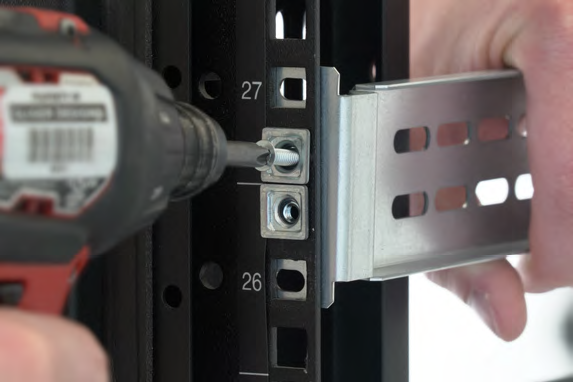
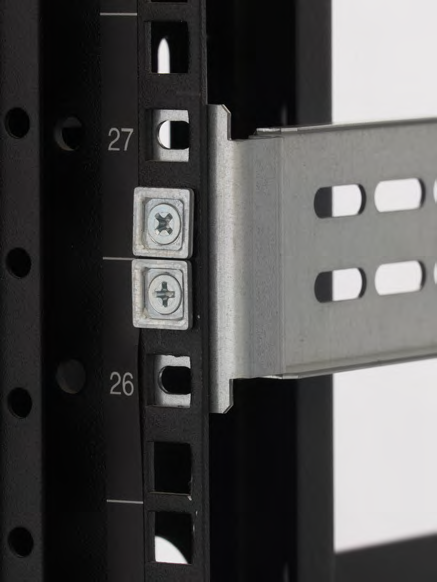
Then, hold the outside of the prong against the back of the rack post and install the first M-4 Long Screw. The prongs should be sandwiched between the rack post and Front Support Bracket. |
 |
 |
Install the second screw. Make sure the outer member didn't slide during install. If so, loosen screws and readjust. |
 |
INSTALL REAR SUPPORT Position the rear support against the inside of the rack post behind the Rack Post Dimples. |
 |
Install both M-4 Long Screws. |
 |
NOTE: the other end of the rear extension should sit on the outside of the rail outer member. |
 |
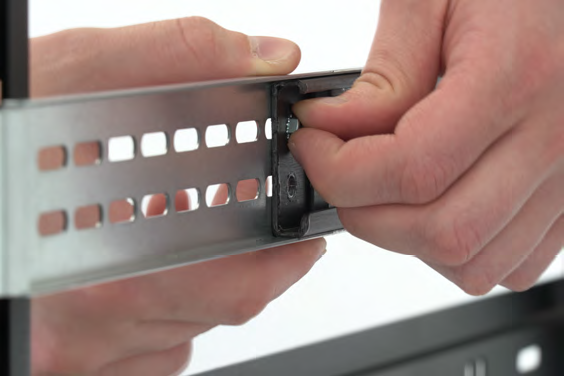
Pinch the Rear Extension Bracket and rail outer member together. Feed 1x M-4 Pan Head screw through the obround hole and the hole in the outer member. |
|
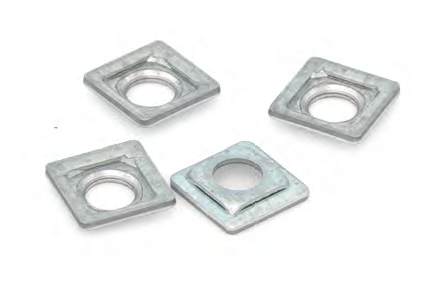
On the opposite side, attach one of the included Kep Nuts. Hand tighten and repeat the previous step with the second hole on the outer member. |
 |
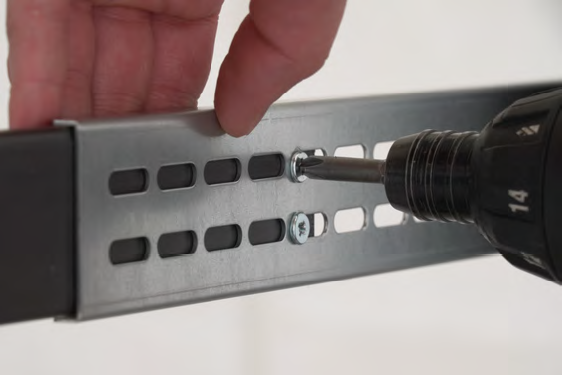 |
Tighten both screws with screwdriver and repeat on the opposite side. |
|
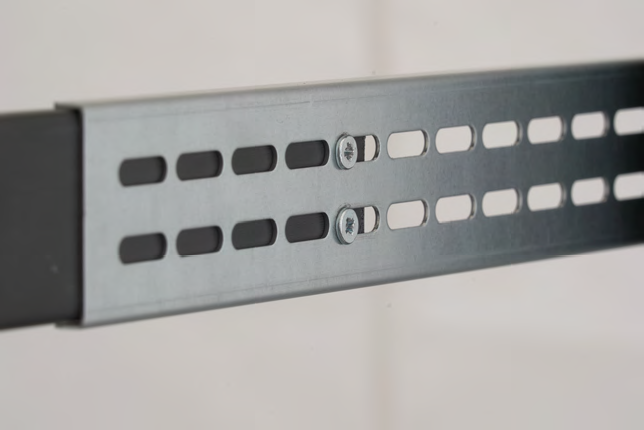
Once completed, the rear support bracket and rail outer member should look similar to the ones pictured(left, below). |
 |
 |
Install Time
 |
|
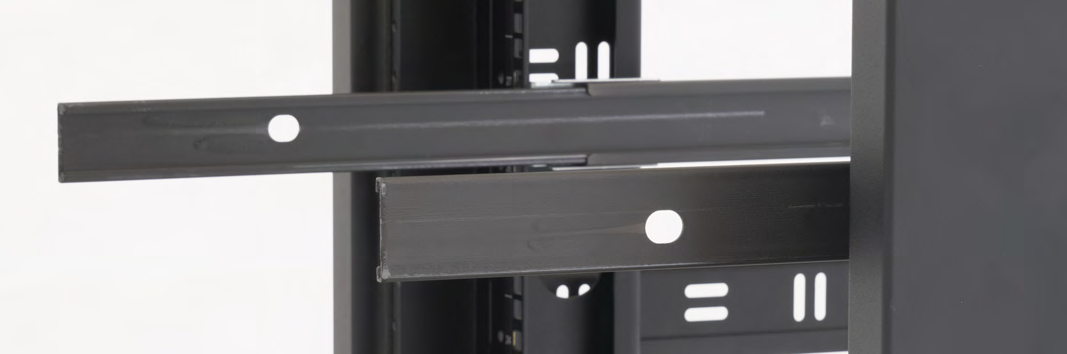
Once both rack slide assemblies are succesfully installed into your rack cabinet, it is time to slide your CX rack chassis into position. |
 |
 |
|
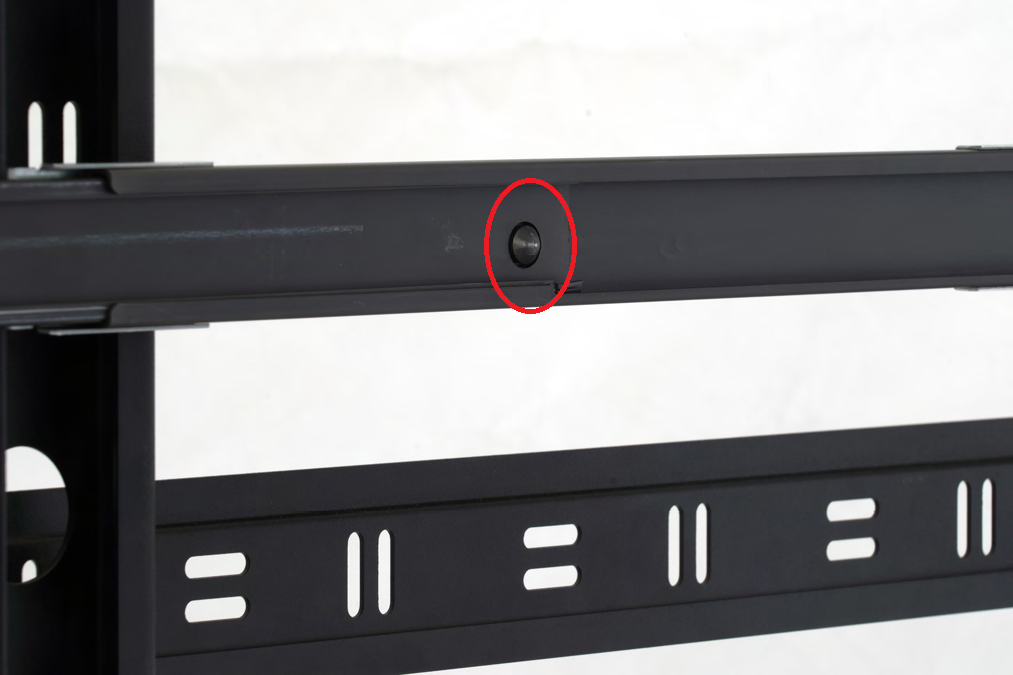
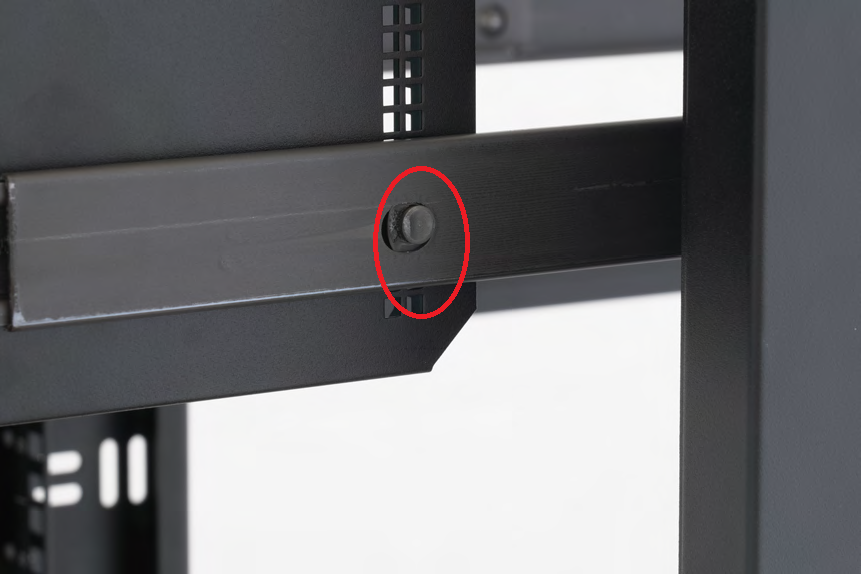
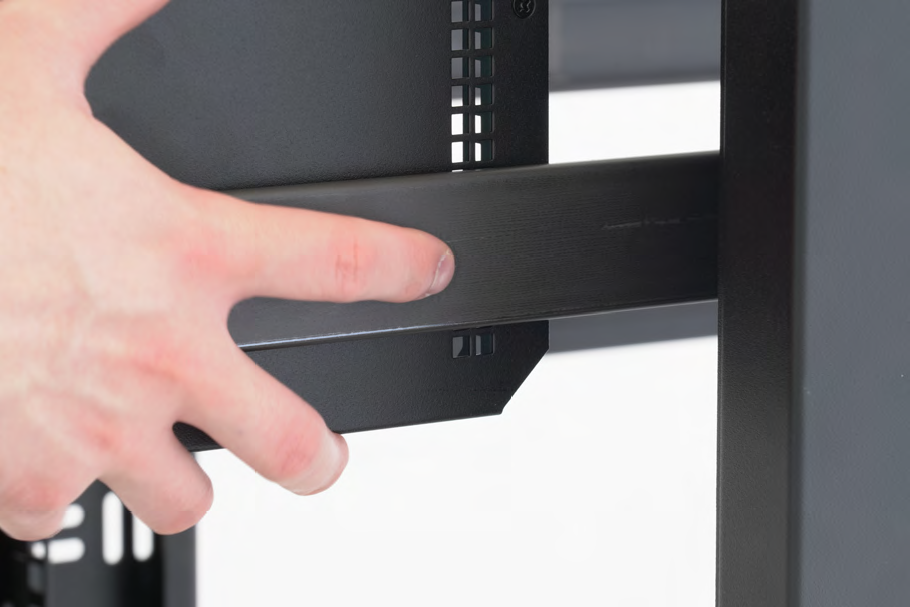
Insert the inner slides into the extended outer members. You will need to depress the security latches on the outer member as you do so. Push the chassis until you hear the security latches engage, pictured below. |
 |
|
NOTE: It may take more than one attempt to get the chassis to line up with both slides. The chassis should slide with some friction once properly installed in the slides. |
 |
|
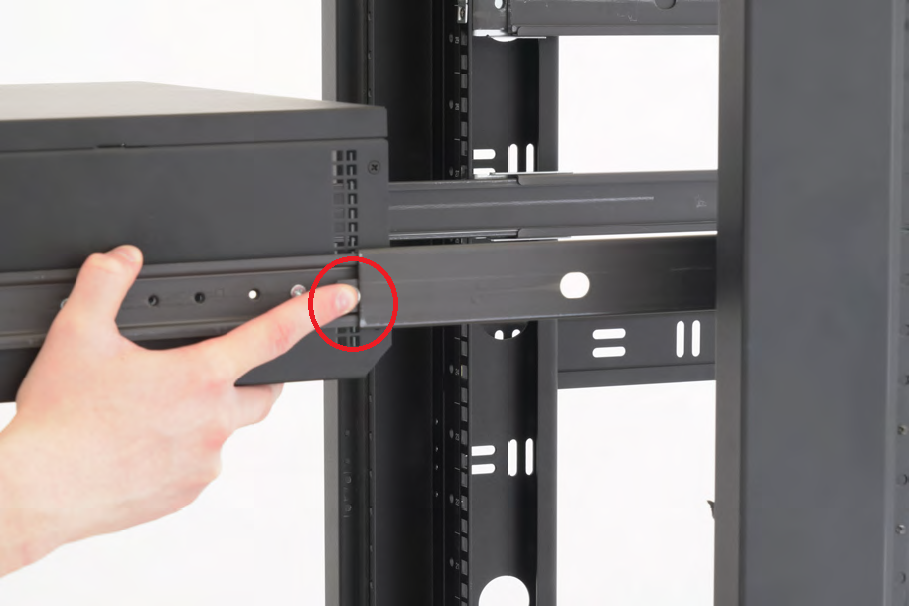
Once the inner slides are successfully centered and slid into the middle members, you will need to press down the security latches to finish sliding the chassis into your rack cabinet. The second set of security latches will disengage automatically as you slide the chassis all the way in. |